I’m sharing how green cabinets with black countertops can pop without a full remodel. Think emerald for a punch, forest for depth, olive for warmth, or sage for calm, all paired with a sleek black surface. Matte finishes hide fingerprints; consider brass hardware and wood tones to warm things up. Balance is key—avoid too many glossy surfaces and keep the backsplash cohesive. Want more practical tweaks and real-world makeovers? Keep going to pick your perfect combo.
Why Green Cabinets With Black Countertops Work
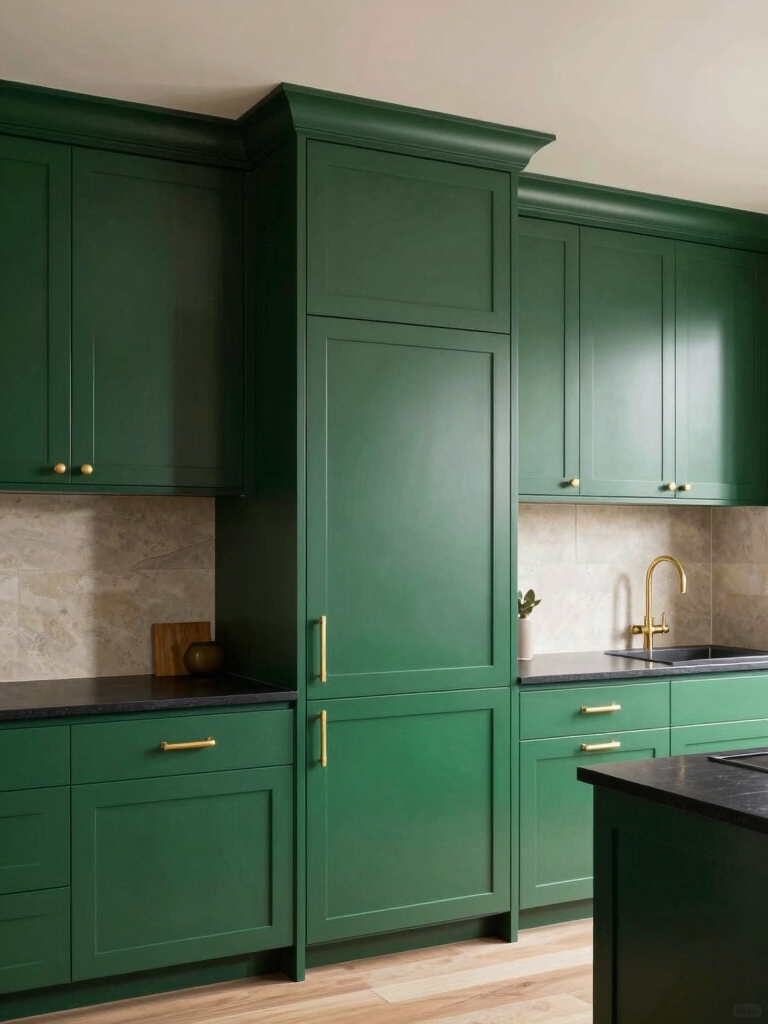
Green cabinets with black countertops balance bold color with timeless contrast, and they work because the green provides warmth while the black grounds the space.
I’ve seen it in person: the combo reads intentional, not loud, and it pairs well with natural woods and brass accents. Additionally, moody dark green cabinets create a luxurious kitchen vibe that enhances the overall aesthetic of your home.
You’ll enjoy cleaner lines, easier scrubbing, and a visually quiet backdrop for your daily tasks.
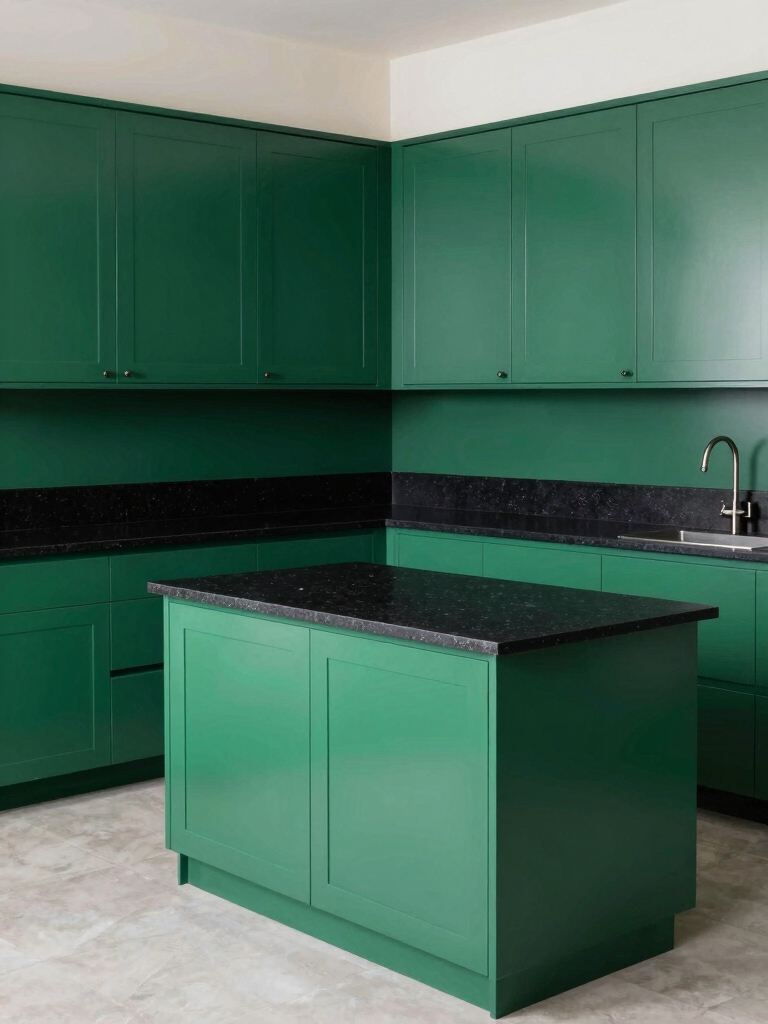
How to Choose Emerald vs. Forest Greens for Cabinets
Emerald and forest greens each bring distinct vibes to cabinets, so choosing between them comes down to how you want the room to feel and how much contrast you want with your countertops and hardware.
I’d pick emerald for a brighter, more invigorating look and easier lighting, or forest for depth. Soft green palettes create a calming atmosphere that can enhance the overall experience in your kitchen. Test samples side by side, note reflections, and plan hardware accordingly.
DIY confident.
Olive Tones That Read Warm With Black Countertops

Olive tones bring warmth that softens black countertops without shouting color. I’ll walk you through pairing these olives with neutral shades to keep the look cohesive. We’ll cover practical tips for balancing olive-hued warmth with simpler neutrals so your space reads inviting, not busy. To enhance the overall aesthetic, consider incorporating sage green cabinets that are gaining popularity in farmhouse-style kitchens.
Olive-Hued Warmth
There’s a warmth to olive tones that helps black countertops feel inviting rather than stark, especially in a busy kitchen. I tap into these hues by layering simple DIY tweaks you can try today:
- Swap plant pots to olive ceramic.
- Add an olive-tinted rug near prep space.
- Hang dark-wood accents with olive trim.
- Seal cabinets with a soft, matte olive finish.
Incorporating green and cream kitchen harmonies can enhance the overall aesthetic, creating a timeless appeal that complements the olive tones beautifully.
Pairing With Neutrals
Pairing with neutrals is all about letting olive read warm against the calm of beige, taupe, and soft gray.
I mix olive cabinets with neutral countertops and backsplashes, then dial in hardware and lighting to balance tone.
Start small: add a beige rug, taupe towels, or gray walls.
These combos keep the black countertop dominant yet inviting. Incorporating serene beige cabinets can enhance the overall calming effect of your kitchen design.
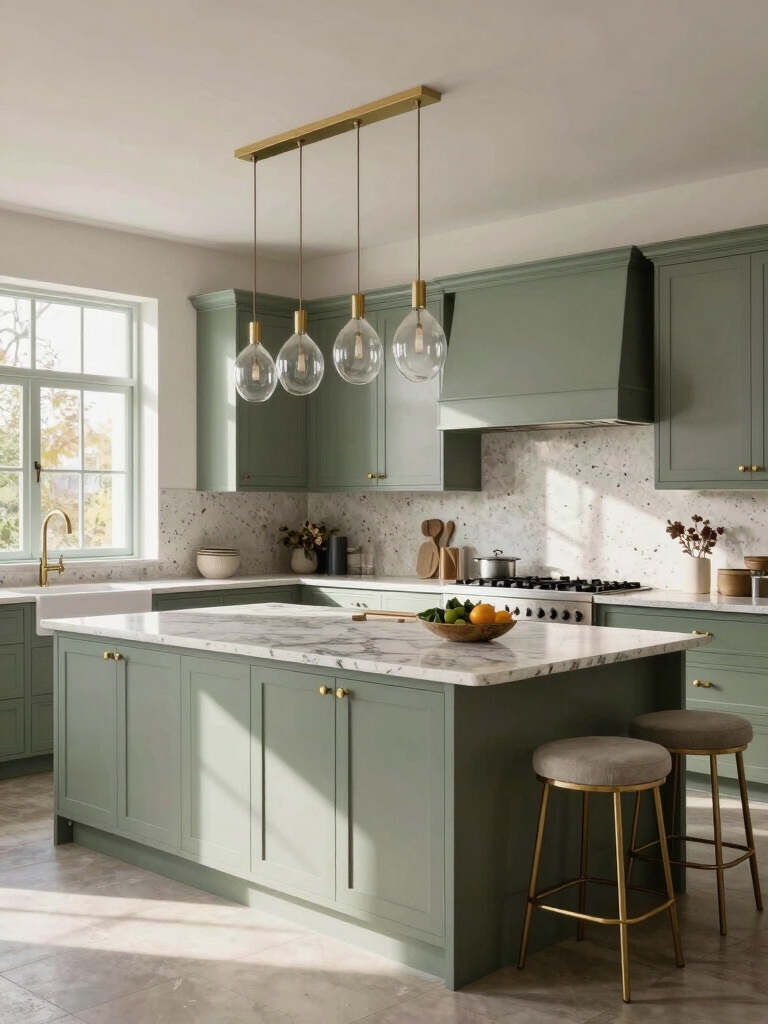
Sage Greens Paired With Matte or Glossy Black Finishes
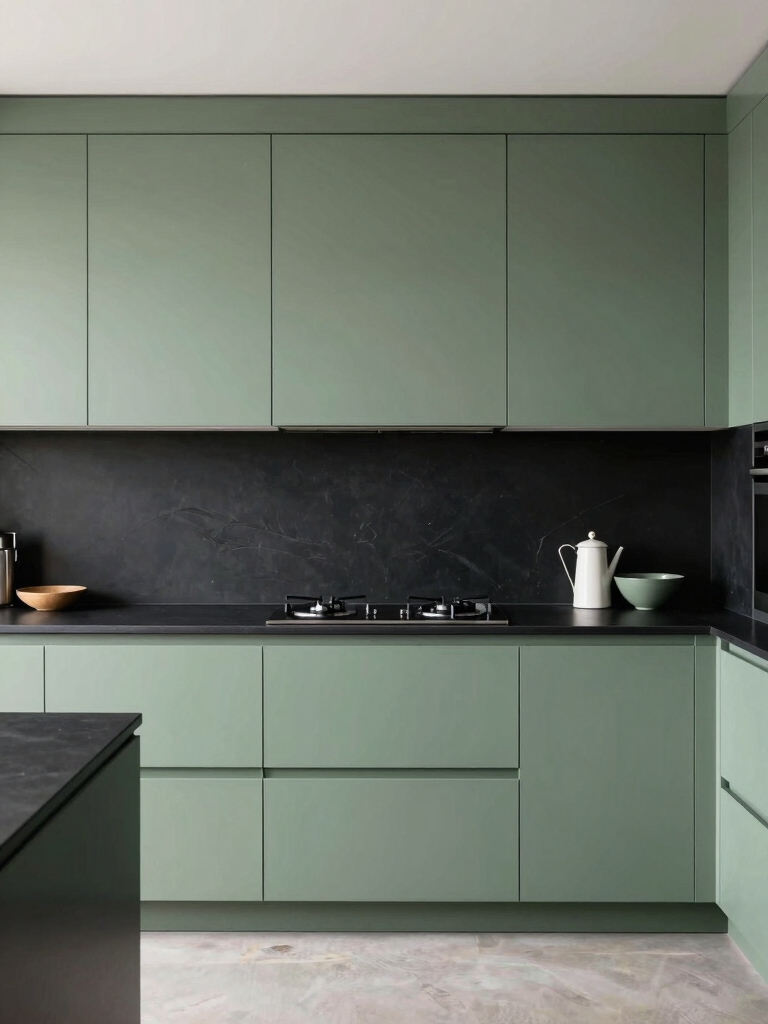
Sage greens bring a calm, refreshed feel when paired with matte or glossy black finishes, offering a modern contrast that’s still warm and inviting. This stunning color combination not only enhances the aesthetic appeal but also highlights the unique qualities of green cabinets that make kitchens truly stand out. I’ll show practical ways to pull this off, DIY-style.
- Balance tones with soft hardware
- Use black for accents, not all surfaces
- Apply sage in cabinets, white countertops for contrast
- Seal with matte or gloss to suit lighting
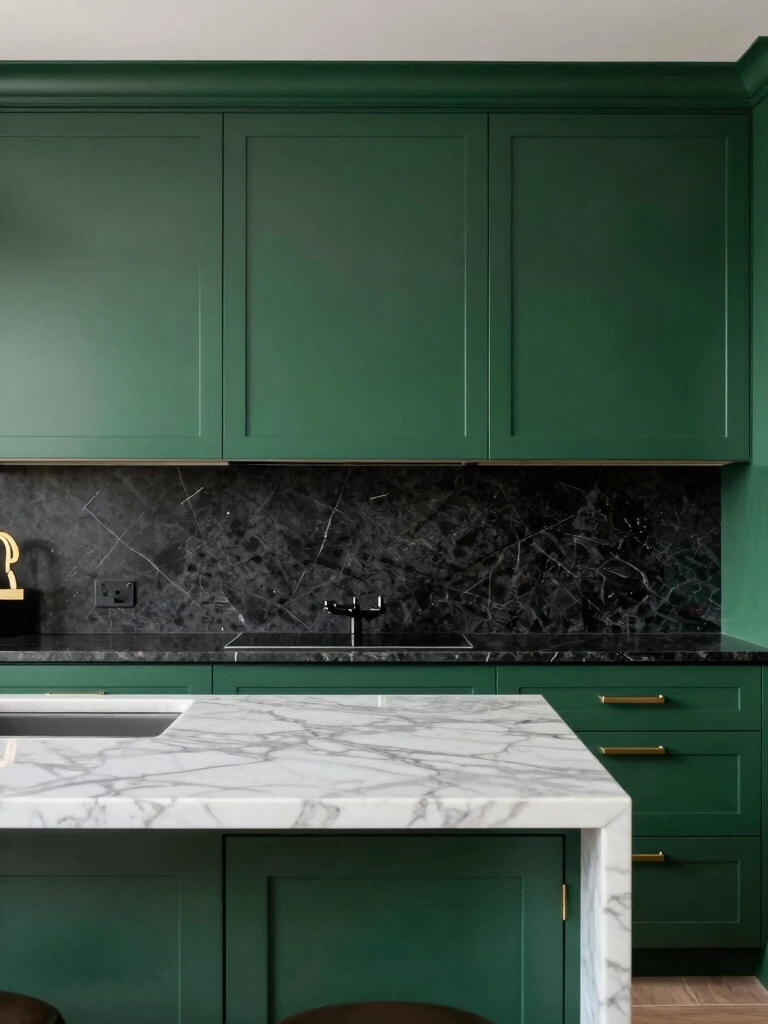
Deep Hunter Greens With Shadowy, Soapstone-Like Surfaces
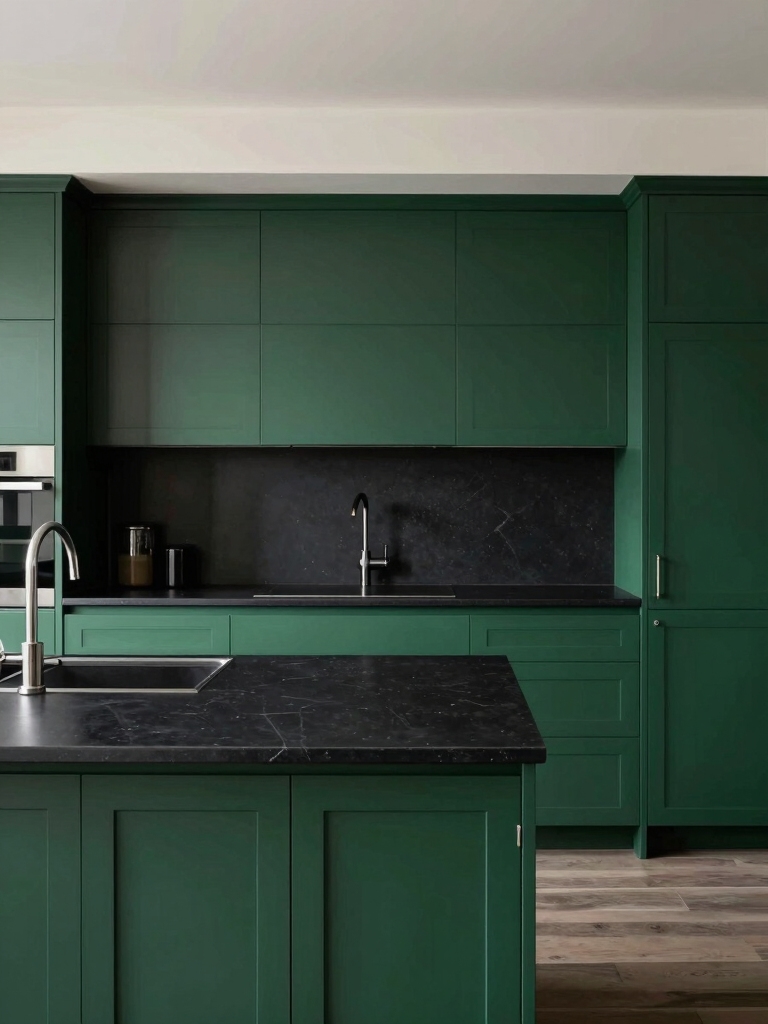
Deep hunter greens offer a grounded, moody counterpoint to shadowy, soapstone-like surfaces, and I’m ready to show you how to make it work in real kitchens.
I’ll keep cabinets matte for contrast, pair with a subtle soapstone backsplash, and use dimmable LEDs to enhance depth.
Use simple, affordable changes: swap hardware, seal stone, and test lighting angles before committing. Additionally, consider how olive green kitchen cabinets can create a bold yet timeless statement in your space.
Vintage-Inspired Greens: Emerald Glaze on Inset Doors With Black Accents
Emerald glaze on inset doors brings vintage warmth into modern kitchens, and it’s surprisingly doable for DIYers. To enhance the overall aesthetic, consider incorporating light sage green cabinets for a touch of quiet luxury.
I share practical steps you can trust, keeping this simple and bold.
- Prep surfaces thoroughly
- Apply thin coats, seal between
- Choose black accents for contrast
- Cure fully before use
Finishes That Matter: Matte, Satin, and Glossy Black Countertops
I’ll break down matte vs. glossy and what the satin option brings to the table, so you can pick what fits your kitchen vibe and cleaning routine.
I’ll weigh durability, fingerprints, and how each finish handles daily cooking—plus what to expect in real life.
Let’s map out practical picks for matte resilience, satin ease, and glossy drama you can actually maintain.
Matte vs Gloss Comparison
Matte finishes on black countertops soften the look and hide fingerprints better than gloss, but they can show smudges from oil and water more clearly unless you wipe them down regularly.
- Pick matte if you want subtle drama
- Clean daily to avoid smudges
- Use microfiber cloths for maintenance
- Consider a sealant for extra durability
Satin Effect Versus Shine
Satin finishes sit between matte and glossy, giving you a muted shine that hides fingerprints better than gloss while still reflecting light enough to keep the countertop looking bright.
I’m choosing satin when I want a low-maintenance, durable look without surface glare. It’s practical for daily DIYs, easy to clean, and pairs nicely with bold cabinet colors and textured backsplashes.
Practical Durability Notes
Glossy black countertops stand up to daily wear, but the finish you choose changes how they perform.
I’ll keep this practical and direct, focusing on real-life durability tips you can apply now.
- Matte hides fingerprints; wipe with mild soap and microfiber.
- Satin balances dirt resistance with shine; seal periodically.
- Gloss needs quick cleanup to prevent streaks.
- Use cutting boards and avoid abrasive cleaners.
Hardware and Lighting That Elevate Green + Black
Hardware and lighting are where green cabinets and black countertops really come alive, so I’ll start with practical picks you can actually find and install this weekend.
Think matte brushed nickel handles, subtle satin brass accents, or black hardware for cohesion.
Add under-cabinet LEDs, dimmable cans, and a warm-toned pendant; keep wiring simple, install yourself, and enjoy a cohesive, timeless upgrade.
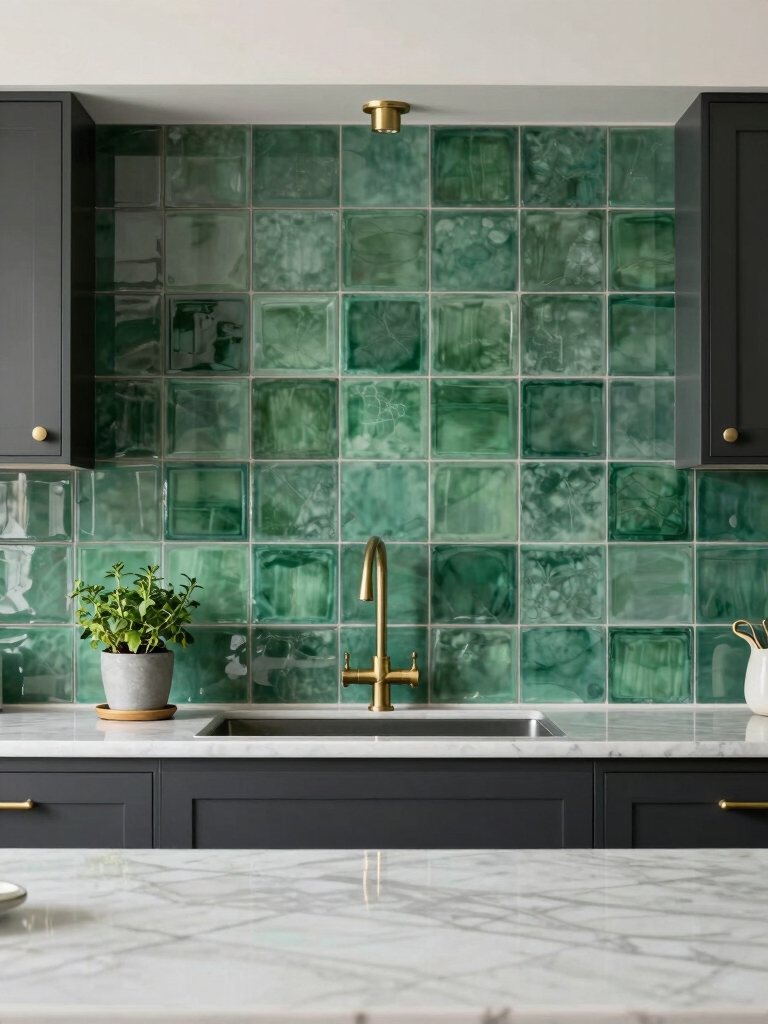
Backsplashes That Tie the Room Together
I’m thinking about how a backsplash can glue green cabinets and black counters into one cohesive scene, starting with the right tile pairing.
I’ll show you quick ways to balance Colorful Tile Pairings, add Texture and Shine without glare, and create Seamless Color Changes that feel intentional.
Let’s trade guesswork for practical, DIY-friendly ideas you can actually try this weekend.
Colorful Tile Pairings
When you’re pairing tiles with green kitchen cabinets and black countertops, the backsplash should anchor rather than shout.
Colorful tiles work best if they echo accents, not dominate.
- Pick two hues that match already-present pops
- Use matte glaze for depth
- Limit patterns to a single motif
- Keep grout light for cohesion
DIY-friendly, practical, calm installation tips ahead.
Texture and Shine Balance
Texture and shine can live in harmony without competing.
I mix glossy backsplashes with matte cabinets and a subtle grout to keep the look cohesive, not chaotic.
Choose a tile that echoes your green shade or matches the countertop’s undertone, then balance with a simple trim.
DIY-friendly tips: test sheet sizes, seal edges, and keep a notes board handy.
Seamless Color Transitions
Backsplashes are where color can whisper instead of shouting, tying green cabinets and black countertops into one cohesive look.
I’ll keep shifts simple and practical.
- Mirror tones from counters into tile
- Use neutral grout for seamless flow
- Introduce a subtle accent slice
- Choose glass or satin finishes for cohesion
Texture Plays: Wood Tones and Stone Veining for Depth
Texture plays a key role in grounding a kitchen that’s all about contrast.
I mix warm wood tones with cool stone veining to add depth without shouting. You’ll notice grain patterns guide flow, while veining hides everyday splashes.
I keep seams tight, joints flush, and finishes matte for practicality.
DIY tip: sample boards first, then layer textures for balanced contrast.
Design Pitfalls to Avoid With Green + Black Duos
Green and black is bold, but it’s easy to misstep if you chase drama instead of balance.
I’ll share practical pitfalls to avoid, so your duo stays cohesive, not chaotic.
- Overloading with glossy finishes
- Ignoring lighting that flats the contrast
- Skipping cohesive hardware selection
- Letting one element dominate the room
Keep scale, texture, and purpose in mind, DIY-friendly.
Real-World Makeovers: Before/After Briefs
We’ve all seen a kitchen overhaul that looks great in photos but falls apart in real life, so I’m sharing quick, real-world briefs that show what actually happens before and after green cabinets meet black countertops.
In practice, prep matters: trim, seam gaps, and lighting save effort later.
Expect budget tweaks, color tweaks, and durable finishes, not instant perfection—dollars and effort grow with detail.
How to Choose Your Green and Countertop Combo for Your Space
If you’re coming off those real-world makeovers, you’ve seen how a swap to green cabinets isn’t a magic fix—it’s the details that matter.
I guide you to balance hue, countertop tone, and lighting with practical steps:
- Test swatches beside your existing fixtures
- Consider undertones under daylight
- Match texture to your space
- Plan maintenance-friendly edges and finish
Conclusion
If you’re eyeing green cabinets with black countertops, you’re chasing a feeling as bold as a sunrise over a dark sea. Picture your space waking up: emerald gleams, shadows of granite veining, and a kitchen that hums with DIY energy. It’s not perfection you’ll chase, but progress—measuring, testing, tweaking until cabinets breathe with the counter’s edge. Start small, dream big, and let your hands turn design into daily delight. You’ve got this; your green-black moment is coming.