I’m glad you asked about those 13 green tile layouts that get pinned a ton. I’ve tested many setups, from mossy greens for timeless warmth to fresh geometric backsplashes that feel bright and modern. I’ll guide you through small-kitchen tricks, durable grout choices, and budget-friendly ideas that punch above their weight. I’ll show how to tilt layouts for flow and maximize impact without clutter. If you keep going, you’ll pick up practical tweaks you can try tonight.
How to Pick a Green Tile Layout for Your Kitchen

Choosing a green tile layout for your kitchen starts with your daily rhythm in mind.
I’d start by noting how you cook, prep, and clean, then map zones that reduce steps.
Think grout contrast and tile size to hide messes.
Prioritize light reflections and motion-friendly layouts.
Trust your feel, test layouts on paper, and tweak until it flows naturally. Additionally, consider green backsplash ideas that can inspire unique arrangements and enhance your kitchen’s aesthetic.
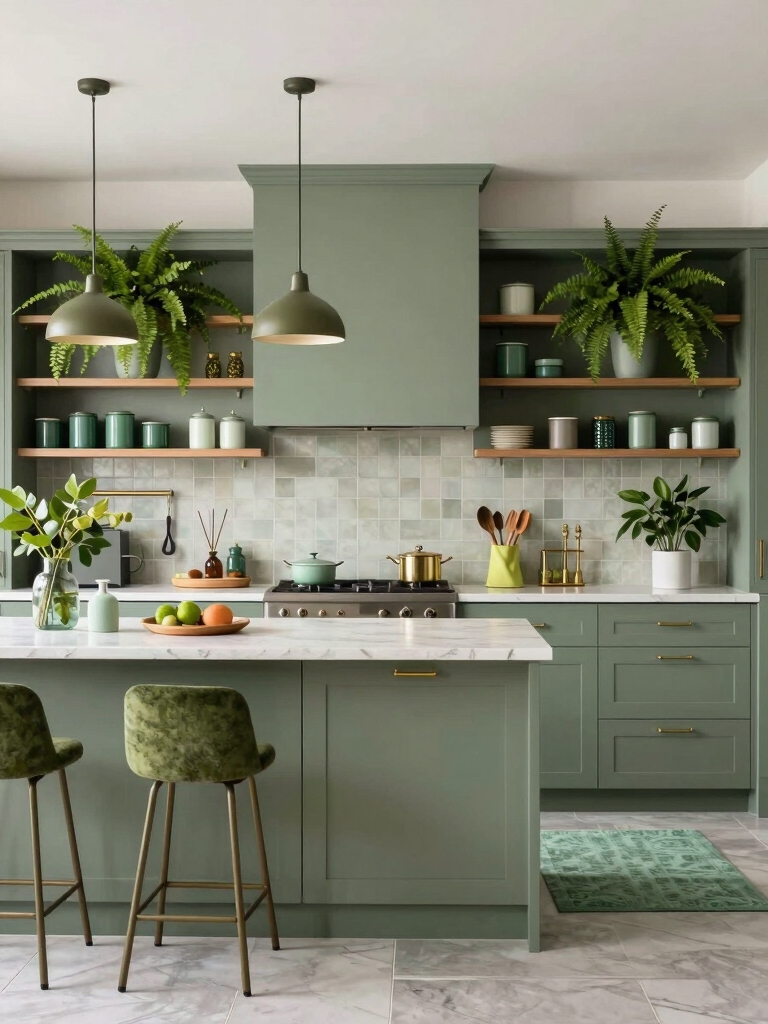
Classic Mossy Greens for Timeless Appeal

Classic mossy greens bring timeless appeal to any kitchen, and they pair beautifully with natural textures and warm wood tones.
I love using mossy greens as a foundation, then layering with textured ceramic, linen, and copper accents. They feel calm, versatile, and forgiving, adapting to changes in lighting and décor. The addition of sage green cabinets can further enhance the natural aesthetics of your kitchen design.
If you crave coziness, this palette makes every morning inviting.
Fresh Geometric Backsplashes for Modern Kitchens

Fresh geometric backsplashes bring a crisp, contemporary vibe to modern kitchens.
I love how sharp shapes reflect light, making counters feel brighter and rooms feel larger. You can mix tiles for personality or keep a simple grid for calm.
I recommend medium-size patterns, grouted tight, and sealed heat-safe. Practical beauty, easy cleaning, and a timeless, cheerful focal point.
Incorporating trending kitchen cabinet colors can enhance the overall aesthetic of your space.
Trust your space.
Soft Ceramic Tones for Light-Filled Spaces

I love soft ceramic tones because they create a gentle, light-filled space that feels instantly welcoming.
I’ll show you how subtle hue highlights, a calm light-filled ambiance, and a balanced ceramic palette work together without shouting.
Let’s explore practical ways to mix these tones for a warm, breathable kitchen that still feels fresh. Incorporating elements like white oak cabinets can further enhance the warmth of your kitchen’s atmosphere.
Soft Hue Highlights
Soft Hue Highlights bring a gentle warmth to light-filled kitchens, where soft ceramic tones keep reflections calm and spaces inviting.
I pair creamy tiles with matte whites, so light travels softly without glare. You’ll notice calmer mornings and easier daily upkeep, since these hues hide fingerprints and smudges better than brighter alternatives. Additionally, soft beige cabinets can enhance the serene atmosphere, creating a more tranquil cooking experience.
Practical, cozy, and quietly stylish for busy cooks.
Light-Filled Ambiance
Light floods a kitchen when soft ceramic tones are chosen for walls, backsplashes, and cabinetry, and I love how they reflect but don’t overwhelm.
I keep textures subtle — matte finishes, gentle gloss on accents — so light curls across surfaces without glare.
Practical layouts and mindful lighting choices keep the room cozy, breathable, and inviting for everyday moments. Incorporating small kitchen window ideas can further enhance the natural light and create an airy feel.
Ceramic Tone Balance
When picking ceramic tones for a light-filled kitchen, I aim for balance that keeps the space serene rather than stark.
Soft ceramic hues breathe warmth without overpowering. I mix warm creams with cool whites, testing contrast at eye level.
Subtle grays ground surfaces, while gentle textures mirror sunlight. Practical choices, cozy results, and confident, enduring appeal unfold with every tile choice. Incorporating green kitchen tiles can add a refreshing pop of color that complements the serene atmosphere.
Textured Tile Layouts for Tactile Interest

Textured tile layouts add instant tactile interest to a kitchen, and I’m all about choosing patterns that you can feel as you move.
I favor raised studs, gentle ribbing, or subtle grooves that stay quiet underfoot yet visible in light.
Combine textures sparingly, mix scales, and balance with smooth backsplashes so tactile cues stay inviting, not overwhelming.
Practical charm wins. Additionally, incorporating small kitchen storage solutions can enhance the overall functionality while maintaining aesthetic appeal.
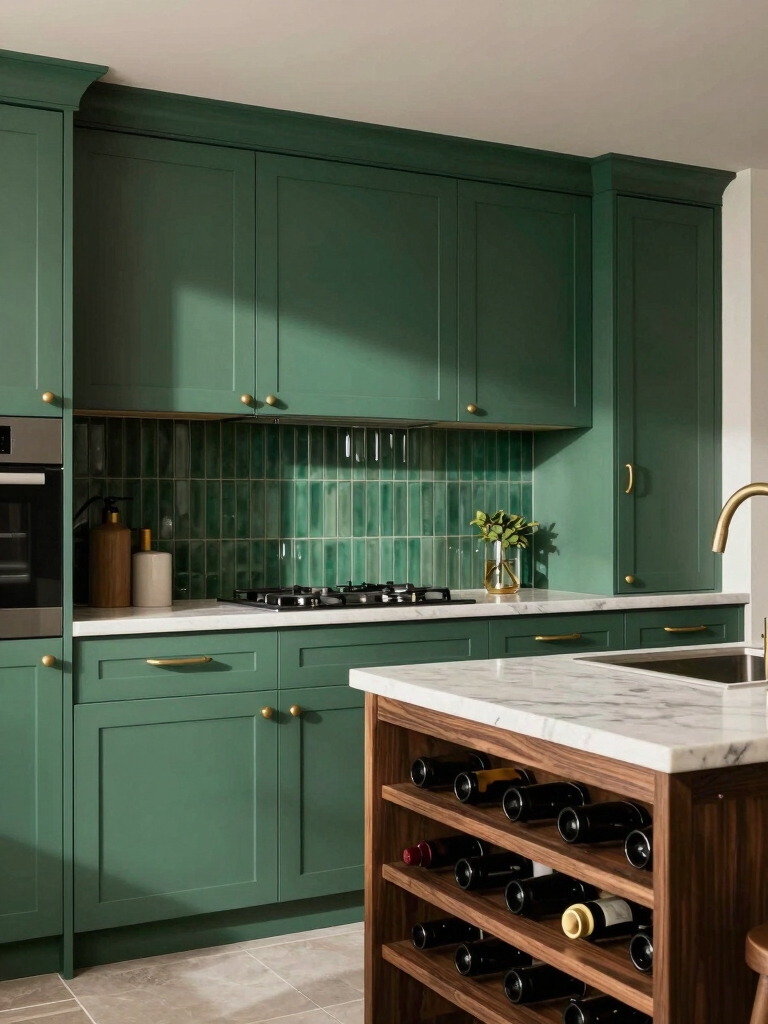
Monochrome Greens With Varied Finishes
Monochrome greens, with their quiet depth, feel both fresh and timeless when you mix finishes.
I’m guiding you to combine matte, gloss, and satin tiles for subtle texture without shouting color. Use varied sheen to highlight edges, create depth, and hide splashes.
Maintain cohesion with a single green family, simple grout, and practical routines for daily cleaning and durable wear. Cozy practicality.
Two-Tone Greens: Pairing With Warm Neutrals
Two-tone greens come alive when you pair them with warm neutrals, balancing freshness with coziness.
I’ll show you a simple rule: pick a creamy beige or warm taupe for walls or cabinets, then let the greens be your pop.
Keep textures varied—matte tiles with satin details—and limit glossy surfaces to avoid glare.
Practical, inviting, timeless.
Subway and Oversized Tiles: Which Layout Works Best?
If you’ve been pairing greens with warm neutrals, you’ve set a calm, inviting stage.
Subway tiles keep a kitchen tidy and timeless, while oversized tiles feel bold and modern.
For busy cooks, subway regrout gaps less often and hides scuffs better; oversized panels reduce grout lines and create a seamless look.
Choose one that supports traffic, lighting, and your daily rhythm.
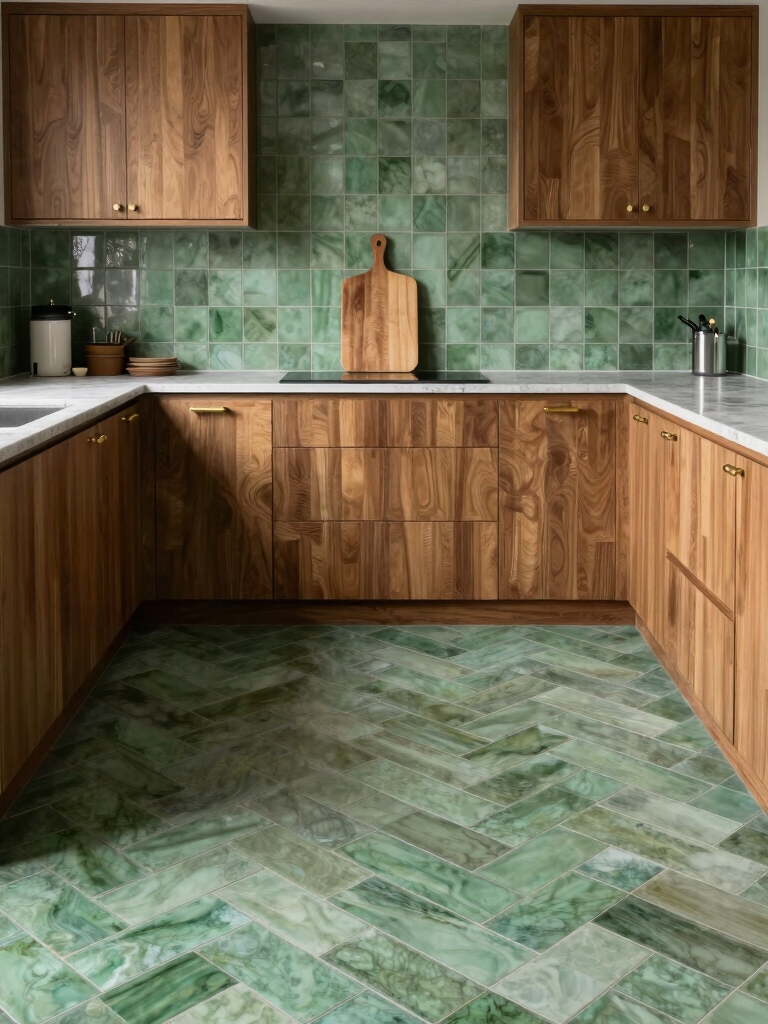
Herringbone and Basket-Weave Patterns for Personality
Herringbone and basket-weave patterns bring a touch of personality to green tile kitchens, almost like a confident wink in the room.
I choose these layouts to add movement without shouting. They pair with natural wood and brass fixtures, creating warmth.
I love how the eye travels, slowing you down, inviting conversation, and keeping the space feeling cozy, intentional, and inviting.
Durability, Cleaning, and Grout: Practical Tips
I’m keeping durability front and center, so I’ll share practical tips that help your green tile stand up to daily use.
I’ll cover cleaning basics and grout care in a way that’s easy to fit into real-life routines.
Let’s keep things tidy, simple, and effective so your kitchen stays cozy and beautiful.
Durability Details
Durability is built into tile choices and grout if you’re careful from day one.
I’ll share practical, long-lasting habits you can actually keep.
- I pick enamels and sealers that withstand daily spills, so cleanup feels quick.
- I tighten grout lines regularly, preventing cracks that invite stains.
- I treat joints gently with damp microfiber, avoiding harsh scrubs that wear them down.
Cleaning And Grout Care
Cleaning grout isn’t glamorous, but it’s the backbone of a fresh-looking kitchen.
I keep grout durable by sealing after installation and wiping spills quickly. For cleaning, I mix a gentle tile cleaner with water, avoiding harsh abrasives.
I scrub grout lines with a soft brush, rinse, and dry. Regular maintenance prevents staining, preserving the scene I love.
Small Kitchens: Maximize Impact With Strategic Placement
Could you squeeze big results from a small kitchen? I say yes, with smart placement that feels effortless.
I’ll share practical, cozy tweaks that maximize flow and function, without clutter. You’ll see how confident zoning and tile echoes sharpen focus and mood.
- Optimize triangle: sink, stove, fridge in easy reach.
- Narrow shelves above counters for essentials.
- Use vertical tile patterns to visually expand space.
Budget-Friendly Green Tile Ideas That Punch Above Their Weight
Green tiles don’t have to break the bank. I’ve found affordable greens that still wow: ceramic subway on sale, budget-friendly mosaic sheets, and DIY grout accents that read premium.
I swap bold isolation with small repeats, add wood accents, and mix matte glazes for depth. You don’t need a remodel—just smart thrifted finds, steady hands, and a cozy, practical vibe.
How to Choose the Right Green Tile Layout for Your Space
Choosing the right green tile layout starts with your space size, because bigger rooms can handle bolder patterns while small kitchens benefit from simpler runs.
I consider both Space Size Considerations and Tile Pattern Pros & Cons, so you don’t end up with a layout that feels cramped or chaotic.
Let’s figure out a plan that tiles smoothly with your daily routines and the vibe you want.
Space Size Considerations
When you’re picking a green tile layout for a space, size really matters for both function and feel. I’ll help you gauge scale so the kitchen breathes.
1) Imagine cabinet shadows and floor area as a calm map you can stroll without bumping into corners.
2) Visualize grout lines that guide traffic but don’t shout.
3) Sizing that pairs tile footprint with appliances for cozy efficiency.
Tile Pattern Pros & Cons
Pattern choice isn’t one-size-fits-all, so I weigh the pros and cons with your space in mind.
Tile patterns guide mood, scale, and flow; they also shape maintenance and costs. I favor simple layouts for small kitchens and more dynamic patterns where walls breathe.
If you’re unsure, test with samples, then trust what feels easiest to live with daily.
Conclusion
I’ve found that the right green tile can transform a kitchen from calm to cozy in a heartbeat. One stat I love: kitchens with bold tile accents can boost perceived value by up to 20% in a quick rethink. So trust your gut, pick a layout you actually enjoy, and it’ll feel like home fast. Start small if you’re unsure, mix textures to keep things lively, and remember: practical beats pricey every time. You’ve got this, I believe in your space.