
I’ve found an island sink turns cooking into a social, efficient hub—prep, rinse, serve and stash all in one spot. Centered sinks give balance and simpler plumbing; offset sinks free long prep runs and seating; corner or small‑island sinks save footprint and create dedicated zones.
Plan dishwasher placement, trash pull‑outs, and venting early, and pick durable counters, a pull‑down faucet and layered lighting. Keep going and I’ll show practical layouts, plumbing tips and design tradeoffs.
Benefits of Putting the Sink on the Island
When I put a sink in the island, the kitchen suddenly feels more social and efficient—I can chat with guests while rinsing veggies and keep an eye on kids doing homework at the counter.
I love the workflow boost: prep, rinse, and serve without shuttling. It opens sightlines, creates a casual bar vibe, and makes cleanup a shared, effortless part of entertaining.
A well-planned island can also maximize every inch by combining prep space, storage, and seating into one organized hub.
Centered Sink Layouts for Symmetry and Workflow
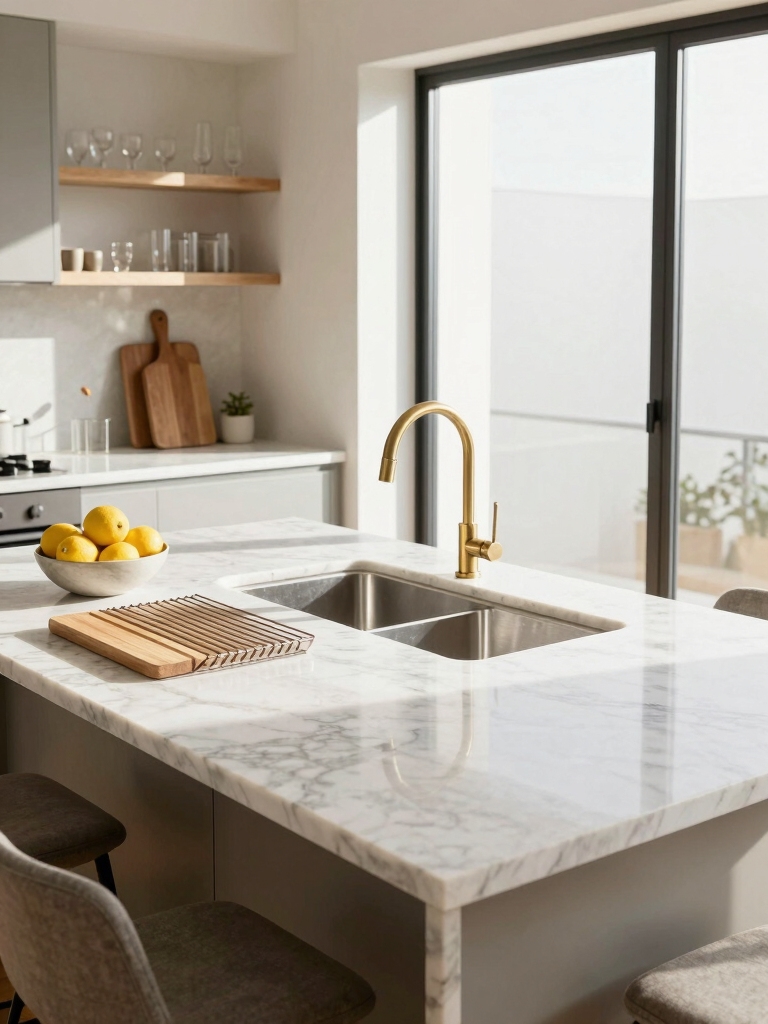
Because I like things that feel balanced, centering the sink on the island instantly grounds the space and streamlines how I work — I can prep on one side, rinse in the middle, and hand off to a cutting board or serving area on the other without awkward reaches.
It creates visual harmony, simplifies plumbing runs, and lets guests gather while I tidy, chat, and keep things flowing.
Island Kitchen Layouts transformed my approach to planning practical, social cooking areas, showing how thoughtful island layouts can change how you use the space.
Offset Sink Placements to Preserve Prep Space
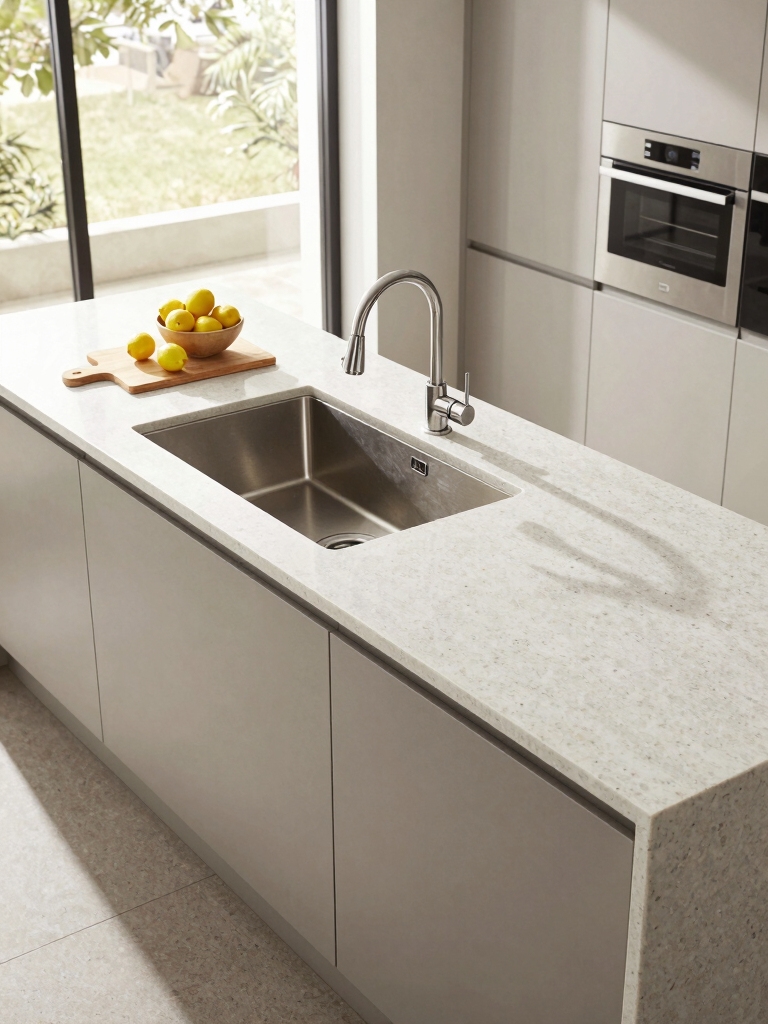
I like offsetting the island sink by one cabinet so you keep a continuous stretch of prep counter where you need it most.
That small shift lets you align the sink with your cooktop workflow and keeps chopping, mixing, and plating uninterrupted.
It’s a simple move that makes cooking feel smoother without sacrificing style.
You can also extend your island with a table-style extension to add effortless guest seating while preserving prep space and workflow, a solution that complements the offset sink placement and creates more flexible kitchen seating options with table extensions.
Maintain Continuous Prep Counter
With the sink set slightly off-center, I keep a long, uninterrupted stretch of counter for chopping, rolling dough, or staging ingredients for a big meal.
It lets me work left to right without obstacle, slides bowls aside easily, and keeps prep tools within reach.
The flow feels intentional and tidy, so cooking becomes smoother, faster, and frankly more fun.
Small islands can still pack plenty of function when designed thoughtfully, especially with space-saving layouts that maximize usable surface area.
Offset by One Cabinet
If you nudge the sink over by one cabinet, you’ll keep a generous, uninterrupted prep zone while still giving the sink its own work area.
I love this little tweak — it preserves counter real estate, keeps dirty dishes from smothering chopping space, and creates a natural split: prep on one side, cleanup on the other.
It’s smart, simple, and surprisingly invigorating. Adding a compact island can further enhance workflow by providing extra storage and a dedicated surface for tasks like chopping or plating small kitchen island ideas.
Align With Cooktop Workflow
Keeping the sink shifted toward the cooktop can make your whole workflow feel less like a relay race and more like a smooth conversation between stations.
I place my prep zone opposite, preserving uninterrupted counter space for chopping and plating.
That offset reduces cross-traffic, keeps dirty dishes contained, and lets me pass pans and ingredients fluidly.
It’s practical, tidy, and oddly satisfying. Smart island layouts can also integrate cooktop configurations to enhance traffic flow and prep efficiency.
Corner Sink Options for Open-Plan Islands

I like using a corner sink on an open-plan island because it can streamline workflow by turning an awkward spot into a prep hub.
We’ll look at smart plumbing routes and cabinet layouts that keep pipes hidden and storage accessible.
I’ll show simple solutions that make the corner practical, not just decorative.
Island designs often include multifunctional elements like seating and storage to maximize usefulness, so consider kitchen island designs when planning.
Maximizing Corner Workflow
When I plan an open‑plan island, I love tucking the sink into a corner because it opens sightlines and creates a natural prep zone without cutting off traffic.
I optimize workflow by angling the sink so countertop workspaces flank it, add dedicated zones for chopping and rinsing, and keep often‑used tools within reach.
The result: efficient movement, fewer obstacles, and happier cooks.
Plumbing & Cabinet Solutions
Because a corner sink changes how water, waste lines, and cabinets come together, I tackle plumbing and storage early in the design so surprises don’t derail the whole project.
I balance trap placement, access panels, and under-sink organization to keep things tidy, efficient, and serviceable without sacrificing flow or style.
- strategic trap and vent routing
- removable access panels
- custom angled drawers
Peninsula vs. Island: When to Choose Each Sink Location

Let’s dig into whether your sink belongs on a peninsula or an island — I’ll walk you through the practical differences so you can pick the layout that actually fits how you cook, clean, and hang out.
I usually recommend a peninsula for workflow and social barrier control, and an island when you want open sightlines and seating.
Choose based on traffic, prep zones, and entertaining needs.
Sink Placement for Small Islands and Compact Kitchens
In tight kitchens I favor smart compromises, so I’ll show you how to get a sink on a small island without wrecking workflow or seating.
I pick compact sinks, tuck plumbing smartly, and keep prep zones clear so the island stays useful and sociable.
- Choose shallow or single-bowl sinks
- Offset for seating clearance
- Integrate drain grooves for minimal footprint
Large Island Strategies: Multiple Sinks and Workstations
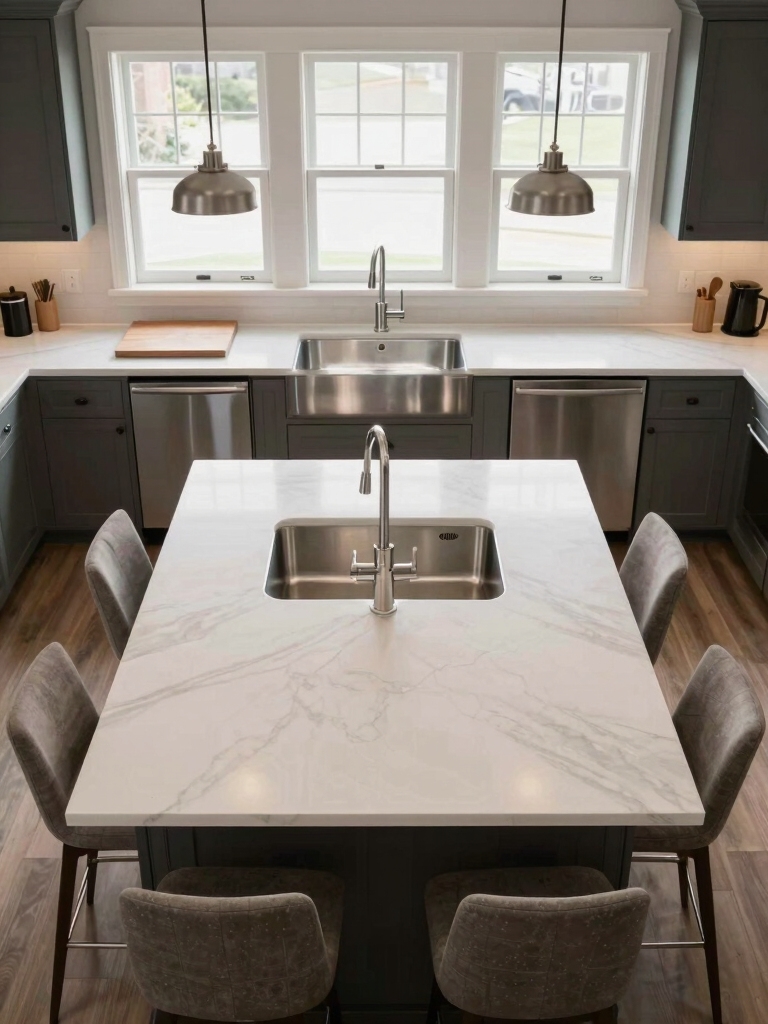
If your island is large, I like splitting it into a dual prep-and-cleanup setup so one sink handles meal prep while the other tackles dishes.
I’ll walk you through zoning workstations—think chopping, rinsing, and plating areas—to keep traffic flowing.
Then we’ll cover practical plumbing and drain planning so those sinks actually work together without headaches.
Dual Prep and Cleanup
I’ve often split my island into two zones—one for messy prep and one for tidy cleanups—because it keeps traffic flowing and chores from colliding.
I place a deep prep sink near cutting stations and a shallow cleanup sink by the dishwasher. It feels smart, social, and efficient.
- Clear sightlines for hosts
- Separate storage for tools
- Easy handoff between tasks
Zoned Task Workstations
With a large island, I like to think of it as a tiny kitchen neighborhood: each sink and workstation has its own role so cooking flows without everyone bumping into each other.
I create zones—prep, cleanup, baking—arranging sinks, cutting space, and appliances so tasks don’t cross. Guests can chat at the bar while cooks stay focused; workflow stays smooth and cheerful.
Plumbing and Drain Planning
Think through your island’s plumbing like you’d lay out a mini road system: every sink needs a clear route for water in and waste out, and the faster those routes run, the less fuss you’ll deal with.
I plan drains, vents, and shutoffs so multiple sinks behave. Smart layouts save trips, noise, and service calls.
- Cluster drains to minimize piping.
- Add accessible cleanouts.
- Use separate shutoffs per station.
Integrating the Dishwasher and Trash With Island Sinks
Let’s dig into how the dishwasher and trash can live with an island sink so you get a kitchen that’s both sleek and actually usable.
I position the dishwasher next to the sink for easy rinse-to-load flow, and tuck a pull-out trash under the prep area for quick scraps.
Keep clear door swing, logical storage, and comfy workspace — it makes cleanup effortless and fun.
Plumbing and Venting Considerations for Island Sinks
Now that we’ve got the layout sorted, I want to talk about the practical side: how to vent an island sink, route supply and drain lines, and place the trap and cleanout so everything actually works.
I’ll show the common venting options for islands and why some require air admittance valves or re-routing to exterior vents.
Then I’ll cover best practices for running supply/drain lines and where to position traps and cleanouts for access and code compliance.
Venting Options for Islands
Because island sinks sit away from walls, I want to make sure their venting works as smoothly as the rest of the plumbing, so in this section I’ll walk you through the common options—traditional vents, loop vents, and air admittance valves (AAVs)—and the trade-offs of each.
I’ll explain pros, code concerns, and practical choices so you can pick what fits your island.
- Traditional roof vent: reliable, may need chase
- Loop vent: clever workaround, needs slope rules
- AAV: simple install, check local code
Routing Supply and Drains
I’ll dig into how water and waste actually get to an island sink—routing supply lines, drain runs, and combining those plans with the venting approach you picked—so you can avoid surprises during rough‑in and finish work.
I’ll cover flexible supply routing, choosing between overhead or underfloor drain paths, protecting lines in the island core, and coordinating plumber and carpenter timelines to keep installation smooth and neat.
Trap and Cleanout Placement
Having planned supply and drain routing, let’s talk about where the trap and cleanout actually live under an island sink—because their placement affects venting, access, and how the cabinet gets built.
I prefer accessible cleanouts near the trap for snaking and inspection. Place traps aligned to drains to avoid extra bends and keep vents within code distance.
- Easy access for maintenance
- Minimal trap arms and turns
- Coordinate cabinet panels and toe-kick
Seating and Social Zones Around an Island Sink
I often think of the island sink as the heart of casual kitchen life, so when I plan seating and social zones I aim to make conversations flow as easily as the water.
I place stools slightly offset so guests chat without blocking tasks, create a drying buffer zone, and use varied heights for eating and lounging.
Good lighting and clear sightlines keep energy lively.
Appliance Proximity: Stovetop, Fridge, and Island Sink Triangle
When I plan an island sink, I treat the stovetop, fridge, and sink like a little choreography—each move should feel natural and effortless.
I position them so prepping, cooking, and cleanup flow without backtracking.
Smart spacing keeps traffic smooth and counters useful.
- Keep triangle legs short but uncrowded.
- Prioritize clear prep space near sink.
- Avoid crossing main walkways.
Accessibility and Universal-Design Sink Positions
You’ve already thought about how the sink sits in relation to the stove and fridge, so now I want to focus on making that island sink work for everyone who uses it.
I’ll suggest reachable heights, knee clearance for seated users, lever faucets, clear approach paths, and non-slip flooring.
Small tweaks like pull-out spray heads and side-mounted controls boost independence without shouting “accessible.”
Materials and Edge Details to Protect Island Around the Sink
Think about materials and edges like armor for your island—I’m picking options that stand up to water, dings, and daily chaos without ruining the look.
I favor durable surfaces and thoughtful edge profiles that hide wear and make cleanup simple.
Here are practical choices I love:
- Solid quartz with eased edge for low-maintenance resilience
- Stainless steel inset for splash-prone zones
- Rounded wood edge with sealant for warmth and repairability
Lighting and Faucet Choices That Complement Island Sinks
I liked picking tough materials and forgiving edges because they make the sink zone liveable; now I want lighting and faucets that play the same role — practical, pretty, and a little clever.
I choose layered lighting: focused task pendants and soft ambient undercabinet glow. For faucets, I pick a high-arc pull-down with a tactile finish that resists spots and feels effortless.
Budgeting and Phased Approaches to Installing an Island Sink
When planning an island sink, I break the project into affordable chunks so it doesn’t eat my whole renovation budget or patience.
I prioritize essentials, postpone extras, and pick wise DIY moments to save.
Phased installs keep kitchen usable and let me test layout choices before committing to plumbing or swanky fixtures.
- Start with countertop cutout and temporary sink
- Add plumbing in phase two
- Finish with faucet and trim upgrades
Picture your kitchen island as a little stage: the sink can be center stage for a dramatic, social performance or tucked off to the side for a smooth backstage prep flow.
I’ve walked through symmetry, offsets, corners, accessibility, materials, lighting and budgets so you can choose what dances best with your routine.
Whichever spot you pick, imagine splashes framed by good design — practical, pretty, and perfectly suited to how you live.


