I’ve learned that a well-styled kitchen tray can calm a room and simplify daily rituals. I start with a neutral tray, add a small centerpiece, coordinating votives, and practical coasters, then layer with height and negative space for a cohesive flow. I mix textures, balance weight, and rotate seasonal pieces to keep it fresh. If you keep things airy and intentional, you’ll enjoy effortless chic every day—and there’s more to discover just ahead.
What a Kitchen Tray Setup Does for Your Space
A kitchen tray setup acts like a compact staging area for your space, prioritizing both function and ambiance.
I’ll show you how it organizes daily rituals—keeping essentials visible, reducing clutter, and guiding your eye.
It creates a calming focal point, invites guests to linger, and makes hosting feel effortless.
With this setup, routines become smoother and stylish, without chaos.
Trust this simple cue. Additionally, a well-styled tray can enhance kitchen shelf decor by adding layers of texture and visual interest to your space.
Start Here: The Essential Tray-Decor Starter Kit

If you’re ready to anchor your tray setup, here’s a simple starter kit that keeps things tidy and inviting.
I’ll keep it practical: choose a neutral tray, a small centerpiece, a couple of coordinating votives, and a practical coasters set.
Add a napkin ring or two, a tiny plant, and one personal touch. Chic and functional kitchen counter decor can elevate your space while ensuring it remains practical.
From here, build with intention, not excess.
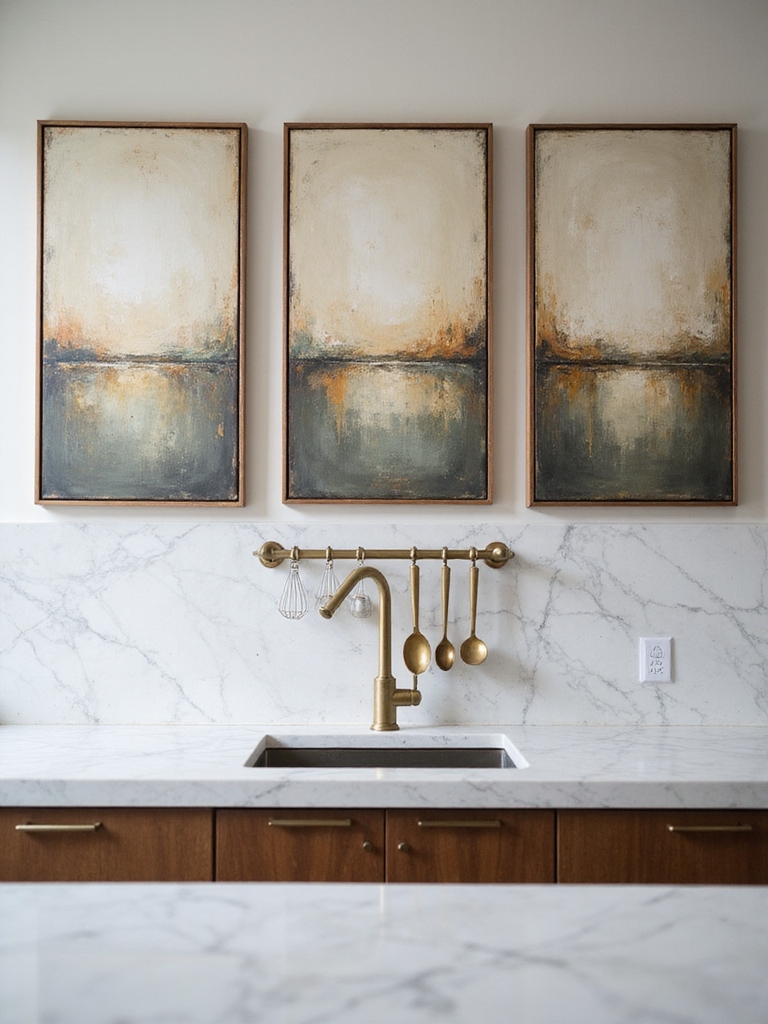
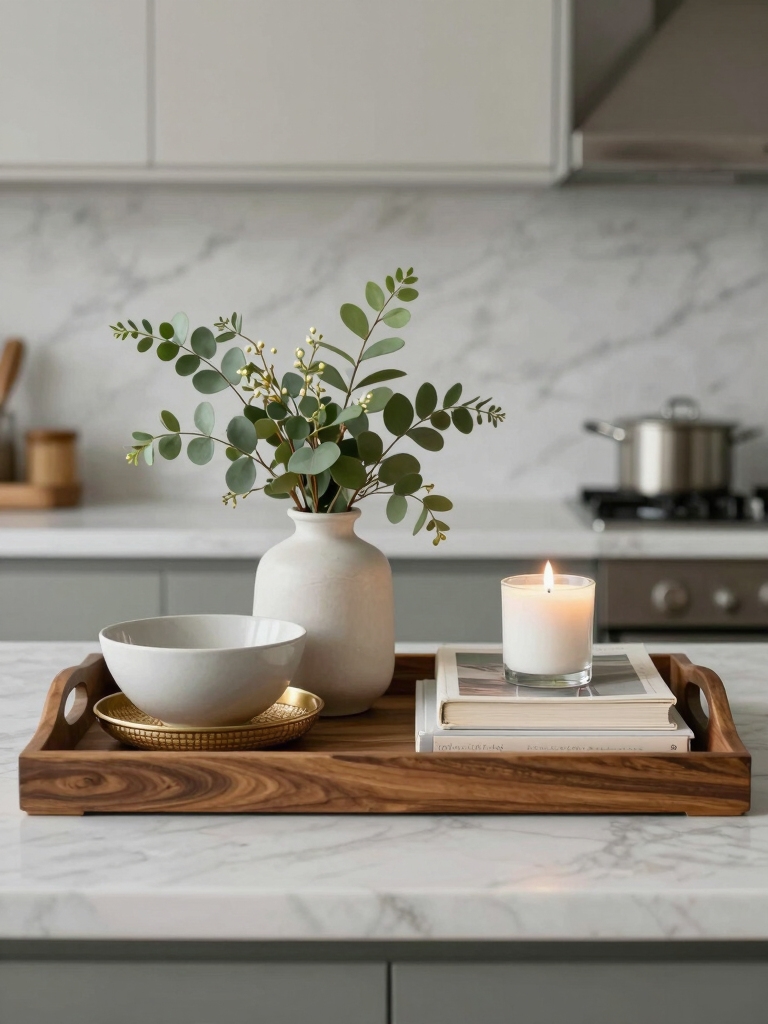
Minimal Marble + Gold: A Polished, Everyday Palette

Minimal marble and gold bring a polished, everyday ease to tray décor.
I share a simple setup you can replicate: a marble slab base, one or two gold-accented pieces, and clean ceramic bowls.
Keep spacing airy, monochrome tones, and a single statement item. This combo reads calm, intentional, and effortless—perfect for daily rituals and quick refreshes. Incorporating stylish open shelves into your kitchen design can enhance both aesthetics and functionality.
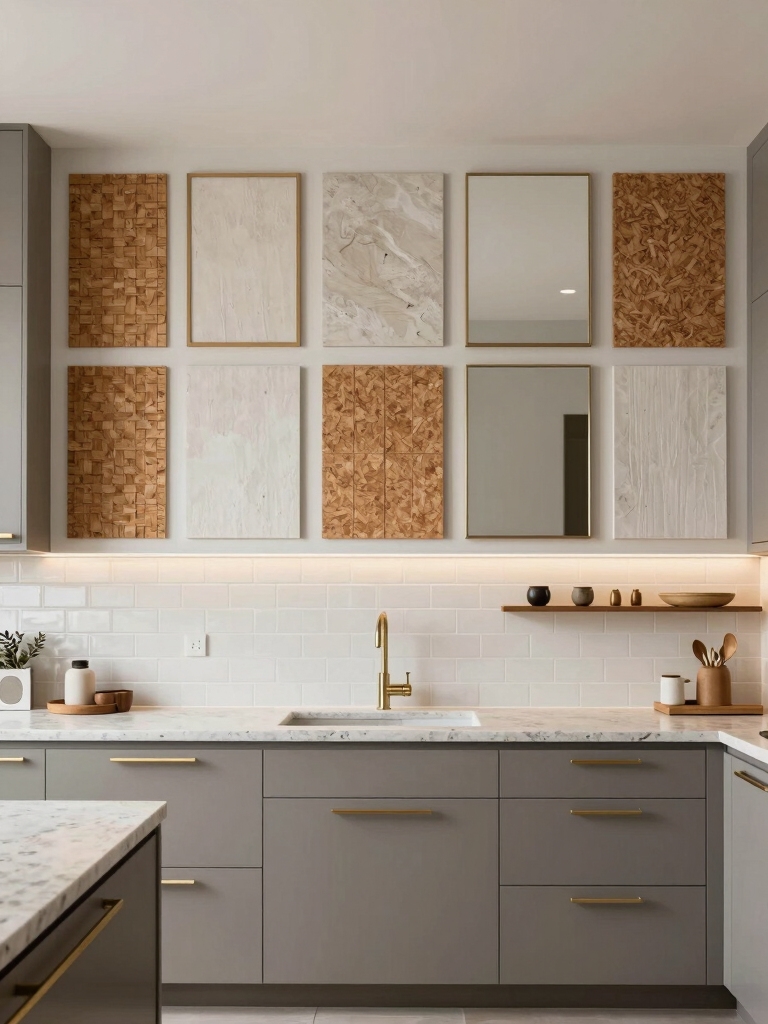
Rustic Wood Warmth: Natural Texture That Feels Welcoming

Rustic wood warmth invites a welcoming, tactile vibe that instantly makes a tray feel homier.
I pair natural textures with careful arrangement, letting the grain tell the story while remaining tidy and calm.
I swap busy surfaces for simpler lines, choosing boards, maple, or oak as anchor accents.
You’ll notice the inviting heartbeat these textures bring, quietly unifying colors and pieces. Additionally, incorporating white oak cabinets can enhance the overall aesthetic, adding an element of warmth to modern kitchens.
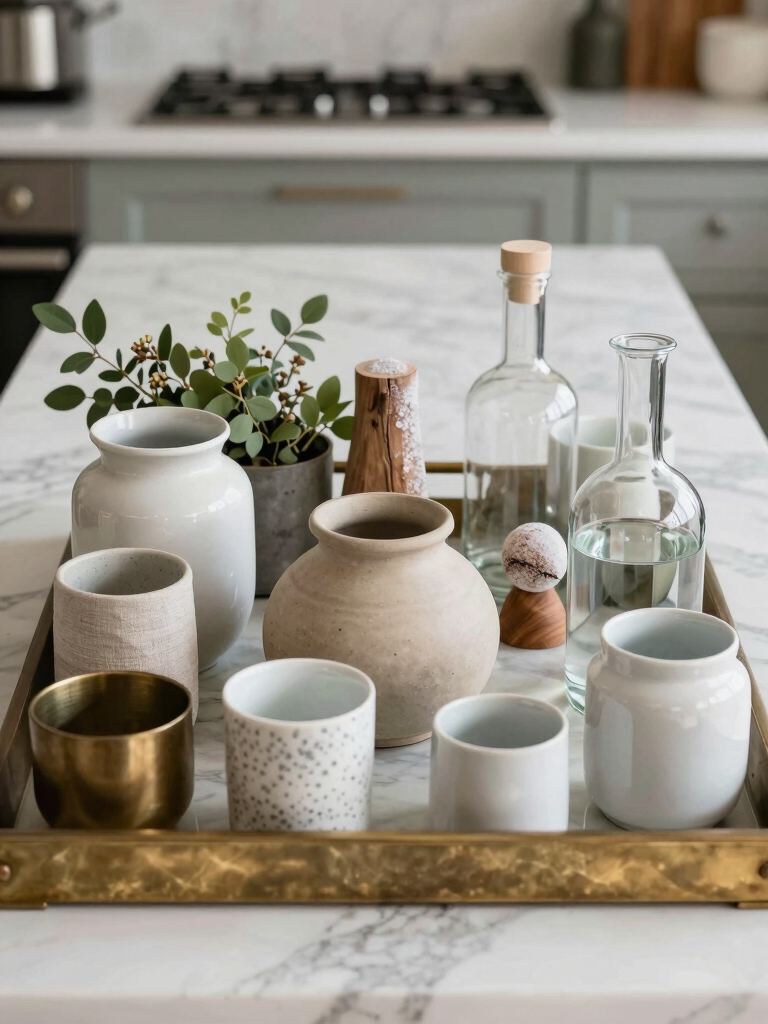
Fresh Greenery, Subtle Hues: Using Plants to Tie Colors

Fresh greenery brings a breath of life to the tray, pairing softly with the subtle hues you already use.
I pick simple botanicals and gentle tones, letting foliage guide color balance without shouting.
I group greens with neutrals, repeat small leaf textures, and reserve bold accents for focus points.
The result feels calm, cohesive, and intentionally curated. Incorporating seasonal decor pieces can further enhance the autumnal vibe in your kitchen.
Layering Without Clutter: Practical Techniques for Trays
I’ll walk you through layering with lightness, so your tray feels breathable rather than crowded.
We’ll look at staggered height groupings to create rhythm, while keeping negative space balanced for calm, clean visuals.
I’ll share practical tips to keep everything intentional and easy to tweak as your décor shifts. One essential principle to remember is that intentional layering can transform any arrangement into a stylish focal point.
Layer With Lightness
Layering lightness on a tray starts with choosing a calm foundation and then adding just enough height to draw the eye without crowding the space.
- Pick a low-profile base
- Use airy accents
- Tuck in a single statement piece
- Let negative space breathe
This keeps it organized, cozy, and visually calm while remaining approachable. Additionally, incorporating stunning wall decor ideas can further enhance the overall aesthetic of your kitchen.
Staggered Height Groupings
Staggered height groupings help trays feel intentional without looking crowded; by varying the elevations you guide the eye naturally and keep surfaces tidy. I place taller pieces behind and lower accents up front, creating depth without clutter. You’ll notice easier access, fewer rearrangements, and a calmer centerpiece. This technique keeps decor practical, inviting, and neatly organized for everyday use. Incorporating stylish kitchen decor ideas can further enhance the visual appeal of your tray arrangements.
Negative Space Balance
Negative space balance is all about letting your tray breathe while you layer pieces for depth.
I guide you to pair bold with calm, letting each item stand, not shout. You’ll see rhythm emerge from simple repetition, not clutter.
- Start with a calm anchor
- Add a single focal piece
- Balance height with negative gaps
- Vary textures for cohesion
Grounded Chic: How Metal Mixes Elevate Everyday Staging
Metal moods ground any room, and combining brass, iron, and steel keeps everyday staging practical and chic.
I pair warm brass with cool iron to create contrast without shouting, so your tray remains approachable. Mixed metals guide the eye, helping you layer textures and height effortlessly.
Stay organized: balance weight, bloom color, and function, and smile at the grounded finish.
Height and Stacking: Elevate Your Tray With Dimension
I love playing with height and stacking to give your tray instant depth.
We’ll explore layered height techniques and smart stacking to add dimension without clutter.
Let’s keep it cozy and organized as we elevate every tray detail.
Layered Height Techniques
Layered height techniques add instant personality to a tray by pairing pieces of different heights to create visual rhythm.
I guide you through mindful layering, keeping essentials reachable and stylish. Here are quick steps:
- Vary heights with trays, pedestals, and jars
- Use colors that harmonize, not clash
- Balance weight across corners
- Keep negative space for breathing room
Stacking for Dimension
Stacking for dimension is all about building height with intention so your tray feels gallery-worthy without tipping into clutter.
I mix sturdy pieces with lighter accents, create vertical groups, and use stacking trays to maximize space. I pace items thoughtfully, avoiding crowding, so textures pop.
When in doubt, I rotate seasonal pieces to keep the display fresh and calm.
Compact Brunch Ready: A Tray Decor Plan for Entertaining
Bringing brunch to life on a single tray is simpler than it seems: I’ll walk you through a compact, ready-to-serve plan that looks polished without feeling fussy.
1) Gather essentials: small plates, cutlery, napkins, a pitcher
2) Layer visually: ruled colors, textures, a centerpiece
3) Core items: coffee, pastries, fruit, yogurt
4) Clear zones: serving, eating, trash/recycling
Ready to go.
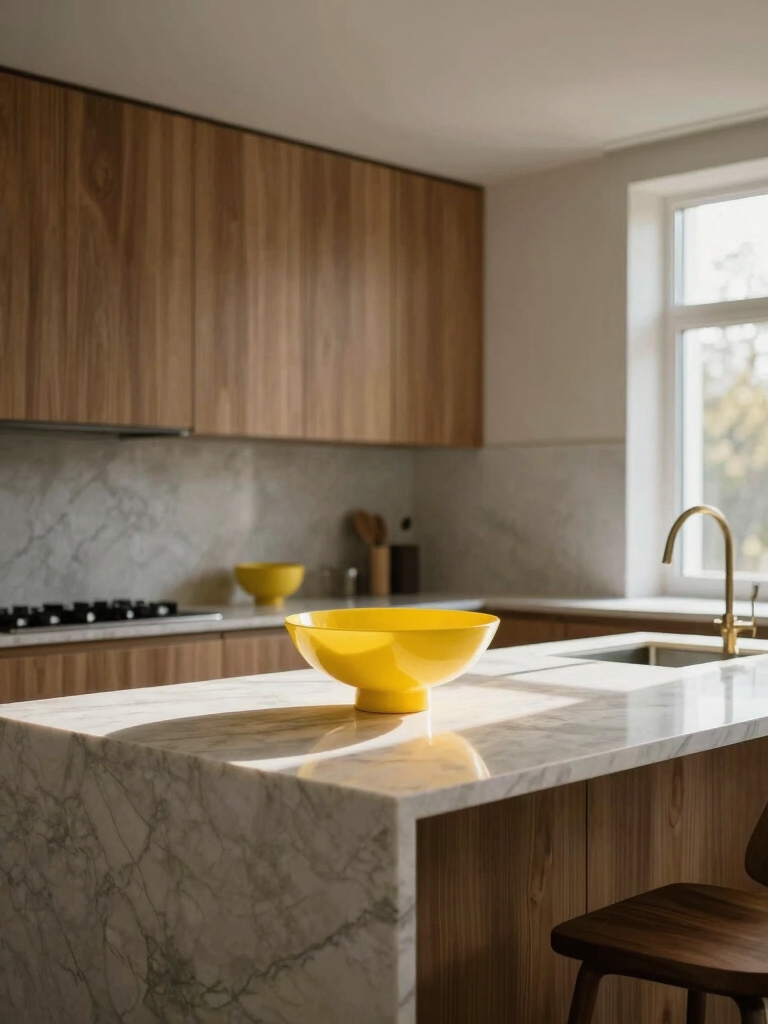
One-Color Cohesion: Monochrome Tray Stories That Work
A monochrome tray can feel calm and cohesive without looking monochromatic boring. I pick one hue and layer texture, shape, and subtle shadows, so everything reads as a single story.
You’ll notice rhythm in mugs, napkins, and a single vessel. Keep contrast gentle, scale balanced, and negative space intentional, so your eye travels smoothly and every item feels purposeful.
Seasonal Switches: Quick, Reversible Tray Makeovers
Seasonal switches are all about quick, reversible swaps that refresh your tray without the fuss.
I’ll guide you through simple updates you can do in minutes, keeping things tidy and intentional.
- Swap seasonal linens and a fruit bowl for a refreshed color pulse
- Replace magnets or coasters with a seasonal motif
- Switch faux greenery to match the month
- Tidy cords, swap tags, and label shelves for ease
Form Meets Function: Beautiful Trays You Can Use Daily
When form and function align, your daily tray becomes more than a pretty surface—it’s a reliable workspace you’ll reach for all day.
I design trays with pockets for phones, pens, and a small plant, so everything has a place.
I keep cords tidy, colors calm, and spacing deliberate, creating calm efficiency you can actually rely on, day after day.
Quick Refreshes: 10-Minute Pickup-and-Play Tray Tweaks
Quick cleanups make a tray feel new in minutes, and I’ll show you how to get a big impact with minimal effort.
We’ll move pieces around, mingle textures, and display the best bits right where they shine.
Let’s keep it simple and practical, so your tray stays organized and inviting.
Quick Cleanups, Big Impact
I’ll give the tray a quick lift in ten minutes by focusing on the essentials: a fast sweep, a wipe-down, and a focused refresh of a few key pieces.
- Clear clutter and return items to their homes
- Quick wipe of surfaces and corners
- Reposition decor for balance
- Replace dry towels with fresh, folded accents
Move, Mingle, Display Right
Move things around with a quick, confident touch, then mingle the pieces so they feel intentional.
I’ll show you a 10-minute tweak with purpose: swap mug heights, group similar items, and add a small greenery pop.
Keep textures varied but cohesive, align edges, and balance color. A tidy display boosts mood, invites use, and keeps the tray feeling chic and approachable.
Conclusion
I hope these tray ideas spark a little everyday magic in your kitchen nook. Think of a tray as a tiny stage for routine, where you set the mood and make even small tasks feel special. Start simple, switch with the seasons, and trust your eye to guide the mix. As the old adage says, “little by little, a little becomes a lot.” Cozy, organized spaces grow from steady, thoughtful tweaks—one tray at a time.