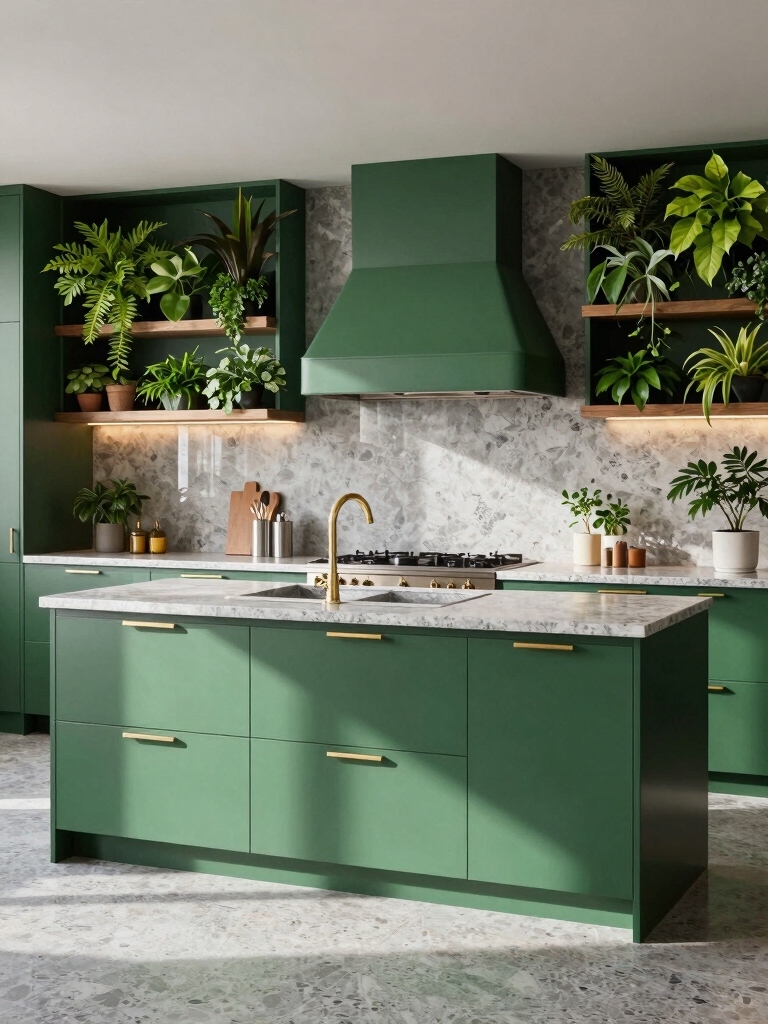
Sage green backsplashes create a calm, versatile backdrop that softens bold hardware and bright accents while hiding minor splashes. I look for the right undertone—blue, yellow, or gray—and test depth to set the mood. Subtle textures, matte finishes, and low-sheen textures add depth without noise. I prefer neutral grout and simple grids to keep the look serene, with layered lighting to boost that quiet glow. If you keep going, you’ll uncover more practical steps and tips.
Understanding Sage Green Backsplashes: What They Do in a Kitchen

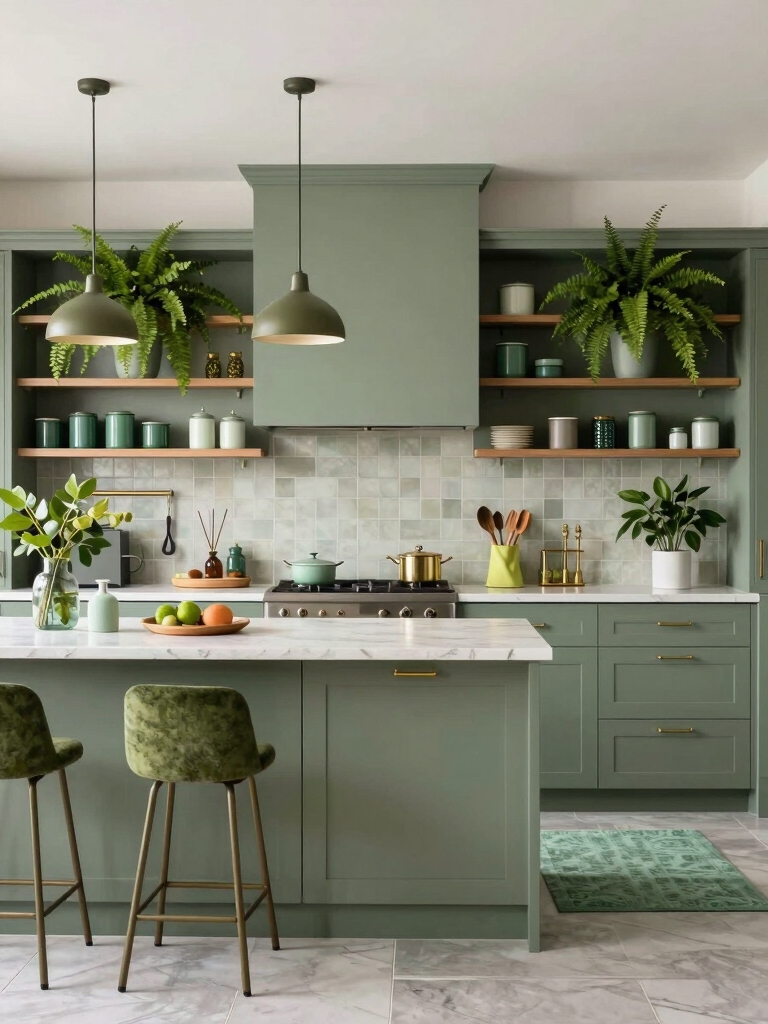
Sage green backsplashes quietly anchor a kitchen’s look, offering a calm, versatile backdrop that works with bold accents or soft neutrals.
I’ll show you how they function: they soften high-contrast elements, brighten dim corners with reflected light, and hide minor splashes without shouting. Additionally, sage green is increasingly recognized as a trending color in modern kitchen designs, enhancing its popularity.
Practical takeaway: pair them with tactile textures and clean lines for balanced, lasting appeal.
Choosing Sage Green: Undertones, Depth, and Mood
Choosing sage green comes down to the undertones, depth, and mood you want to create, so I’ll walk you through how warm or cool undertones shift the feel in your space.
I’ll explain how deeper tones read differently in varied lighting and how lighter shades can open up a kitchen without losing character. Together we’ll map how lighting influences color perception and how to pair undertones with cabinetry, countertops, and hardware for a cohesive look. Additionally, understanding how sage green and wood kitchens can enhance the overall aesthetic will guide your design choices.
Undertone Guide
Undertones set the mood before color even hits the wall, and with sage greens you’ll find that a subtle blue, yellow, or gray bias can completely change how the shade reads in your space.
I guide you to test swatches, compare under natural and artificial light, and prioritize the undertone that harmonizes with cabinets, countertops, and fixtures for lasting cohesion. Additionally, exploring stunning green backsplash ideas can inspire your design choices and enhance the overall aesthetic of your kitchen.
Depth and Mood
Depth sets how textural or serene your sage green feels, so I start by choosing a hue with the right saturation and depth for your space.
I look for mood through shade intensity, contrast with cabinets, and how the finish reflects daily light.
- Subtle desaturated tones for calm, cohesive vibes
- Deeper greens create drama and architectural impact
- Satin or matte finishes minimize glare
- Pair with warm neutrals for balance and warmth
Incorporating sage green into your kitchen design can also enhance the overall green kitchen aesthetic, creating a refreshing and inviting atmosphere.
Lighting Influence
Lighting shapes how your sage green reads in daily life, so I start by matching the undertone and depth to the room’s natural and artificial sources.
I test samples under daylight, warm bulbs, and cool LEDs, noting shifts. Then I choose finishes that harmonize—matte for softness, satin for activity.
Practical tweaks, like dimmers and task lighting, refine mood without clutter. Additionally, pairing sage green with effortlessly chic design elements enhances the overall aesthetic and creates a cohesive look.
Texture Techniques: Surfaces That Subtly Elevate Sage

Let’s explore how subtle texture can elevate sage without shouting it, starting with a quiet texture play that adds depth to surfaces.
I’ll compare matte versus gloss finishes and how they shift light and mood in your kitchen, guiding you to the feel you want.
We’ll also touch on light wash techniques to lightly texturize cabinets or backsplashes, keeping the look refined and cohesive. Incorporating light oak cabinets can further enhance the natural simplicity of your kitchen’s design, creating a harmonious balance with sage elements.
Subtle Texture Play
Subtle texture is the quiet workhorse of a sage kitchen, adding depth without shouting for attention.
I’ll show you practical ways to layer tactile interest without overpowering color, so your backsplash feels deliberate, not busy.
Here are accessible options that read refined rather than flashy, staying cohesive with sage.
- Micro-sand finish on ceramic tile for a velvety touch
- Fine-grain brushed metal accents along edges
- Soft, tactile grout that slightly contrasts
- Low-sheen stone slabs with subtle veining for depth
Incorporating these elements can create a harmonious blend that reflects the beauty of olive green kitchen walls, bringing a touch of nature indoors.
Matte Versus Gloss Finish
Matte and gloss finishes each bring a distinct voice to a sage kitchen, and choosing between them can subtly shift the room’s mood.
I prefer matte for calm, fingerprint-friendly walls that hide minor imperfections, while gloss reflects light and highlights tile texture.
If you cook close to the backsplash, gloss adds brightness; matte keeps a quiet, refined presence.
In fact, the use of sage green cabinets in farmhouse style is becoming increasingly popular among homeowners.
Choose intentionally.
Light Wash Techniques
Light wash techniques give sage kitchens dimension without overpowering the tile’s tone.
I’ll guide you through simple, practical applications you can try today, with calm clarity and no fluff.
- Dilute glaze for subtle veining that reads as texture, not color
- Brush in varied directions for natural, lived-in drama
- Use a damp cloth to soften crisp edges without muddying
- Seal lightly to preserve depth and cleanability
Subtle Grout Choices to Calm the Look

Choosing grout color is one of the easiest ways to calm a busy tile pattern, so I’m sticking with neutral tones that blend rather than shout.
I favor pale gray or sand to minimize contrast and hide flaws. Matte or sanded grout reduces speckling, while tight joints lessen visual noise.
Test samples in real lighting to confirm harmony.
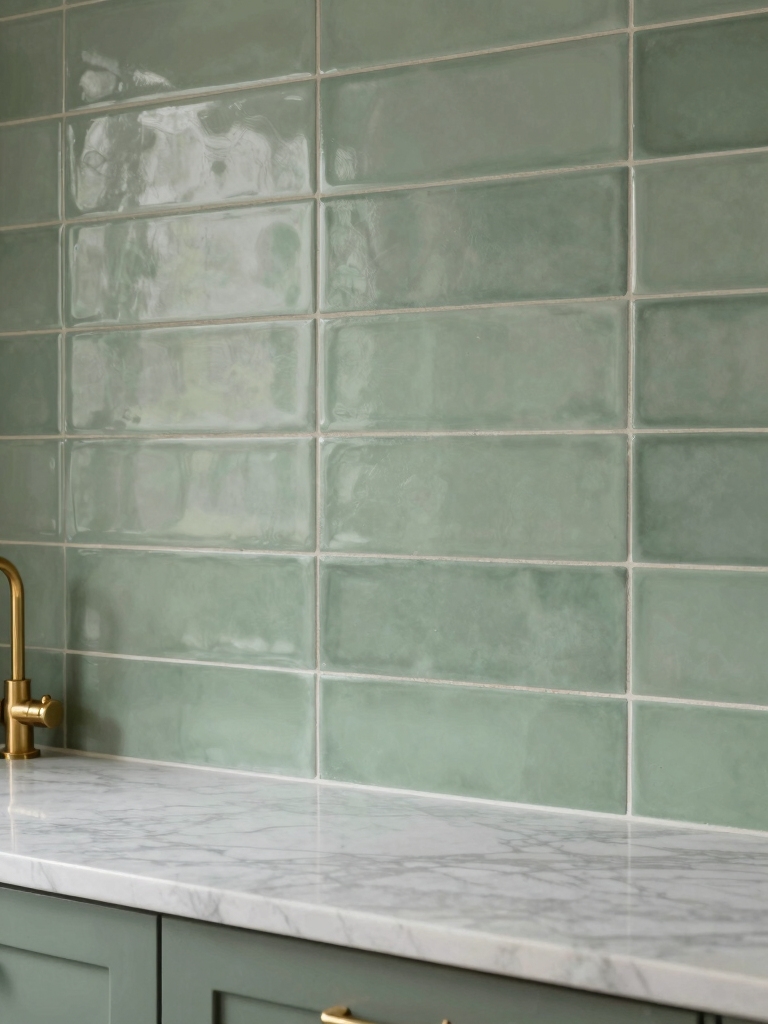
Glazed Finishes for Depth and Reflective Shine

Glazed finishes add depth and a subtle, reflective shine that can transform a kitchen backsplash without shouting for attention.
I’ll share practical tips you can apply right away, without fluff.
- Choose a kneadable glaze with a satin sheen for forgiving fingerprints.
- Test color depth on sample tiles under kitchen lighting.
- Use a wipe-on glaze for controlled, even coverage.
- Seal high-traffic areas to preserve gloss and clarity.
Edge Treatments That Elevate Everyday Kitchens
Edge details might seem small, but they make everyday kitchens feel finished and effortless. When you choose the right edge treatment, you reduce chips, ease cleanups, and keep the look cohesive with your countertops and cabinetry.
I favor eased or lightly rounded edges for durability, seamless shifts with profiles, and consistent thickness. These choices quietly boost maintenance practicality and overall kitchen cohesion.
Pattern Play: Serene Tile Arrangements for Sage
Sage kitchens thrive on calm, deliberate patterns, so I start with tile arrangements that feel effortless rather than busy.
I choose simple grids, staggered runs, and subtle offsets to guide the eye without shouting. Here are practical ideas:
- Classic running bond with a 3/8″ grout
- Herringbone in small-scale tiles
- Horizontal stacked for width
- Diagonal dotting to draw focus
Contrast Aids: Jet-Black and Bright White Accents
Jet-black and bright white accents create a sharp, modern counterpoint against sage cabinetry, and I lean on them to anchor the backsplash without overwhelming the room.
I pair matte black hardware with glossy white tiles for definition, keeping lines clean and high contrast.
This combo guides lighting choices, emphasizes texture, and preserves warmth without shouting.
Practical balance wins here.
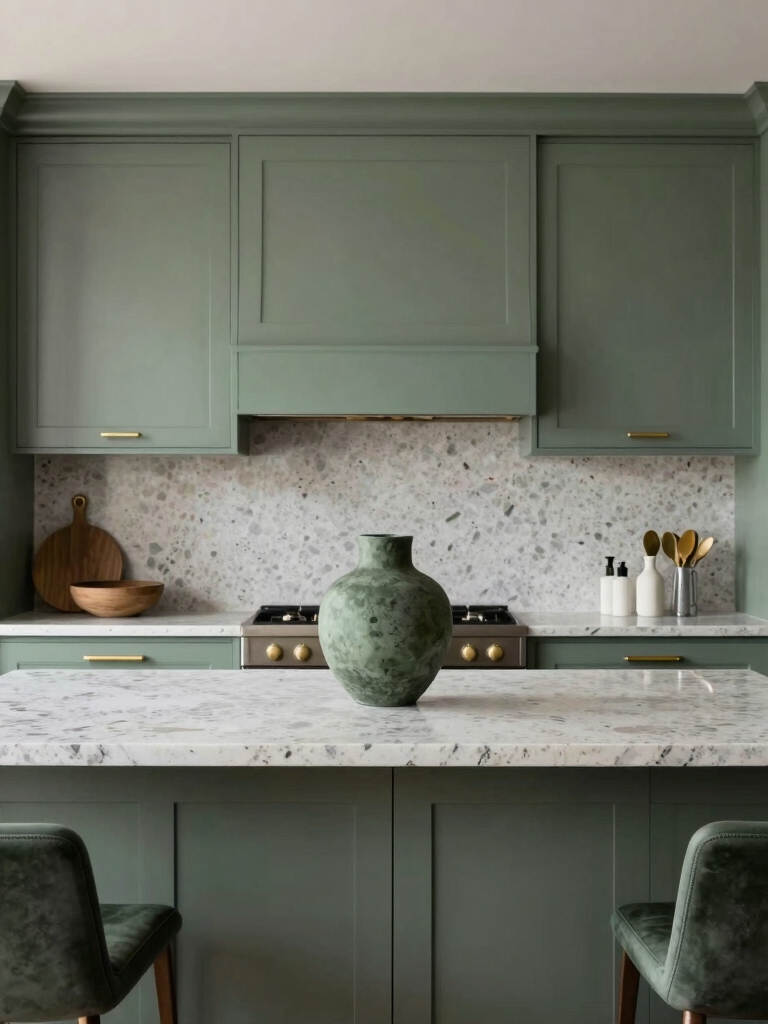
Natural Stone Pairings With Sage Backdrops
Natural stone brings natural depth to sage backdrops, and I’ve found that the right pick makes the cabinet color feel grounded rather than fussy.
I’m sharing practical pairings that stay timeless, not trendy, and help you visualize cohesive warmth.
- Marble with soft gray veining for airy elegance
- Slate or charcoal for contrast and depth
- Quartz with subtle flecking to soften the scene
- Limestone for warm, earthy balance
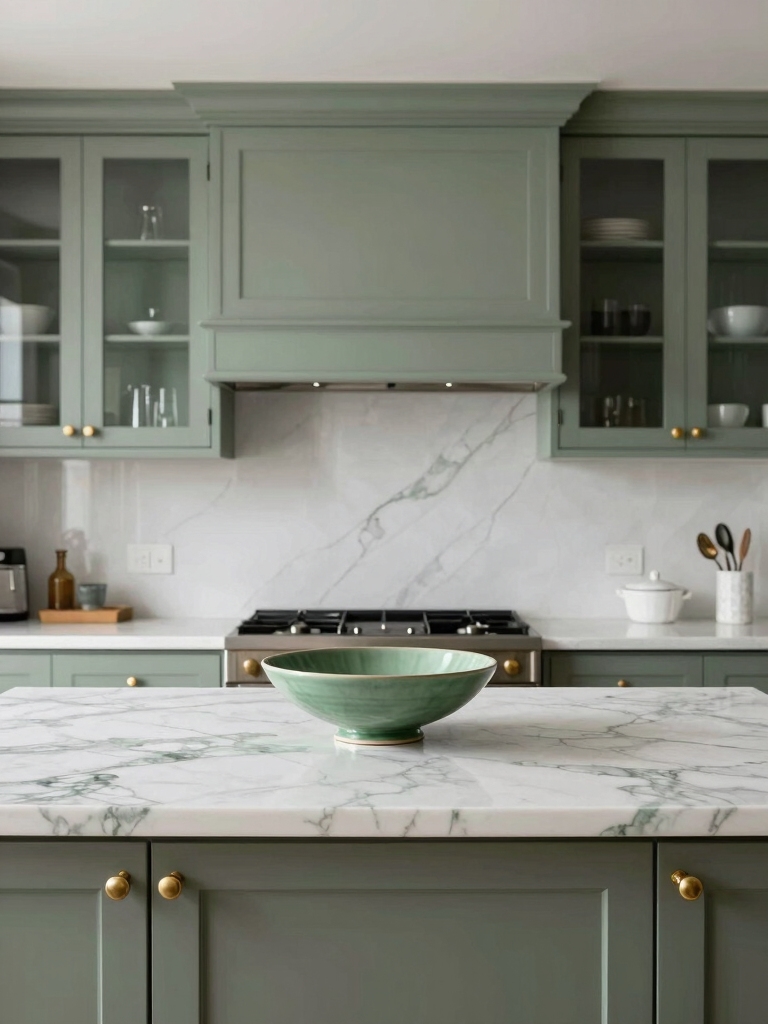
Cabinet and Countertop Coordination for Balance
I find that balance starts with choosing cabinetry that feels proportional to your countertop, so the scale reads as a single, cohesive unit.
I’ll look for a finish and color that syncs with the stone’s undertones, keeping contrast minimal but deliberate.
Together we’ll aim for a calm, unified palette that supports the sage green backsplash without competing with it.
Balance With Cabinetry
Balancing cabinet and countertop materials is essential for a cohesive kitchen look, and it starts with choosing finishes that complement each other rather than compete.
I aim for harmony: match undertones, gauge contrast, and keep patterns simple. Here are tips to align your fury?—just kidding—focus on cohesion:
- Pick soft sage tones for cabinets with warm neutrals
- Favor satin or matte finishes for subtle depth
- Use consistent edge profiles across surfaces
- Introduce texture through hardware, not competing hues
Proportionate Countertop Scale
Sage-green cabinets guide the eye, but the countertop scale plays a decisive role in the room’s balance.
I keep surfaces proportionate to cabinet height, depth, and visual weight, not just width. A medium-depth countertop with a similar overhang maintains cohesion.
If the island feels heavy, reduce surrounding counter depth slightly. Subtle edge profiles prevent visual clutter while preserving harmony.
Material And Color Sync
When selecting materials and colors, I aim for coherence between the cabinet finish and the countertop to keep the kitchen feeling unified.
I balance tones, textures, and sheen for consistency, not matchy-matchy. Practical pairing tips follow:
- Choose complementary undertones
- Match countertop finish to cabinet hardware
- Consider matte vs. glossy contrast
- Test samples in lighting before committing
Lighting Strategies to Maximize Sage’s Quiet Glow
To make Sage’s quiet glow truly sing, I start with layered lighting that blends task, ambient, and accent cues so the green backsplash feels steady yet alive.
I choose a dimmable, cool-to-warm spectrum and place under-cabinet lights to reveal texture. Focused spots highlight artful detours, while ceiling fixtures keep air bright without glare, preserving calm, cohesive color.
Maintenance Tips to Preserve Sage Hues
I’ll share practical steps to keep sage hues looking fresh, from how I clean to how I seal surfaces.
I focus on routine care that prevents fading and guarantees longevity, so your backsplash stays vibrant with minimal effort.
If you have questions about specific materials, I’ll tailor tips for preserving color and finish without adding clutter.
Preserving Sage Hues
Preserving sage hues in your kitchen backsplash comes down to simple, consistent habits.
I share practical steps you can trust day to day, with a focus on durability and ease. Your goal is steady, kitchen-friendly routines that protect color and finish without hassle.
- Wipe spills promptly with a microfiber cloth and mild cleaner
- Dust weekly to prevent buildup on grout lines
- Use temperature- and moisture-appropriate products
- Inspect seals and caulk seasonally, redoing as needed
Cleaning For Longevity
Keeping sage hues looking fresh isn’t just about big fixes—it’s about steady, practical upkeep.
I’ll share simple habits you can trust: wipe spills promptly, use a mild pH-balanced cleaner, dry thoroughly, and avoid abrasive pads.
Schedule periodic resealing if your backsplash has sealant. Test cleaners first on a hidden spot, and moisturize surrounding grout to prevent cracking.
Consistency preserves longevity.
Budget-Smart Sage: Affordable Tile Options
Yet budget doesn’t have to mean boring when choosing sage-tinted tiles.
I’ll show practical, affordable options that still feel fresh and cohesive in your kitchen. You’ll get creative, low-cost picks without sacrificing style, plus tips for long-term value.
- Porcelain or ceramic with matte finishes for durability
- Subway or small-format tiles in sage hues
- Recycled glass or composite tiles for texture
- Peel-and-stick backsplashes for quick, removable updates
Real-World Makeovers: Before/After Sage Details
Before and after photos tell the real story: a sage kitchen isn’t just a color choice, it’s about how the details come together.
I’ve seen how hardware, grout, and lighting shift the mood, turning simple backsplashes into cohesive scenes.
In real makeovers, I plan steps, measure openings, and test textures until every element feels intentional and durable.
Conclusion
Sage green backsplashes aren’t just pretty—their calm aura practically whispers, “Keep going.” I’ve seen tiny kitchens feel twice as roomy, counters suddenly sparkle, and moods soften from chaos to cozy, all with a single tile choice. It’s like adding a quiet hero to your room who saves you from countertop clutter and dull lighting. If you want warmth without shouting, durability without drama, and cost without tears, go sage and let every tile do the talking. You’ll thank me later.