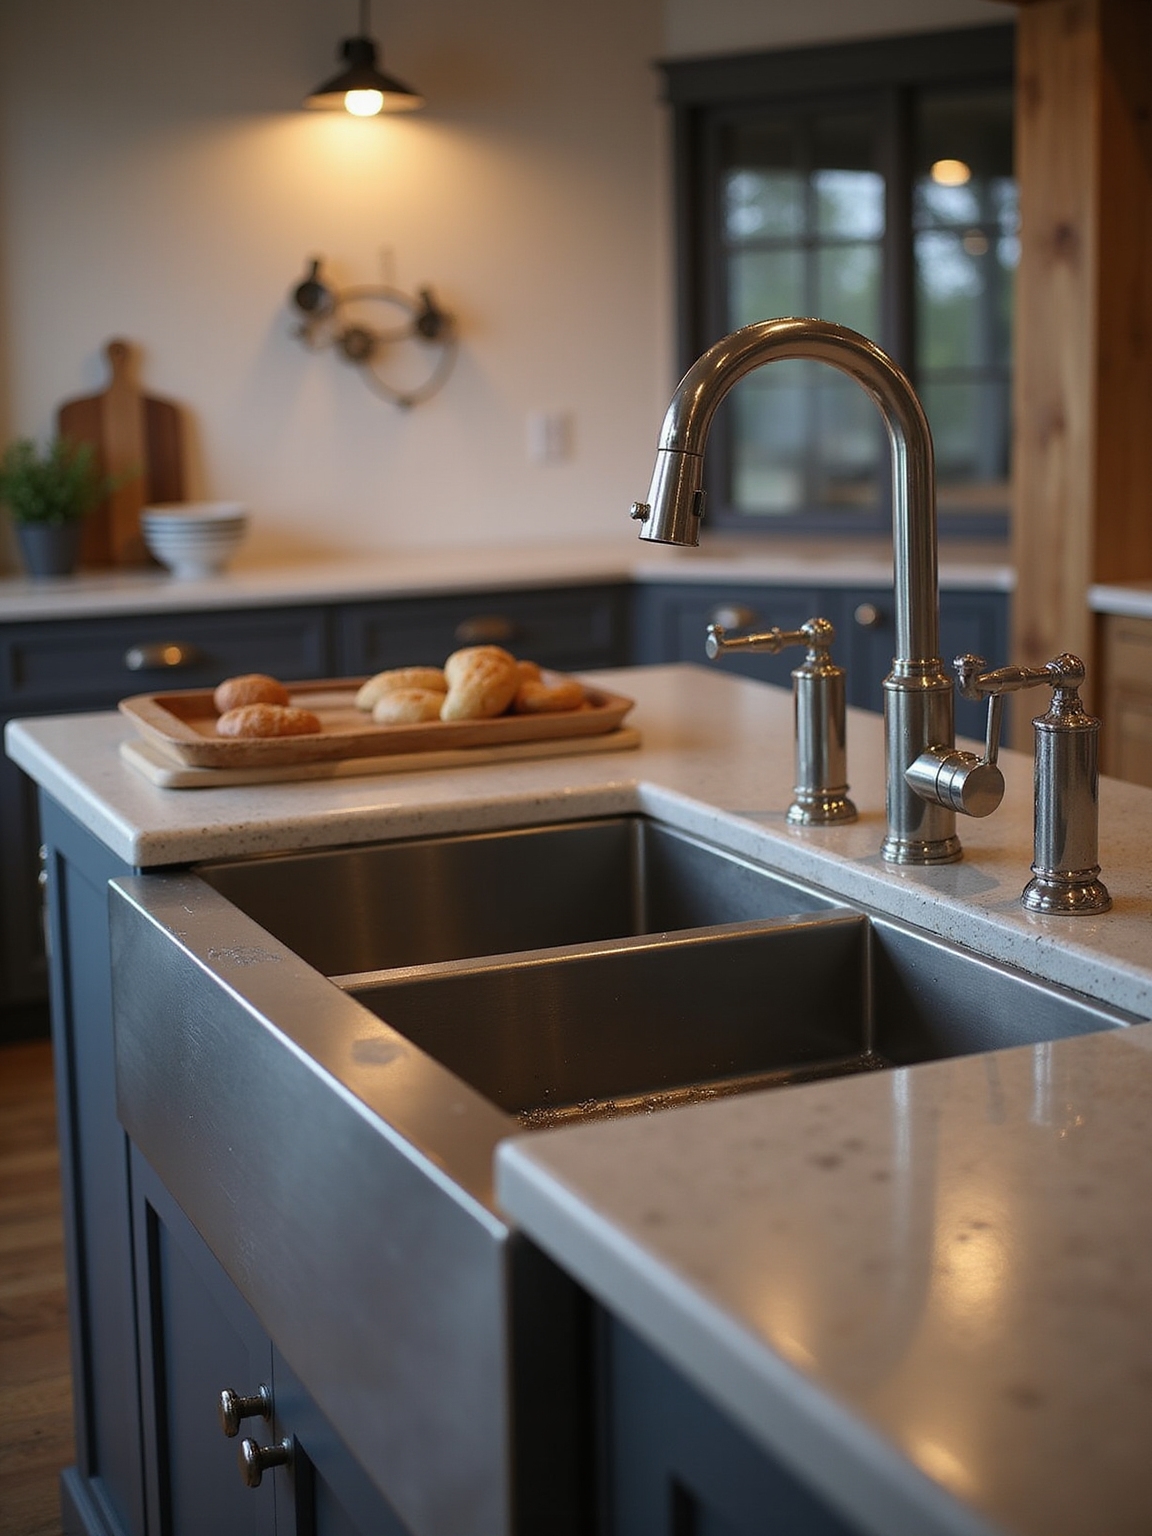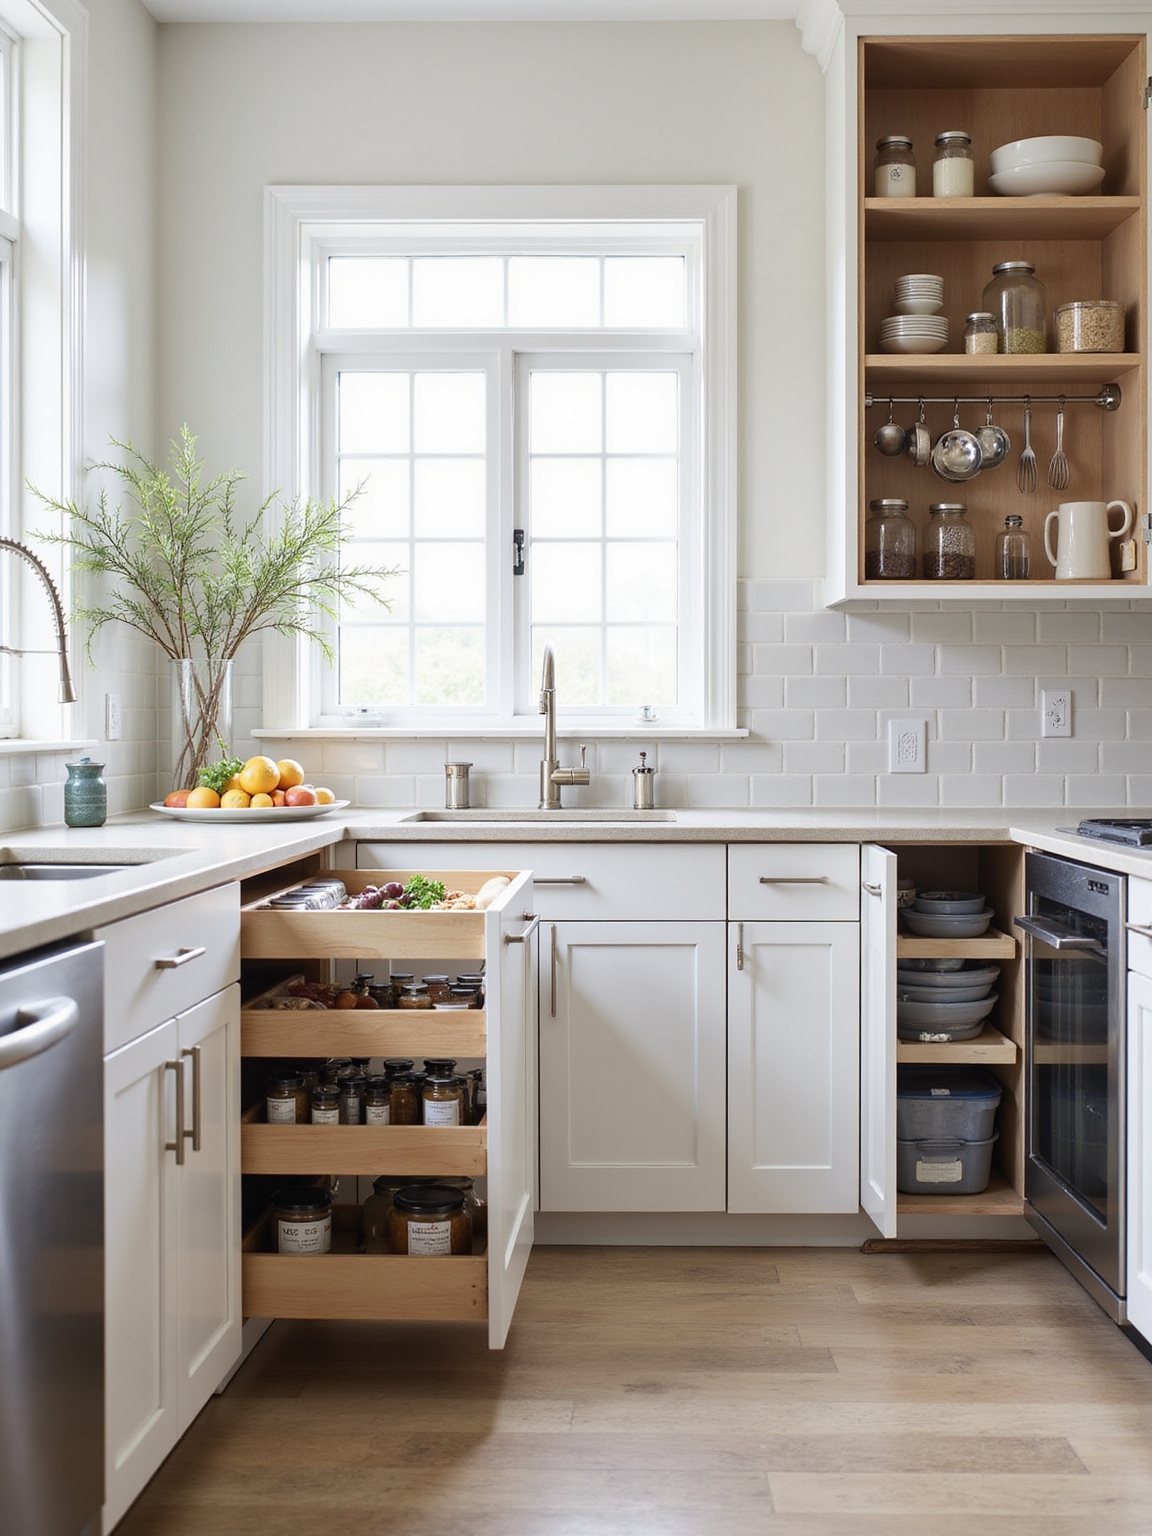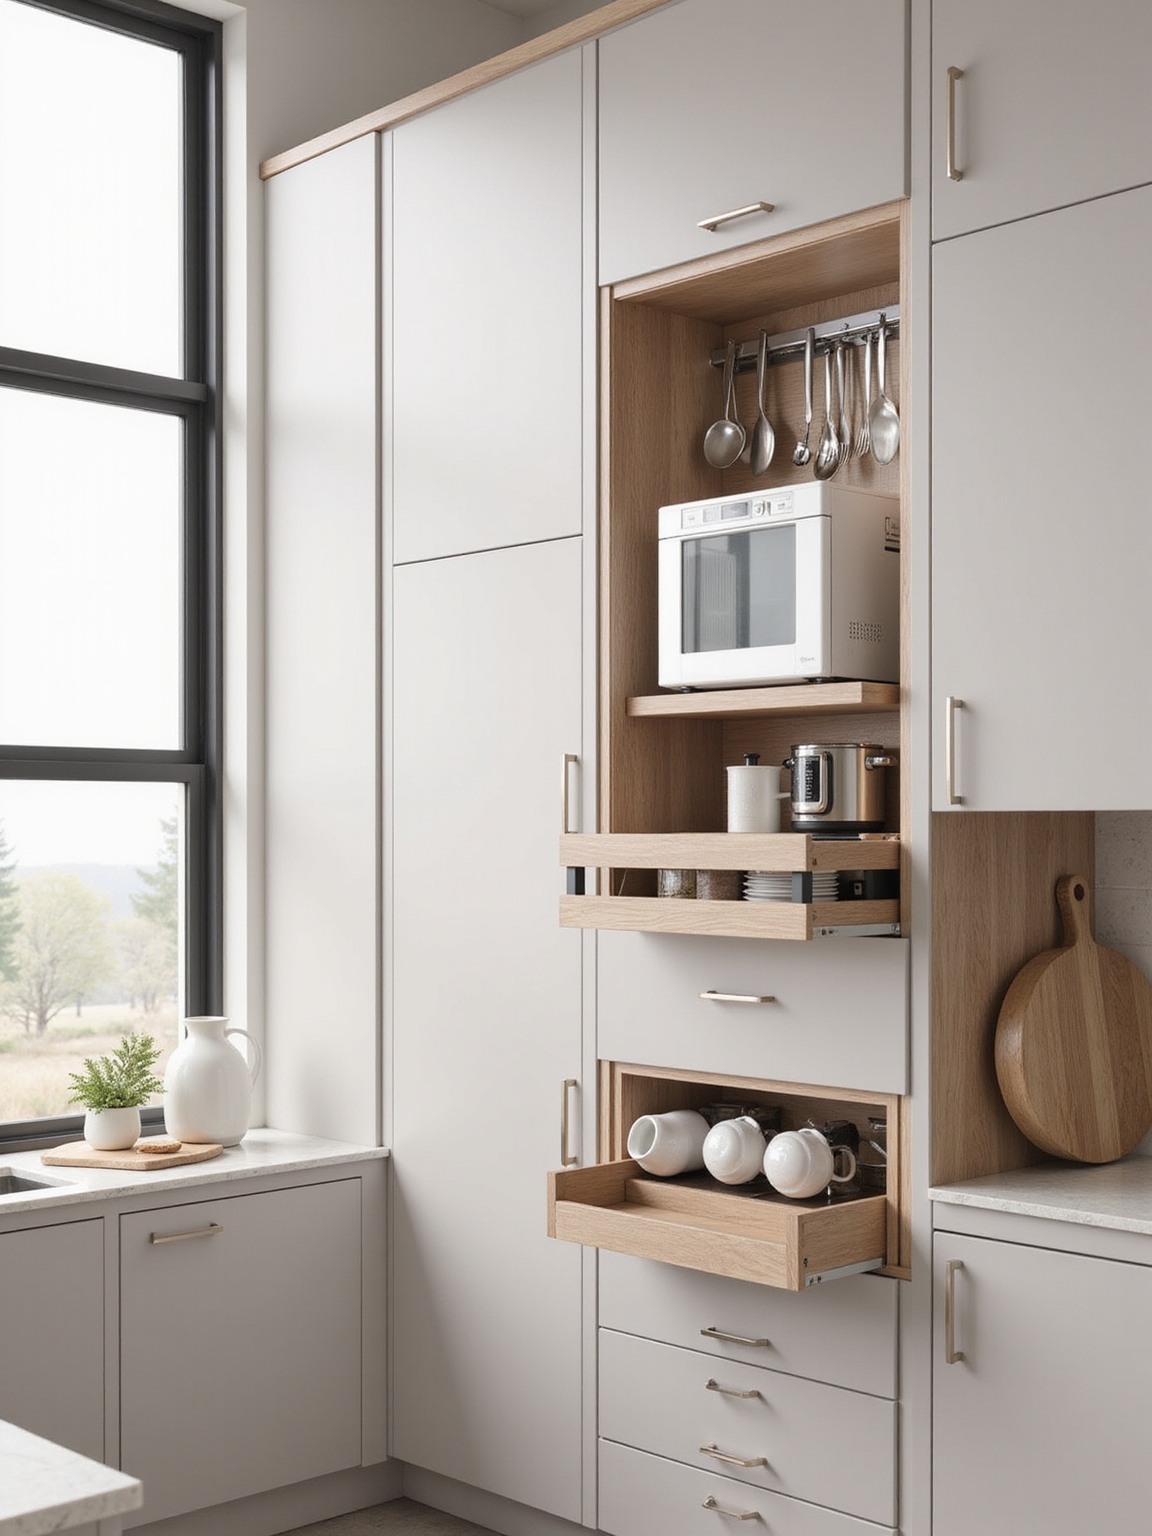

I built my walk-in pantry to feel like a warm prep room—deep lower shelves for bulk bins, 12–14″ eye‑level shelves for daily items, and full‑extension pull-outs for the back so nothing gets lost.
I grouped snacks, baking, and breakfast where little hands can reach, labeled jars, and added warm LED strips for night grabs. It’s low‑fuss to maintain, and the layout matches how we cook and shop; keep reading and I’ll share layouts, measurements, and install tips.
Quick Decision Checklist: Is a Walk‑In Pantry Right for You?
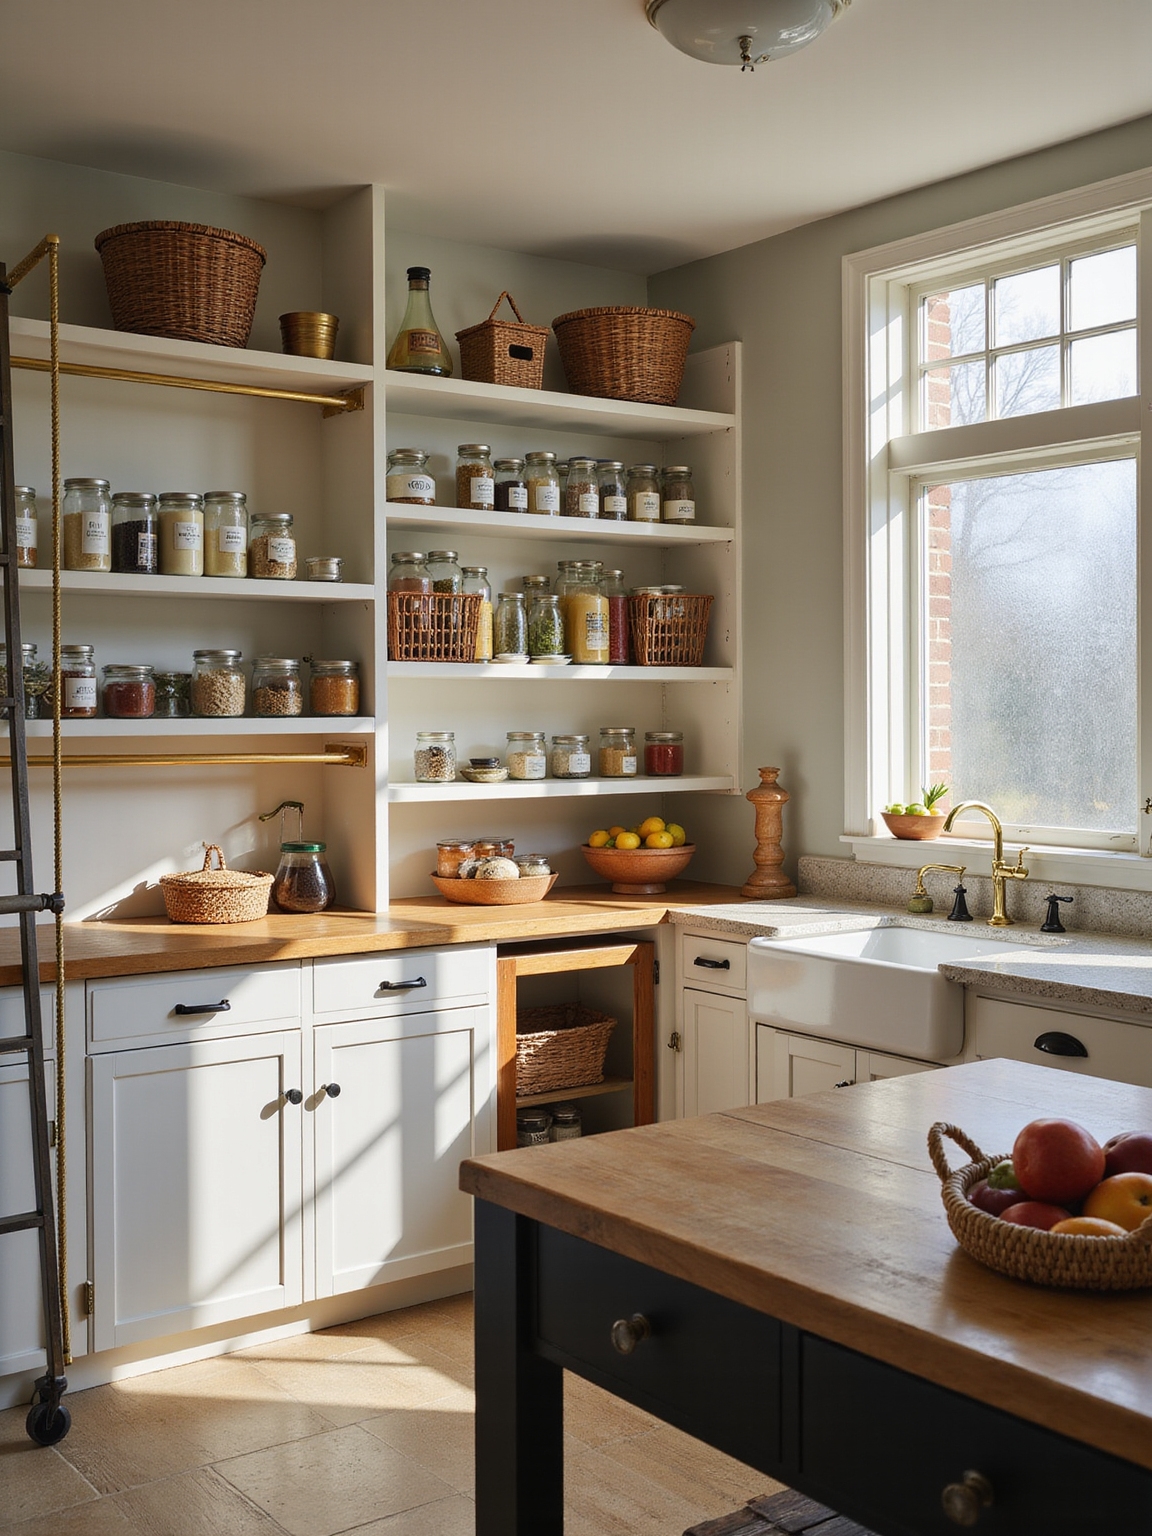
Let’s cut to the chase: before you commit to a walk‑in pantry, I want you to answer a few practical questions about how you live and cook.
Do you shop in bulk, entertain often, or need space for small appliances? Can you spare floor area and maintain organization? If yes, a walk‑in can simplify life; if not, clever shelving may suffice.
Commercial‑grade pantry systems can bring durable, professional‑level organization to a home kitchen with robust shelving and tailored storage solutions.
Take These Walk‑In Pantry Measurements First

Before I start sketching shelves, I measure the floor footprint to know exactly how much usable space I have.
I check shelf heights next so tall mixers and cereal boxes have a proper home.
Finally, I map door clearances to make sure drawers and doors can open without bumping into anything.
I also use proven storage hacks to keep everything accessible and neat.
Measure Floor Footprint
To get this pantry right, I start by measuring the floor footprint—length, width and any jogs or alcoves—so I know exactly how much usable space I’m working with.
I note door swing, heating vents, and baseboard depths, sketching a simple plan to scale.
That lets me place cabinets, a rolling cart, or a cozy broom closet without surprises, keeping function rustic and tidy.
I also apply space-saving strategies from pro-organizers to maximize every inch.
Check Shelf Heights
Now that I’ve mapped the floor footprint and noted door swings and vents, I check shelf heights so everything actually fits and feels easy to use.
I measure for tall cereal boxes, mason jars, and mixing bowls, leaving adjustable gaps: 12–15″ for canned goods, 9–12″ for jars, 16–18″ for small appliances. I mark lines and plan adjustable shelving for seasonal swaps.
I also consider professional organization systems to plan for durable, efficient layouts and easy maintenance.
Map Door Clearances
With the door swing and clearances mapped out, I make sure the entry feels effortless every time I grab a jar or a bag of flour.
I measure hinge swing, shelf overhangs, and appliance doors so nothing bumps. Leave a 2–3″ buffer for handles and baskets, note floor thresholds, and sketch clearances on a simple plan.
It keeps daily kitchen flow calm. I also plan storage with the peninsula kitchen workflow in mind so reach and movement stay efficient.
Three Walk‑In Pantry Layouts and Which to Choose

I’ll walk you through three pantry layouts that fit different routines: a galley-style for efficient straight-through work, a U-shaped plan for smooth storage flow, and an island-centered design when accessibility and prep space matter most.
Each has strengths depending on your cooking habits and space, so I’ll point out practical pros and cons as we go.
Let’s figure out which one will make your pantry feel like the heart of your kitchen.
Consider installing smart pull-out solutions to maximize lower cabinet storage and keep items visible and reachable.
Galley‑Style Efficiency
Because you spend a lot of time moving between shelves and prep zones, a galley‑style walk‑in can be the most efficient use of narrow space; I’ll walk you through three layouts that prove it.
I’ll share cozy, practical tips to streamline flow and keep things reachable.
- narrow aisle, deep shelves
- staggered shelf heights
- pull‑out drawers
- labeled baskets
- task lighting
Clear Countertops: Smart Storage Ideas for a Tidy Kitchen
U‑Shaped Storage Flow
Let’s map out the U‑shaped pantry so you can keep everything within easy reach and make the most of three walls of storage.
I suggest grouping zones—breakfast, baking, bulk—along each arm, using open shelves at eye level and pull‑out drawers below.
Keep daily items nearest the entrance, label baskets for kids, and leave a small counter space for staging groceries.
Consider using a chic partition to subtly define the pantry from the rest of the open space, such as a half wall or glass divider with visual continuity.
Island‑Centered Accessibility
An island-centered pantry gives you a hardworking hub where storage and prep meet in the middle, and I’ll walk you through three layouts so you can pick the one that fits your routine. I favor cozy practicality: an island for chopping, circulation, and accessible tools.
Consider priorities:
- Prep surface
- Appliance garage
- Open shelving
- Deep drawers
- Traffic flow
Shelf Depth, Spacing, and Must‑Have Shelving Styles

When I plan a walk-in pantry I think first about shelf depth and spacing, since those decisions determine what you’ll actually be able to store and reach without daily frustration.
I prefer 12–14” for everyday items, 18–24″ lower shelves for mixers and bulk, and 6–8″ risers for cans. Open wood shelves, deep pull-throughs, and adjustable standards keep things practical and charming.
Pull‑Outs, Drawers, and Bin Systems That Work
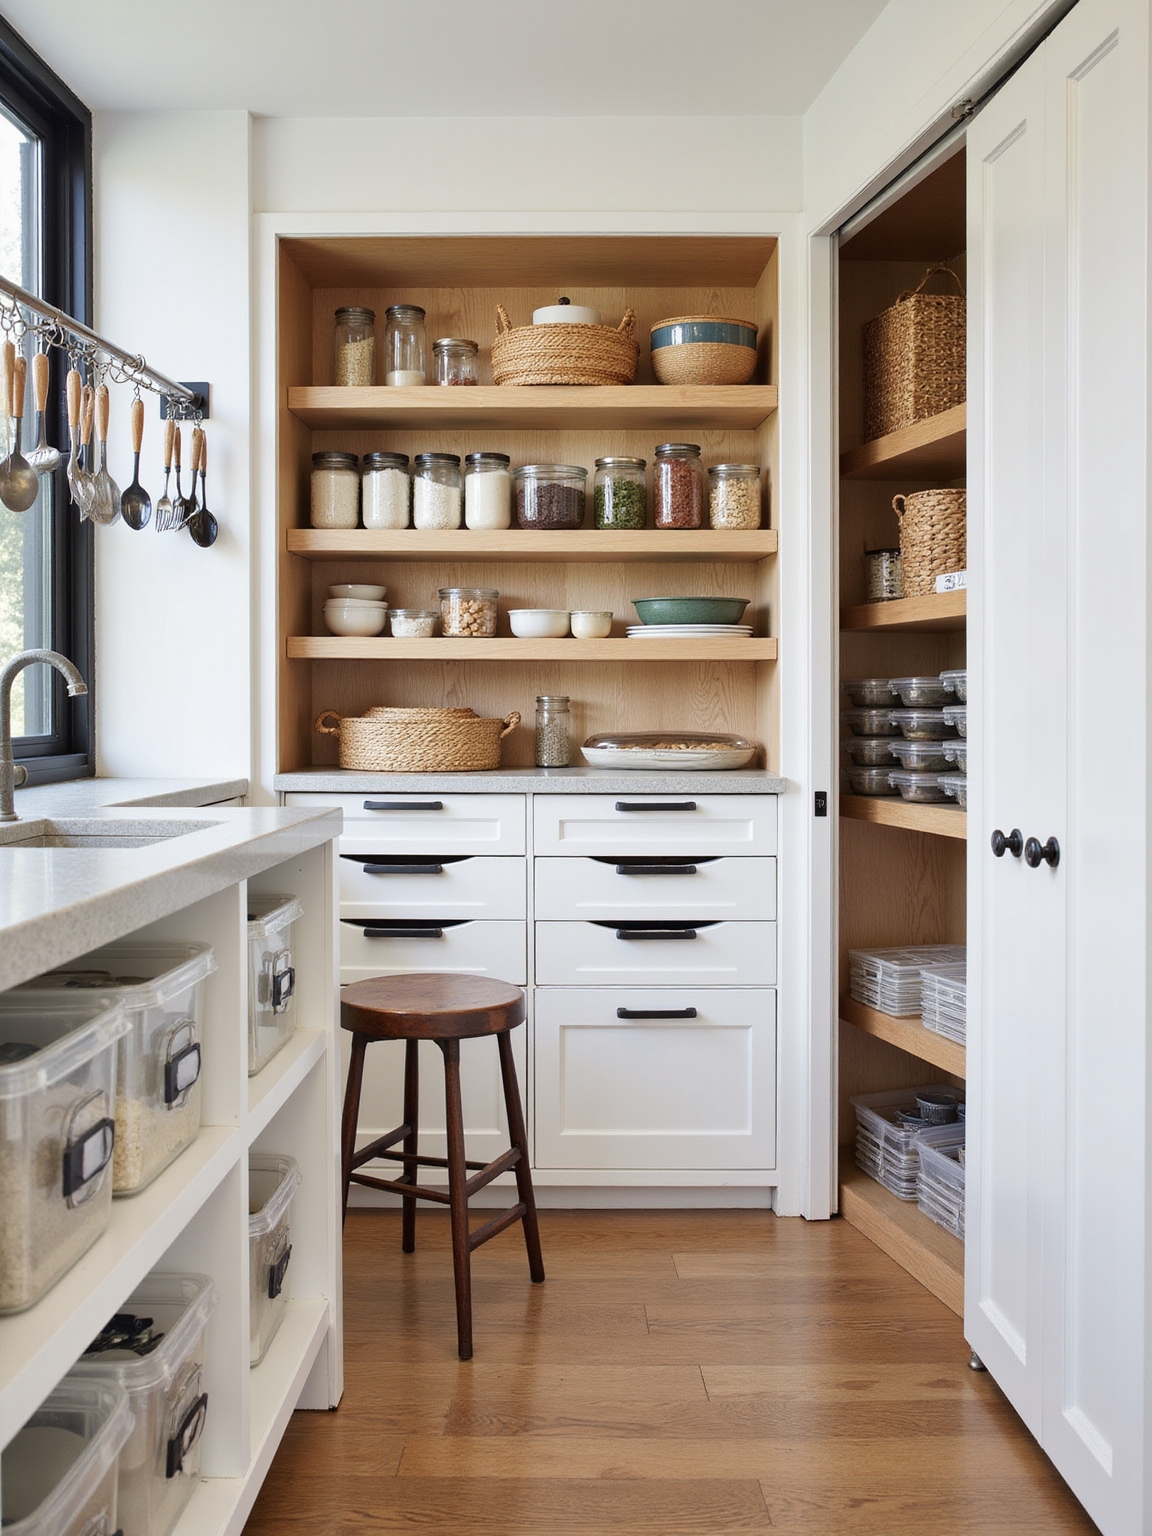
I like to start with full‑extension pull‑outs so I can reach jars at the back without tugging things out.
For heavy items and bulk goods, deep slide‑out drawers give sturdy, easy access and keep the floor clear.
Modular bin systems then tame snacks and loose bits, letting me swap sizes as needs change.
Full-Extension Pull-Outs
Think of full‑extension pull‑outs as the hardworking friends of your pantry — they slide all the way out so you can reach the back without contorting or guessing. I love how they keep things visible and tidy.
Here’s why they’re practical:
- Maximize deep shelf access
- Reduce lost jars and cans
- Create zones for baking or snacks
- Easy to child‑proof
- Simple to clean and replace
Deep Slide-Out Drawers
Pulling out deep slide‑out drawers feels like opening a tidy secret pantry—everything comes forward so you don’t have to reach blindhanded into a dark corner.
I love fitting bulk flour, canned goods, and mixers on sturdy glides so each item is visible. Label fronts, group by use, and reserve lower drawers for heavy jars. Soft‑close sliders keep the farmhouse calm.
Modular Bin Systems
After getting everything accessible with deep slide‑outs, I started fitting modular bin systems to organize by type and frequency of use. I love the tactile order they bring — labels, easy reach, calm mornings.
- Snack caddies within kids’ reach
- Baking bins grouped by ingredient
- Bulk bins with scoops
- Seasonal swap baskets
- Recycling and compost pull-outs
They make chores simple and homey.
Spice, Snack, and Small‑Item Storage Solutions
A few smart containers and a little labeling go a long way when I organize spices, snacks, and other small pantry items; I want everything kept visible, accessible, and tidy so I can grab what I need without digging.
I use clear jars for spices, tiered risers, labeled baskets for snacks, and small bins for packets.
Rotate stock, group by use, and keep a stash of frequently used items at eye level.
Vertical Storage for Bottles, Pans, and Baking Sheets
I keep bottles upright in a slim vertical rack so oils and vinegars are easy to grab without toppling a whole shelf.
For pans and baking sheets I use slotted dividers and adjustable sheet holders that let each piece stand on its edge, which saves space and prevents scratching.
These simple, sturdy solutions make the pantry feel orderly and make meal prep smoother.
Vertical Bottle Racks
Think of vertical bottle racks as the quiet workhorses of my pantry — they tuck bottles, baking sheets, and pans upright so I can grab what I need without digging.
I love their tidy, farmhouse charm and simple function.
Try these tips:
- Use slim racks for olive oil
- Group by frequency
- Label shelf edges
- Cushion metal pans
- Keep heavier items low
Slotted Pan Dividers
Slide these slotted pan dividers into place and you’ll feel the same small-order magic I do when every sheet pan, cutting board, and bottle has its own upright spot.
I tuck pans, baking sheets, and lids into individual slots so each is visible and easy to grab.
Choose wood or metal dividers, space slots for thickness, and label edges for quick, cozy order.
Adjustable Sheet Holders
When space gets tight, I turn to adjustable sheet holders to keep bottles, pans, and baking sheets upright and easy to grab. They bring order and rustic charm to my pantry with simple tweaks.
- Slide pans in vertically for visibility
- Use dividers for lids and trays
- Adjust width for bottles
- Label slots for quick picks
- Mount low for heavy items
Lighting and Labels That Speed Up Meal Prep
I’ve learned that good lighting and clear labels are the secret sauce of a functional pantry—spotting what you need and grabbing it without a second thought saves time and keeps cooking pleasant.
I use warm LED strips under shelves and motion sensors so hands-free light meets busy prep. Label jars with contents and dates, use consistent fonts, and group items for quick scans and calmer mornings.
Integrating Appliances, Power, and Ventilation
Because a pantry is more than shelves, I plan appliance placement, power access, and ventilation together so everything works quietly and safely while I’m cooking.
I tuck small appliances near outlets, route cords neatly, and make certain vents keep air fresh.
I consider heat, noise, and clearance, and prioritize durability with simple finishes.
- Dedicated circuits
- Vent fan placement
- Appliance clearances
- Cord management
- Moisture control
Budget Upgrades Under $200 That Make a Difference
I like to stretch a small budget into big pantry upgrades, so I pick projects under $200 that boost function and feel without a full remodel.
I add clear bins, label makers, a simple pegboard for tools, motion‑sensor lighting, and a rolling crate for overflow.
These cozy, practical changes keep things tidy, accessible, and charming without breaking the bank.
Best Mid‑Range Walk‑In Pantry Systems (Value Buys)
After squeezing big improvements from a small budget, I started looking at mid‑range pantry systems that give long‑term value without going full custom. I want sturdy shelving, adjustable layouts, and charming finishes that feel like home.
Consider these practical picks:
- Adjustable wire shelves for airflow
- Solid wood-look laminate units
- Slide-out pull baskets
- Door-mounted spice racks
- Stackable clear bins for visibility
High‑End Custom Pantry Features Worth Splurging On
When you’re ready to move beyond good and into truly tailored luxury, I’ll walk you through high‑end pantry features that make daily life easier and your kitchen feel like a crafted extension of the home.
I love built‑in appliance garages, soft‑close pullouts, humidity‑controlled drawers for produce, walnut shelving, integrated lighting, and labeled glass canisters. These choices save time, reduce waste, and feel quietly indulgent.
DIY Installation Checklist : And When to Hire a Pro
Although you can install many pantry systems yourself, I’ll walk you through a clear checklist so you know what you can tackle and where to call in a pro. I’ll be honest: measure twice, breathe, and decide what tools you own.
- Measure space & mark studs
- Check load ratings for shelves
- Gather proper tools
- Prep wall finishes
- Hire electrician/plumber for wiring or gas
Styling and Routines to Keep Your Pantry Organized
I usually start by grouping like with like—baking, grains, snacks—so I can see what I use and what’s just taking up space; then I add a few simple styling touches like woven baskets, labeled jars, and a small cutting board to keep it feeling warm and tidy.
I rotate staples frontward, keep a shopping list clipboard, wipe shelves weekly, and refill clear containers.
How to Adapt Your Pantry as Your Household Changes
As seasons of life shift—kids growing, guests staying over, diets changing—I tweak my pantry so it stays useful instead of becoming cluttered;
I start by reassessing what we actually eat and who’s cooking, then move items into zones that match our new routines.
- Rotate kid-friendly snacks lower
- Create a guest shelf
- Set up meal-prep baskets
- Reserve space for specialty diets
- Label changeover zones
I’ve walked you through measurements, layouts, shelves and splurges so your walk‑in pantry becomes a calm, useful heart of the home.
I’ll tell you the truth: good systems aren’t fussy—they’re forgiving. Picture a place where snacks are found without stress and dinner prep flows like a well‑worn recipe; that’s worth the planning.
Start small, tweak as you live in it, and your pantry will grow kinder with every use.