I’m sharing 17 dream features that make outdoor kitchens truly usable and weatherproof, from a solid, weatherproof cooking hub to smart tech that timers and syncs multi-zone setups. I prioritize durable grills, weatherproof storage, a chill-and-prep zone, and a central trash/recycling center for smooth flow. Comfort matters too—layered lighting, fans, and a fire feature. Personalize with durable, low-maintenance accessories. If you want the full setup tips, you’ll pick up more ideas as you go.
From Concept to Zone: Define Your Weatherproof Cooking Area

From concept to zone, start by imagining the core cooking and prep area as the hub of your outdoor kitchen.
I map it to weatherproofing needs first—roof or shade, drainage, wind protection, and rain-smart materials.
Then I plan accessible power, water supply, and a sealant routine.
Practical, clear steps keep the zone durable and ready for every season. Additionally, consider implementing outdoor kitchen design layout formulas to optimize your space effectively.
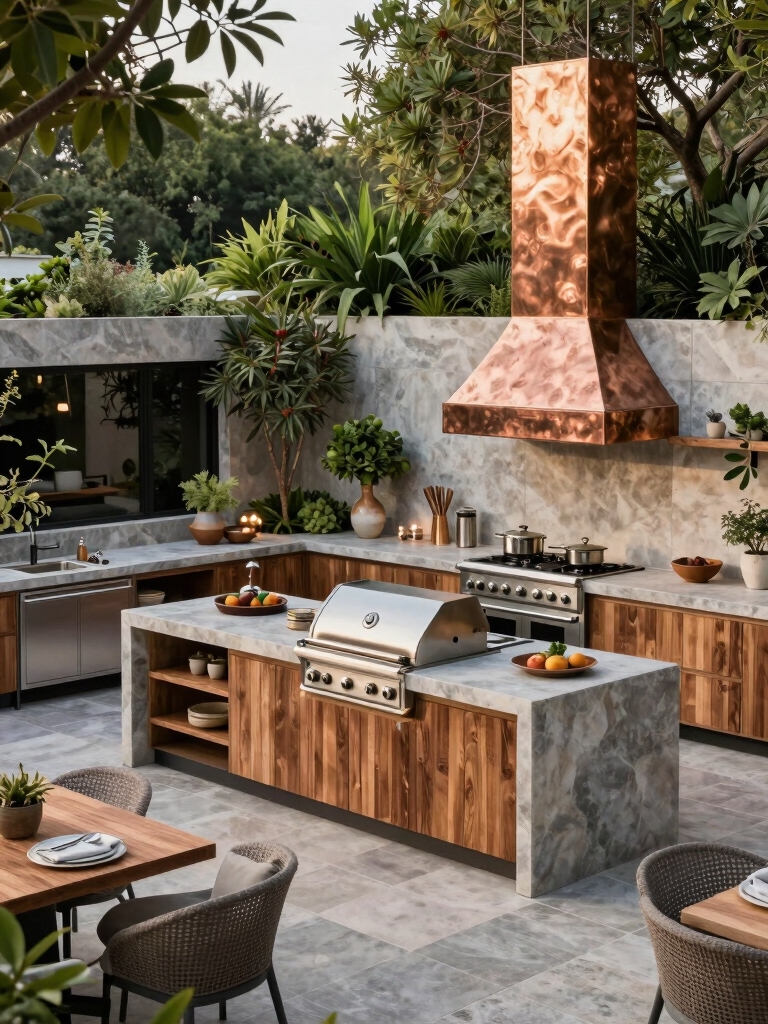
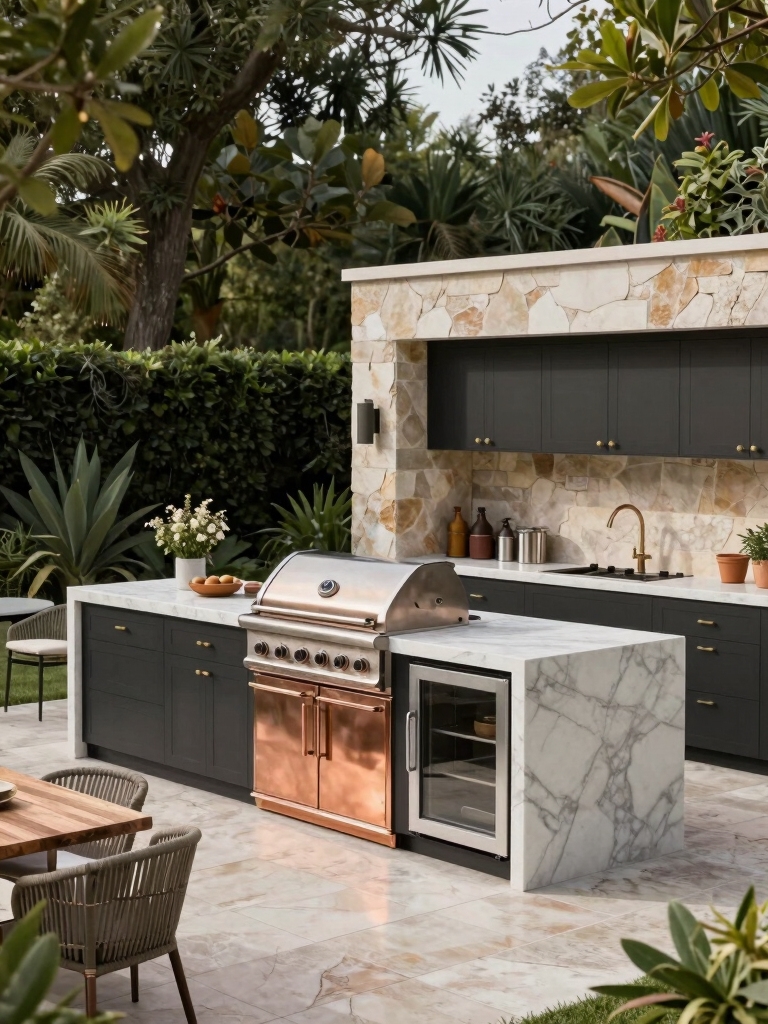
Choose a High-Quality Grill or Griddle for Consistent Power

I look for a grill or griddle that delivers consistent power output, so every burger, steak, and veggie cooks evenly. Using premium grill materials matters, because durable construction helps maintain steady heat under outdoor conditions. Let’s chat about tips to choose gear that keeps performance steady, season after season. Additionally, consider how outdoor kitchen designs can influence the overall functionality and aesthetic appeal of your cooking space.
Consistent Power Output
A reliable grill or griddle is essential for consistent heat, and choosing a high-quality option makes a real difference. I test heat with control, not guesswork, so you don’t wait for hot spots to surprise you. Fast, steady output keeps searing, simmering, and grilling predictable. A durable burner system saves time and guarantees dependable cooking sessions, year after year. Additionally, investing in concrete outdoor kitchen designs ensures that your outdoor cooking space is not only functional but also built to last a lifetime.
Premium Grill Materials
Premium grill materials matter when you’re chasing consistent power.
I choose heavy-duty stainless steel grates and solid burners because they heat evenly and last. If you’re deciding between cast iron and stainless, go stainless for durability and easier maintenance.
A quality griddle or grill plate keeps temperature steady, cuts flare-ups, and makes weeknight cookouts reliably predictable. Outdoor kitchen and bar ideas can elevate your cooking experience, making it perfect for gatherings.
Trust sturdy construction for lasting performance.
Organize Durable Outdoor Storage Cabinets and Drawers

Organizing durable outdoor storage cabinets and drawers starts with choosing units that stand up to weather and heavy use.
I pick weatherproof doors, corrosion-resistant hardware, and solid mounting so everything stays put.
I label bins for tools, foldable organizers for spices, and keep frequently used items within reach.
Clean lines, practical placement, and a simple system save time and stress daily.
Set Up a Chill-and-Prep Area That Keeps Snacks Handy

To keep snacks handy, I set up a chill-and-prep area right where outdoor cooking happens, so I don’t chase things across the yard.
I keep a small cooler, a cutting board, and a pitcher of water within arm’s reach. Stocked bins hold napkins, utensils, and snacks.
A portable fridge speeds reloads, keeping prep smooth and honest. This setup enhances the indoor outdoor kitchen flow, making it easier to transition between cooking and entertaining.
Create a Flexible Countertop Seating Space for Guests

Ever wish guests could pull up a seat right at the counter?
I design a flexible seating setup that adapts to cooks’ needs and keeps flow smooth. Use a drop-down or swivel stool arrangement, plus a counter overhang for legroom.
I keep surfaces uncluttered, and stools tucked under when not in use. Guests mingle—and you cook confidently, hands-free. Adding stylish decor ideas to your outdoor kitchen can further enhance the inviting atmosphere.
Install Lighting for Ambience and Safety, Inside and Out
Lighting isn’t just about looking good; it’s about seeing clearly and cooking safely, inside and out.
I’ll share practical setup tips that boost mood and safety without clutter.
- Layered lighting blends task, ambient, and accent for every area
- Weatherproof fixtures resist heat, rain, and splashes
- Dimmers create mood while preserving safety
- Plug-ins and switches keep wiring tidy and accessible
Additionally, consider incorporating an outdoor kitchen sink station to streamline cleanup and enhance functionality in your space.
Add a Dedicated Smoke Ventilation System for Comfort
I’m sharing simple steps to keep smoke where it belongs with a dedicated vent system.
We’ll cover proper vent placement, effective smoke capture techniques, and easy maintenance access so you can keep the air comfortable without the fuss.
If you’ve got questions about your setup, I’m here to help you address each point clearly.
Proper Vent Placement
A dedicated smoke ventilation system is a smart upgrade for any outdoor kitchen, helping you stay comfortable even on busy cooking days.
I place vents thoughtfully to draw heat and smoke away without drafts.
1) Position intake at cooking height for efficient draw
2) Align exhaust with prevailing breeze to prevent backflow
3) Avoid corners and dead zones for steady airflow
4) Maintain clear sightlines to monitor flames and smells
Smoke Capture Techniques
To keep you comfortable and smoke-free, I always start with a dedicated smoke ventilation system that captures fumes at the source.
I design extraction zones near grill grates, use ducted hoods, and rate fans for continuous pull. This keeps heat down and odors minimal, while filters trap grease.
Simple maintenance checks guarantee steady performance and cleaner air.
Easy Maintenance Access
When you design for easy maintenance, a dedicated smoke ventilation system becomes a straightforward habit, not a headache.
I’ll share practical tips to keep it simple and reliable, so cleaning, access, and performance stay consistent.
1) Place vents where grease and heat rise, not where they drift.
2) Use accessible ducts and clear panels for quick checks.
3) Schedule annual inspections to prevent buildup.
4) Choose modular components for easy replacement.
Include a Fire Feature to Extend the Season Comfortably
Building a fire feature lets you stretch outdoor use into shoulder seasons and cooler evenings without chasing weather.
I design around cozy zones, efficient placement, and safe operation so you feel confident inviting guests outside, even when temps drop.
A simple pit or gas fire pit adds ambiance, warmth, and extended dining or lounging time—without complicating your routine. Additionally, incorporating simple outdoor kitchen ideas can enhance your outdoor experience and make entertaining effortless.
Let’s plan confidently.
Use Durable, Low-Maintenance Materials for Longevity
Choosing durable, low-maintenance materials upfront saves you time and money down the road; I’ll walk you through practical picks that stand up to weather and daily use.
- Stainless steel or quartz countertops for resilience
- Fiber-cement siding that resists rot and fading
- Porcelain or ceramic tiles with biteproof surfaces
- Kodiak-grade aluminum seating that won’t rust
Plan a Smart, Efficient Outdoor Kitchen Layout
A well-planned layout saves steps, boosts efficiency, and makes outdoor cooking feel effortless.
I map zones for prep, cook, and serve, keeping tools within reach and a clear path between them. Think counter space, shade, and easy access to the sink.
I minimize clutter, group tasks logically, and design for airflow, so every grilling session stays smooth and enjoyable.
Bring in Smart Tech for Grilling Precision and Control
Smart tech can take the guesswork out of grilling by giving you precise control over heat, timing, and even smoke levels.
I’ll show you practical tweaks that elevate flavor and consistency.
- Set temp presets for common dishes
- Use timers with alerts to prevent overcooking
- Integrate wireless probes for real-time feedback
- Sync devices for coordinated multi-zone control
Get Rain-Proof Electrical and Gas Connections Ready
I’m thinking through how to keep electrical and gas setups safe rain or shine, so we start with weatherproof layouts that seal outlets and cords.
I’ll walk you through practical steps for gas connections too, like proper clearance and leak checks before use.
Together, we’ll cover safety basics and quick checks to prevent drips from turning into problems.
Weatherproof Electrical Layouts
Weatherproof electrical layouts are essential for a durable outdoor kitchen, so I’ll walk you through setting up rain-proof electrical and gas connections that stay safe year-round.
I’ll keep it practical and clear.
- Use grounded outlets with weatherproof covers
- Install GFCI protection on all exterior circuits
- Elevate boxes and run conduit under cabinets
- Seal all penetrations and test with a rain simulant
Gas Connection Safety Steps
Gas connections deserve the same rain-ready mindset as electricals, so I’ll walk you through safe, practical steps to protect propane or natural gas lines and fittings outdoors.
Inspect lines for damage, secure with proper clamps, and shield from falling water with rainproof housings.
Use gas-rated connectors, test for leaks after weather events, and keep vents clear.
When in doubt, call a licensed pro.
Prioritize Cleaning and Disposal Stations for Quick Cleanup
Prioritizing cleaning and disposal stations is essential for quick, smooth outdoor cooking sessions.
I’ve lined up practical setups you can copy.
- Place a all-in-one trash and recycling bin near prep zone for quick tosses
- Install a dedicated compost bin if you trim herbs or peel produce
- Include a sink or rinse station for fast cleanup
- Stock antimicrobial wipes and towels within arm’s reach
Outfit Your Kitchen With Fresh-Air Comforts and Fans
When you’re cooking outdoors, a few simple comforts can make a big difference, so I’d focus on easy upgrades like fans and shade that keep you cool without fuss.
I’ll pick compact, weatherproof fans, place them where they move hot air away, and pair with breathable awnings.
Add portable misters for quick relief, then enjoy with minimal setup and maximum comfort.
Build a Central Trash and Recycling Center That Flows
I’ll show you how a central trash and recycling center can flow with your outdoor kitchen, keeping waste organized and out of the way.
I’ll outline a simple setup: a central trash hub, a streamlined recycling section, and clearly labeled, accessible waste zones.
With practical placement and clear paths, you’ll minimize trips and maximize efficiency while keeping the space tidy.
Central Trash Flow
A central trash flow keeps your outdoor kitchen tidy and efficient: I design a single, easy-to-use hub for trash and recycling that guides every bag from prep to disposal.
1) Position near prep but away from heat, so odors stay contained.
2) Use labeled bins with clear lids to prevent mix-ups.
3) Add a slide-out drawer for bag changes and quick cleanup.
4) Install a scheduling reminder for pickup.
Streamlined Recycling System
A streamlined recycling system starts with a central trash and recycling center that flows—efficient, simple, and easy to use.
I design mine so bins are clearly labeled, reachable, and organized by material. I suggest a compact cabinet, pull-out drawers, and a labeled lid for each bin.
Waste logic stays consistent, so guests and I recycle without thinking twice.
Accessible Waste Zones
Accessible Waste Zones are all about making trash and recycling genuinely easy to use, right where you cook and entertain.
I’m here to guide you toward a central setup that flows, reduces trips, and keeps mess minimal.
- Plan compact, labeled bins
- Use pullout drawers for waste, recyclables, compost
- Position near prep and grill zones
- Include a cleanup station with wipes and a trash scoop
Personalize With Outdoor-Ready Accessories and Tools
Personalizing your outdoor kitchen starts with the right accessories and tools that fit how you cook and entertain.
I’ll pick essentials you actually use: a sturdy grill set, weatherproof storage, a reliable Bluetooth thermometer, and prep boards that resist the outdoors.
Choose pieces that stay functional, match your style, and simplify hosting without clutter or guesswork.
Optimize for Easy Maintenance and Longevity Over Time
After picking the right tools and storage for easy access, you’ll want outdoor gear that lasts season after season.
I optimize for longevity by choosing durable materials, standardizing components, and scheduling simple maintenance. Here are key steps:
- Prevent rust with protective coatings
- Seal surfaces to stop weathering
- Clean grills regularly
- Replace worn parts promptly
Conclusion
Building your dream outdoor kitchen comes down to practical choices that stand up to weather and weekly use. I love how small details—like a dedicated trash center and easy-clean surfaces—make weekends smoother. Fun stat: homes with well-equipped outdoor kitchens report 20% higher entertaining satisfaction. Ready to start? Pick a sturdy grill, smart storage, and a comfy prep zone, then tweak as you go. Your perfect outdoor cooking hub is closer than you think.