

I’ve found that a kitchen island with a table attached feels most natural when you size the island to room proportions, keep 42–48 inches of clear circulation, and allow 24–30 inches per seat so the table reads as one surface, not two.
Use durable low‑porosity tops and warm wood accents to unify them. Choose fixed, drop‑leaf, or extendable joins based on routine, and plan sinks, outlets, and lighting for clear zones — more practical tips follow.
Benefits of an Integrated Island-Table Layout

When I redesigned my kitchen, I found that an integrated island-table layout instantly solved multiple problems at once: it gives you a seamless prep surface, a casual dining spot, and a social hub where kids can do homework while you cook.
I love how it combines functions—food prep, serving, and lingering—while keeping sightlines open, materials cohesive, and cleanup simple.
It’s efficient and inviting. An added benefit is that a Kitchen Island That Doubles as a Dining Table creates a seamless flow between cooking and dining areas, enhancing both functionality and social interaction.
Assessing Your Space and Traffic Flow

Because an island with an attached table changes how people move through a room, I start by watching how my household actually uses the kitchen — who walks where, where kids congregate, and which paths get the most traffic — then I sketch those routes to make sure the island won’t block key flow or create awkward bottlenecks.
- Entry and prep paths
- Seating circulation
- Appliance access points
I also consider how the island size relates to overall room dimensions to maintain proper space allowances for movement.
Choosing the Right Island Size and Proportions

Although it seems tempting to size an island by how much countertop you want, I start by matching proportions to the room and your routines so the island feels like part of the kitchen, not an island in the room.
I think about sightlines, seating scale, and walkways—keeping 42–48 inches clearance—and balance table length with island depth so movement and conversation flow naturally.
I also look to simple, copyable island layouts that work well in many kitchens to guide sizing and placement.
Selecting Materials That Blend Seamlessly
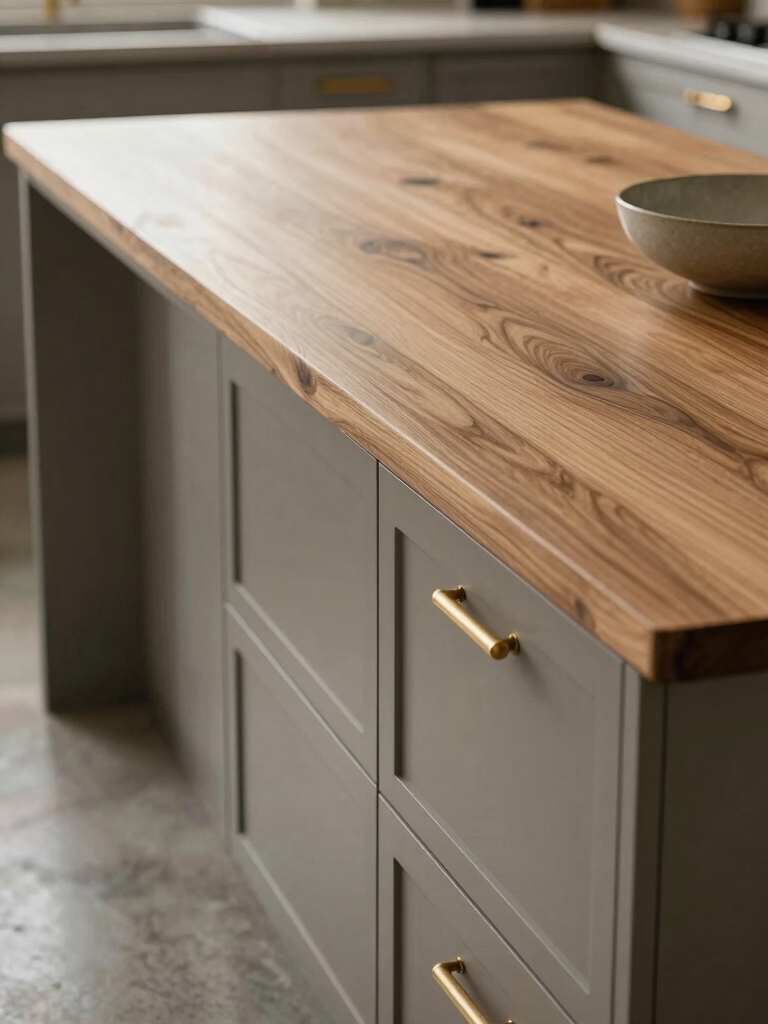
If we want the island and its attached table to read as one thoughtful piece, I start by pairing materials that echo the room’s palette and purpose—think a durable quartz top that aligns with the counters and a warm wood table skirt that matches your cabinetry’s undertone.
I favor finishes that coordinate, contrast subtly, and age well:
- matte metal accents for restraint
- mixed wood tones for warmth
- resilient edge treatments for wear
A well-composed design often incorporates elements from popular kitchen island designs to create cohesion and visual flow.
Table Attachments: Fixed, Drop-Leaf, and Extendable Options

Now that we’ve matched materials so the island and table read as one piece, I want to look at how the attachment itself behaves—fixed, drop-leaf, or extendable—because that choice shapes how you use the space day to day.
I favor fixed for stability, drop-leaf for compact daily life, and extendable for occasional entertaining—each one balances footprint, mechanics, and visual continuity.
A well-planned island-table combo can serve as both a prep surface and dining area when you choose the right connection method, and many successful designs show how a seamless island table upgrade preserves flow.
Seating Strategies for Comfort and Conversation
I usually start seating plans by thinking about how people will actually use the island-table—whether they’ll linger over coffee, work with a laptop, or gather for dinner—because that dictates height, stool depth, and spacing.
I choose arrangements that encourage face-to-face chat and easy movement.
- Mix stools and chairs for casual formality
- Allow 24–30 inches per person
- Add a gap for passing plates
Many homeowners prefer islands that balance form and function, often choosing designs that include seating for any home to match their overall style.
Harmonizing Counter Heights and Ergonomics
Because people use an island for everything from chopping to charging laptops, I focus first on getting the heights right so no one ends up hunched or hovering, and so shifts between countertop, work surface, and attached table feel natural.
I recommend 36-inch prep counters, a slightly lower 30–32-inch dining plane, and bar seating at 42 inches, balancing posture and visual rhythm.
For budget-conscious builds, consider modular or DIY options that combine an island and table for cost savings and flexible layouts, drawing on ideas from Kitchen Island Dining Table to keep total costs under $3000.
Storage Solutions Within the Island and Table Base
Getting the heights right makes storage the next smart move: once counters and table planes sit comfortably, you want the island to hold everything you use at each level without forcing you to bend or stretch.
I favor tidy, layered solutions that feel intuitive:
- Deep drawers for pots and pans
- Shallow trays for utensils and linens
- Open cubbies for baskets and everyday tableware
These keep flow effortless.
Lighting to Define and Unite the Island-Table Zone
I’m a big fan of layered lighting for an island-with-table setup because task, ambient, and accent lights each play a distinct role in how the space functions and feels.
I’ll show simple pendant-placement rules—height, spacing, and alignment—that keep sightlines clear and chewing through glare or shadow.
And I’ll explain how matching or coordinating finishes across fixtures gives the island and attached table a cohesive, pulled-together look.
Layered Lighting Strategy
When I plan lighting for an island with an attached table, I think in layers—task light for cooking, ambient light for the room, and accent light to tie the two surfaces together.
I balance brightness and warmth so both work and feel cohesive.
- Focused task lighting for prep
- Soft ambient for overall comfort
- Accent to highlight materials and unify zones
Pendant Placement Tips
I usually start pendant placement by imagining the island and attached table as one anchored piece, then ask how the lights can both define each area and tie them together.
I balance scale—lower, focused pendants over prep zones; a slightly longer, softer cluster above the table.
I stagger heights for rhythm, align centers to worktops, and keep sightlines unobstructed for conversation and flow.
Unified Lighting Finishes
Now that pendant placement has set the island and table in conversation, finish choices will make them read as one cohesive element.
I pick matching metal tones or subtly varied textures to tie zones without monotony. Consider:
- Brushed brass for warmth and continuity
- Matte black for graphic contrast and cohesion
- Soft nickel for neutral, reflective unity
I recommend testing samples under real light before deciding.
Surface Finishes and Edge Details for Durability
Because kitchen islands take the most everyday abuse, I focus first on finishes and edge profiles that actually stand up to spills, knocks, and heavy use.
I recommend low-porosity materials—quartz, honed granite, or sealed hardwood—and rounded or eased edges to prevent chipping and snagging.
Protective lacquer or oil layers and discreet metal trim at high-wear spots keep surfaces resilient and repairable.
Style Cohesion: Matching the Island to Your Home’s Aesthetic
A kitchen island should feel like it belongs, not like a piece that wandered in from another house; I start by tuning materials, scale, and detailing to the home’s existing language so the island reads as an intentional extension.
I match rhythm and color, avoid competing motifs, and pick accents that whisper, not shout.
- material palette
- proportion and scale
- trim and hardware choices
Multipurpose Use: Workspace, Homework, and Entertaining
Once the island looks like it belongs, I think about how it’ll be used day to day—work, homework, and hosting all ask for different things from the same surface.
I plan zones: a charging station and task lamp for work, a wipeable homework zone with storage for supplies, and a clear entertaining area for platters.
Flexible seating and durable surfaces keep everything functional and beautiful.
Integrating Appliances and Utilities Smoothly
I plan appliance placement around how I actually cook and live—so the prep sink, dishwasher, and cooktop sit where they cut down steps rather than just look symmetrical.
I favor clear work zones and hidden hookups that keep lines clean.
- Prep sink near table for quick transfers
- Dishwasher tucked by storage
- Venting and outlets planned for flow
It feels effortless.
Budgeting Tips and Where to Spend vs. Save
I always tell clients to invest in the island’s bones—sturdy framing, quality joinery, and reliable hardware—because those things hold up over years of use.
For surfaces and accents like countertop patterns, cabinet paint, or decorative pulls, you can save by choosing budget-friendly options that are easy to replace later.
That balance keeps the island functional and long-lasting without blowing your budget.
Spend on Structural Quality
Because a kitchen island is both a work surface and a structural anchor, I focus my budget on the parts that keep it solid and functional for years.
I prioritize bones over bells and choose contractors wisely.
- Reinforced framing and quality plywood substructure
- Robust anchoring to floor and utilities access
- Durable joinery and full-depth drawers for longevity
Save on Finishes and Decor
When it comes to finishes and decor, I trim costs where they won’t hurt function and spend where they’ll be noticed every day—think smart swaps, not cheapouts.
I splurge on durable countertop edges, quality hardware, and a standout light. I save on paint, open shelving, and removable accents.
Mixing textures and thrifted finds keeps the island stylish without overspending.
Hiring Professionals vs. DIY: What to Consider
Although tackling a kitchen island with an attached table can be tempting as a weekend project, I recommend weighing time, skill, and risk before committing to DIY.
I’ll help you decide:
- Hire pros for complex plumbing, electrical, or structural work.
- DIY if you’re confident with tools and realistic about finish quality.
- Factor budget, timeline, and resale value into the choice.
I’ve walked you through how an island and table can mingle—practical workhorse by day, sociable anchor by night—and you can see how thoughtful sizing, materials, and layout keep chaos at bay while inviting life in.
It’s not about flashy trends vs. lasting value; it’s about smart choices that look effortless. If you balance function with form, hire help where skill matters, and save where you can, your kitchen will feel both intentional and lived-in.


