Here’s a practical plan you can use to craft an outdoor kitchen that earns those “envy” points. I start by mapping zones for easy flow—prep near the grill, comfy seating, and smart storage nearby. I choose weather-resistant materials like stainless steel, powder-coated cabinets, and durable countertops, with clean, nonporous backsplashes for quick cleanup. I’ll layer lighting, plan for ventilation, and keep maintenance simple. If you keep going, you’ll pick up deeper tips that elevate every detail.
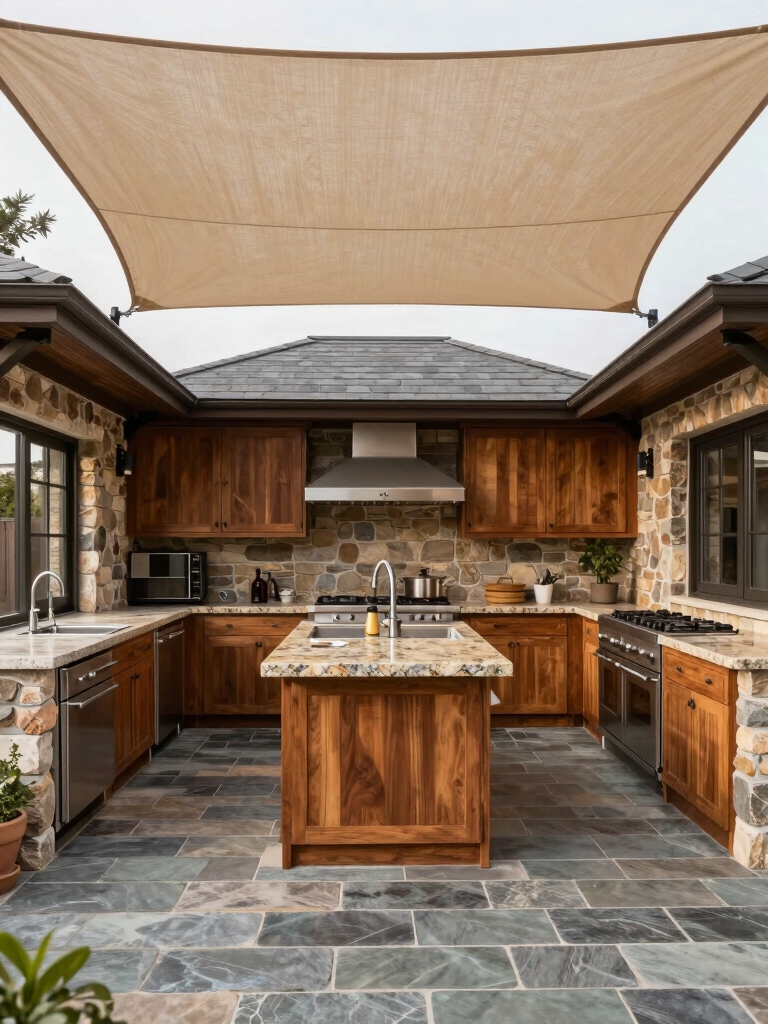
Plan Your Outdoor Kitchen Zone: Layouts That Work
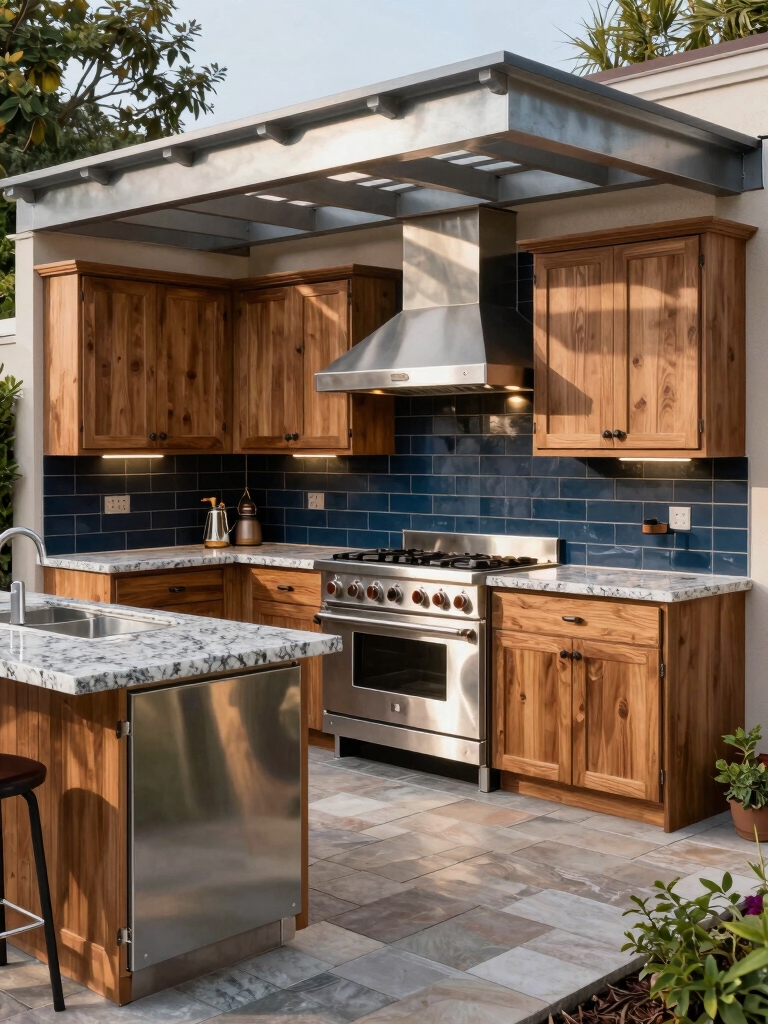
A well-planned outdoor kitchen starts with a zone that fits how you cook and entertain, not just how it looks.
I map your flow: prep near prep, grill accessible for quick turns, cleanups tucked away yet reachable.
I layer zones for seating, refrigeration, and storage, ensuring sightlines stay clear and movements stay confident.
Simple layouts save time, boost usability, and invite gathering. Additionally, consider using layout formulas to maximize efficiency and enhance your cooking experience.
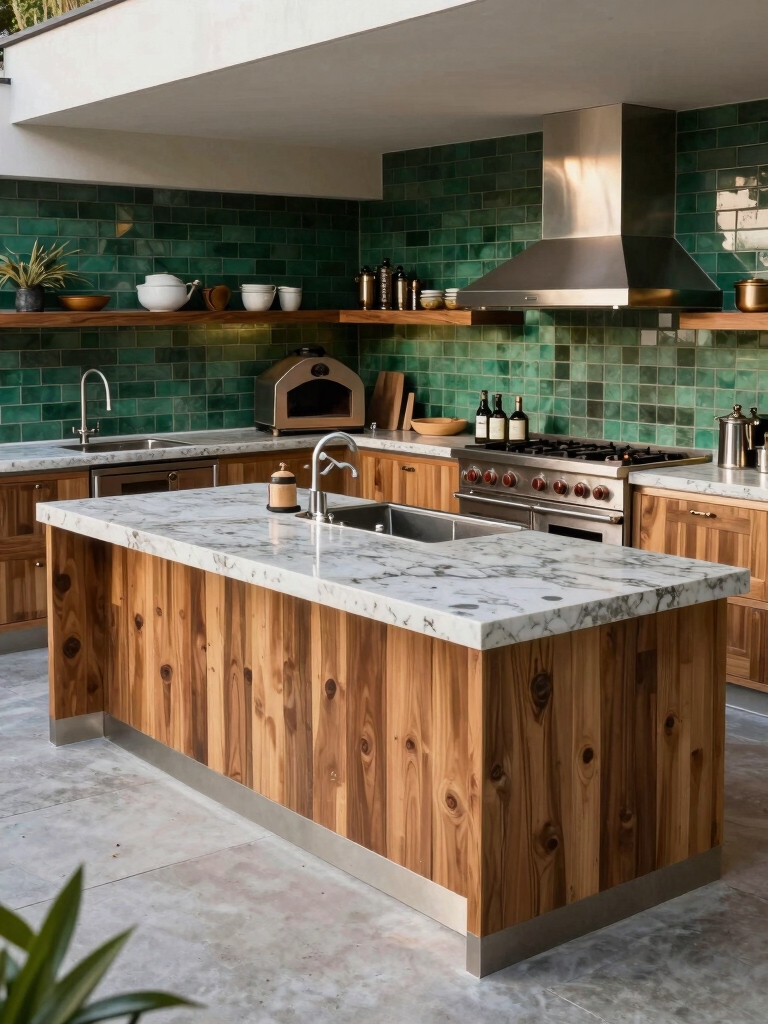
Weather-Resistant Materials for Outdoor Kitchens
Choosing weather-resistant materials for outdoor kitchens matters most when durability and upkeep are on the line, so I’ll keep it simple and practical.
I recommend stainless steel for grills, powder-coated aluminum for cabinets, and cultured stone or tile for surfaces.
Sealants and proper joints matter. I prioritize low maintenance, UV resistance, and moisture defense to keep things looking great year after year. Additionally, opting for durable outdoor kitchen countertops ensures that your investment withstands various weather conditions while maintaining its aesthetic appeal.
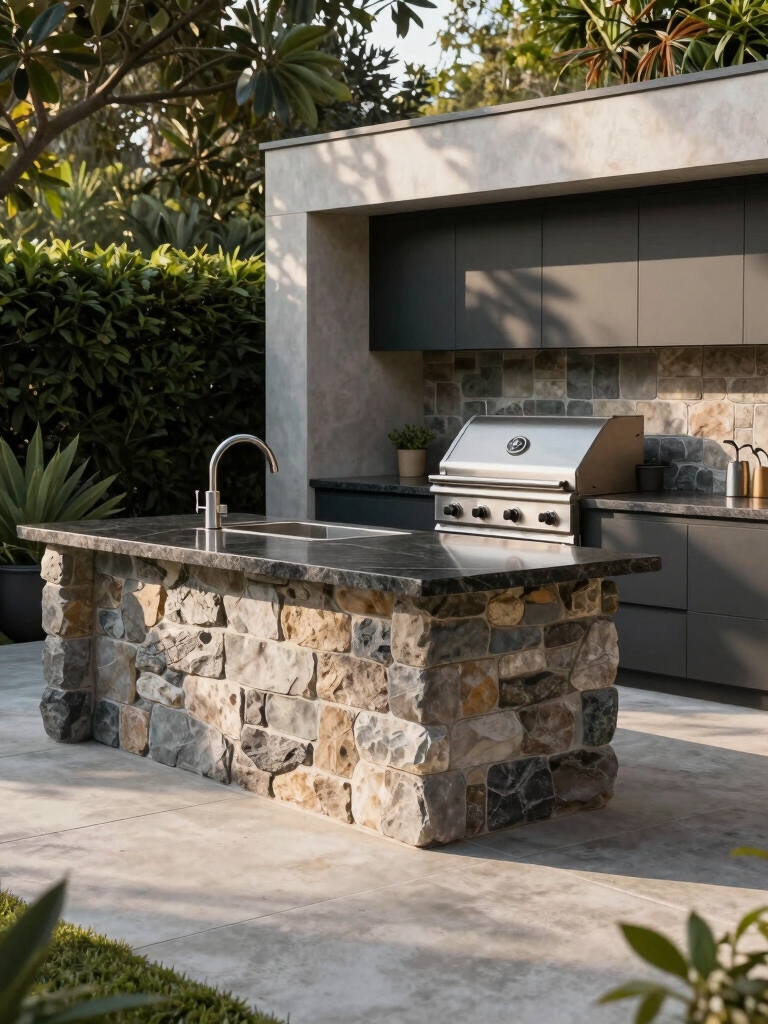
Install Built-In Grill Stations Your Guests Will Envy
When I place a built-in grill, I start with its spot in the outdoor kitchen flow to keep prep, cooking, and service seamless. I’ll match the grill’s placement to traffic paths and nearby prep zones so guests can mingle without crowding the cook. From there, I design a clear, functional layout that guides movement and guarantees everything you need is within reach. Incorporating modern outdoor kitchen design styles can elevate the overall aesthetic and functionality of your space.
Built-In Grill Placement
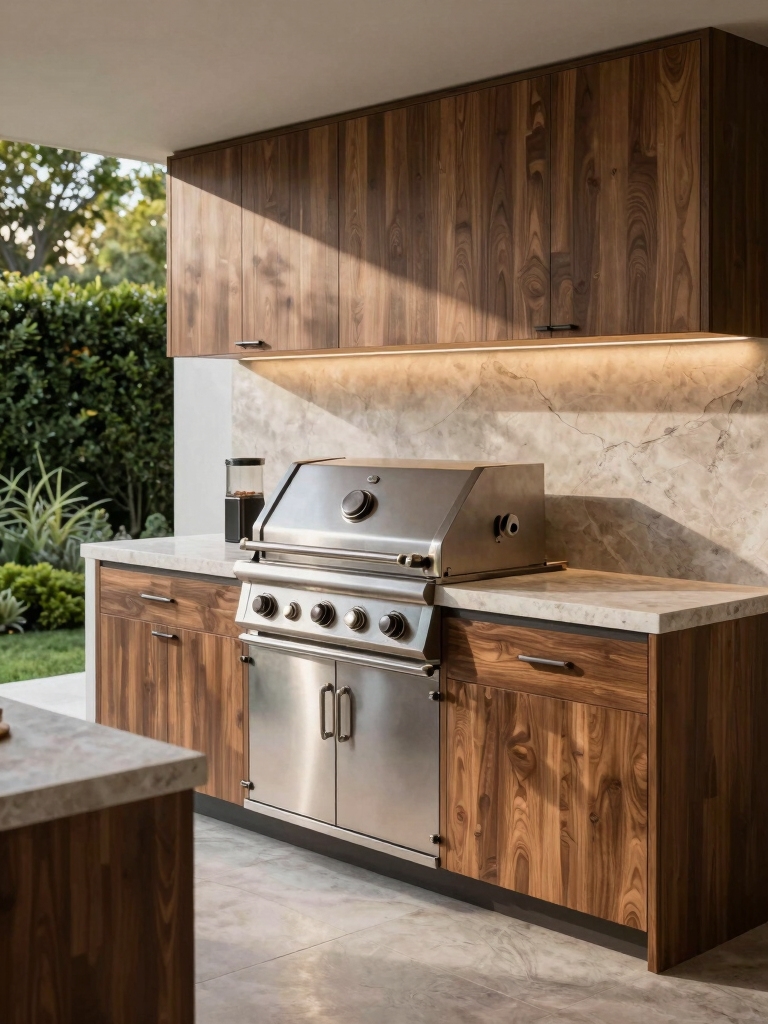
A built-in grill station should feel like a natural extension of your outdoor kitchen, so place it where traffic flows and cooking tasks stay efficient.
I recommend aligning the grill with prep zones and a nearby counter for resting plates. Keep ventilation clear, sightlines open, and storage within reach.
Test distances during setup, then adjust for smooth, confident grilling sessions. Incorporating mess-free outdoor kitchen layouts can also help maintain a tidy space while you cook.
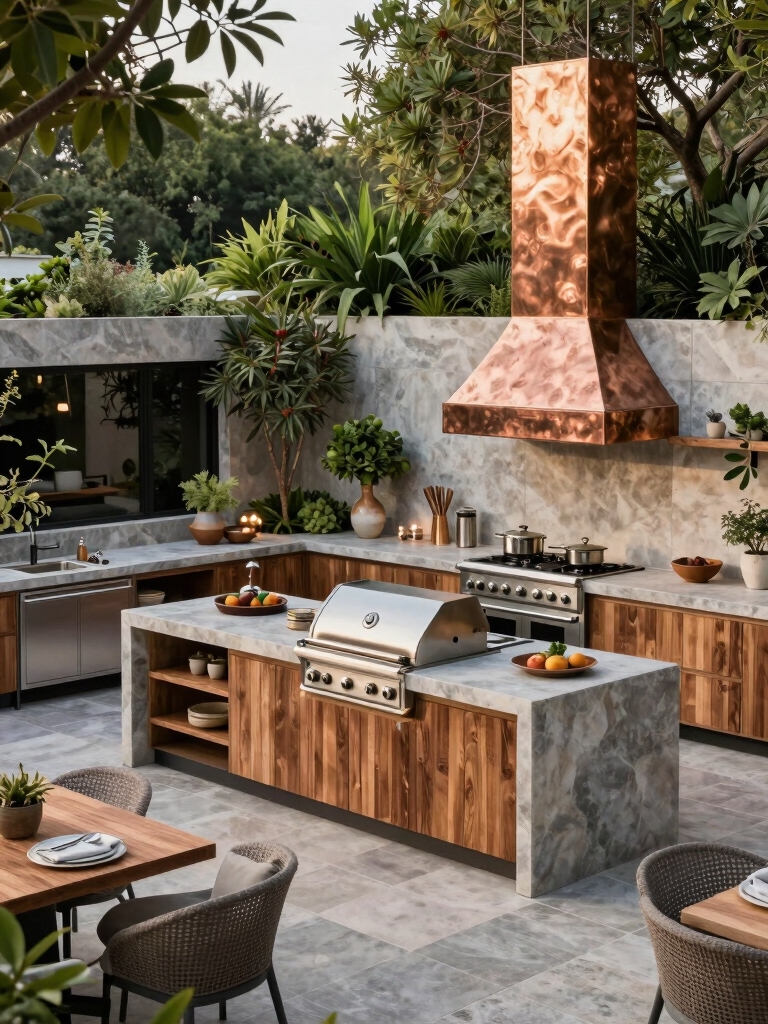
Outdoor Kitchen Flow
Creating a smooth outdoor kitchen flow starts with the grill stations themselves: they should feel like natural hubs that guide traffic and task shifts.
I design layouts that keep prep, cooking, and serving within easy reach, so guests move without crowding. I’d link stations with a clear path, minimized steps, and consistent lighting for effortless, confident entertaining. Additionally, incorporating Big Green Egg setups in your design can elevate the grilling experience and provide a focal point that impresses guests.
Keep Refrigeration and Storage Tidy Without Clutter
I’m sharing practical ways to keep refrigeration and storage tidy without clutter, from smart sorting to clever hidden storage tricks.
We’ll prioritize sort and stow solutions, then show you compact, counter-space–maximizing setups that stay accessible.
Let’s discuss how thoughtful organization can streamline your outdoor kitchen without sacrificing style. Incorporating compact outdoor kitchens can enhance functionality while making the most of limited space.
Sort and Stow Solutions
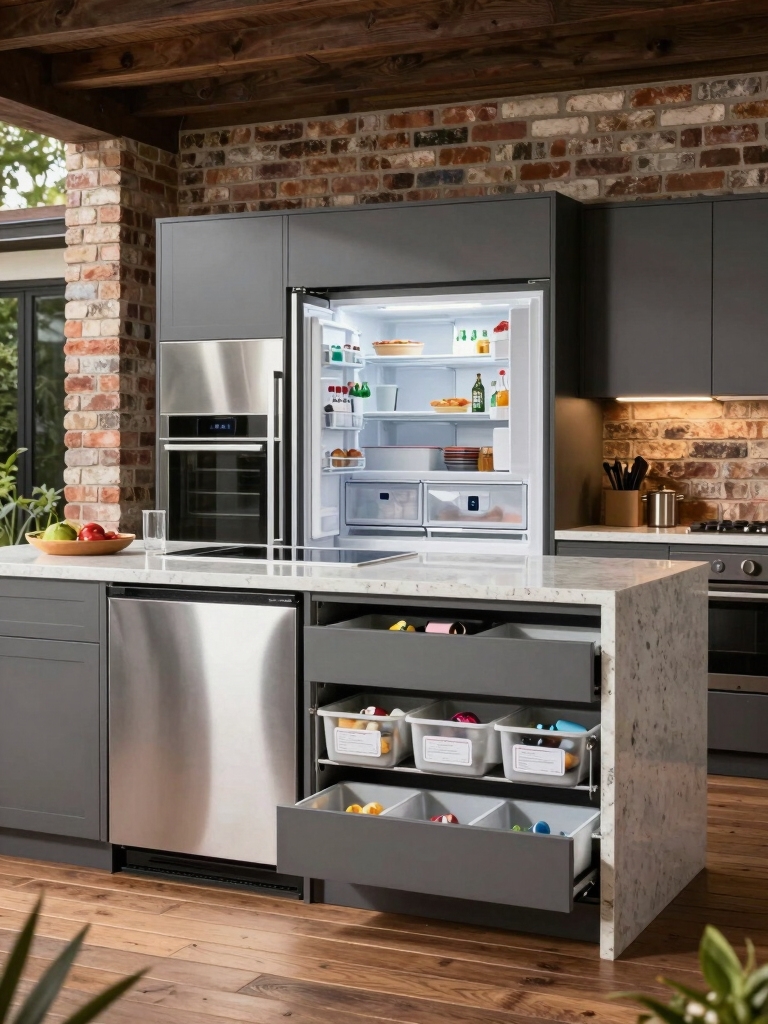
Sort and Stow Solutions keep outdoor kitchens tidy by giving every item a dedicated place. I target clutter by zoning zones for cold, dry, and prep items, then label bins and shelves for quick retrieval. I use stackable containers and clear fronts so you see contents at a glance. This approach minimizes waste, speeds prep, and preserves fresh flavors. Additionally, incorporating compact outdoor kitchen ideas can maximize your space while maintaining functionality and style.
Hidden Storage Tricks
Hidden storage isn’t about cramming more into tiny gaps; it’s about clever placement and accessible design that keeps refrigeration roomy and clutter-free.
I group frequently used items near prep zones, conceal trash bins behind doors, and use pull-out racks for cans.
I label shelves, install magnetic strips for tools, and choose airtight containers to reduce spills and keep the outdoor kitchen tidy. Additionally, incorporating an outdoor kitchen sink station can streamline the cleanup process and enhance overall functionality.
Counter Space Maximizers
Counter space is gold in an outdoor kitchen, so I keep every inch purposeful.
I group essentials near prep zones, use a compact fridge, and stash backups in a shallow drawer.
Fold-away prep surfaces and magnetic strips cut clutter.
I label bins and wipe spills immediately, so refrigeration and storage stay tidy, efficient, and ready for whatever you cook next.
Select Durable Countertops for Wet Outdoor Use
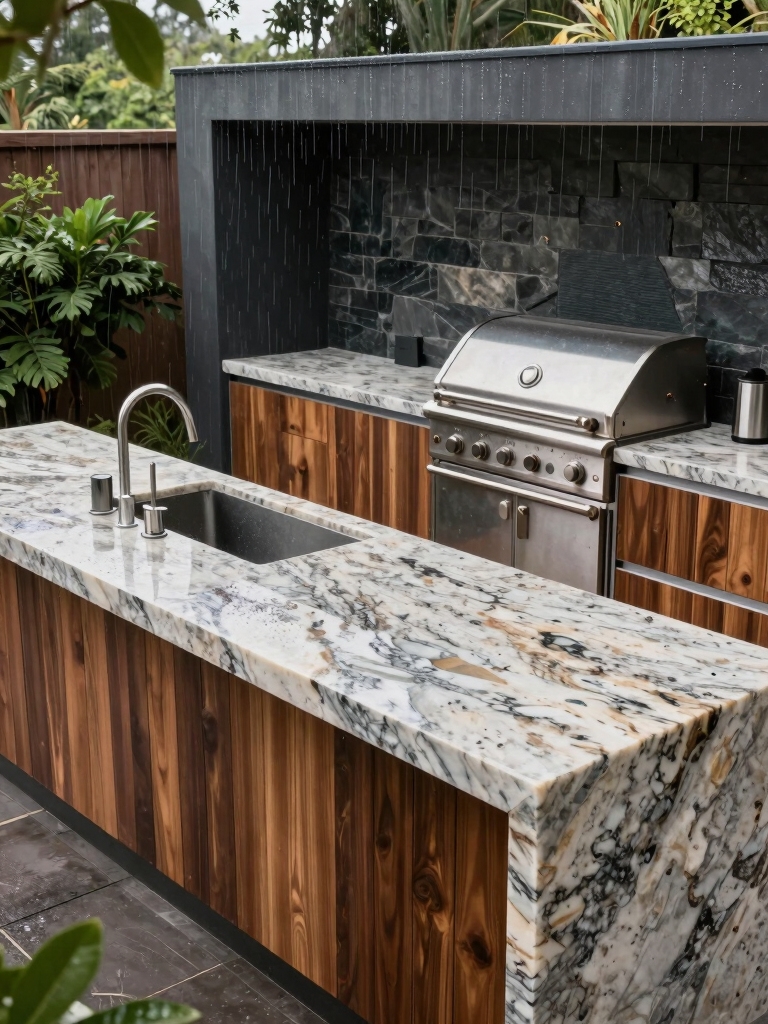
Choosing durable countertops for wet outdoor use starts with material performance.
I look for non-porous surfaces, slip resistance, and weather stability, so textures stay grippy and colors don’t fade.
I favor Dekton or quartz composites for seals and heat tolerance, while keeping maintenance simple with wipe-down routines.
Avoid raw stone that stains; embrace sealed concrete with proper edging for long-lasting practicality.
Lighting for Ambience and Safety Across the Kitchen
After selecting durable, weather-ready countertops, lighting becomes the practical counterpart that ties the space together and keeps it safe.
I’ll mix task lighting with ambient fixtures, aiming for even coverage without glare. Use dimmers for mood and safety, guide guests with well-lit paths, and place outlets strategically for grills and prep.
Practical, approachable tips guarantee evenings feel inviting, not risky.
Pick Smart Appliances That Stand Up to Elements
Smart appliances that hold up to the elements let you cook, chill, and entertain outdoors without worry.
I vet models for weather seals, corrosion resistance, and easy cleaning. Choose stainless, powder coating, or composite finishes that resist sun and rain.
Look for energy efficiency, compact footprints, and reliable warranties. I recommend modular units you can swap as needs change.
Privacy Options: Screens, Nooks, and Wind Barriers
Privacy is key when you’re outdoor cooking or entertaining, and the right screens, nooks, and wind barriers make that easy.
I choose movable screens for flexible privacy, built-in or freestanding nooks for intimate conversations, and low wind barriers to cut gusts without feeling boxed in.
Maintain airflow, add materials you already own, and keep sightlines open for safety and vibe.
Seating That Combines Comfort and Weather Durability
Seating that stands up to weather while staying comfy is the backbone of a good outdoor kitchen.
I choose durable, easy-clean materials, like powder-coated aluminum frames and synthetic cushions that resist fading.
I prefer modular layouts for flexibility and simple maintenance.
Think stain-resistant surfaces, quick-dry fabrics, and accessible storage beneath benches.
Your guests will linger, comfortably, season after season.
Plan Water Access: Sinks, Faucets, and Drainage
When planning water access for an outdoor kitchen, I start by mapping where a sink, faucet, and drainage will fit best. Then I size lines, runoff, and storage around real-use needs.
I prioritize durable, convenient placement, nearby plumbing, and easy cleanup. Keep shutoff valves accessible, choose weatherproof fixtures, and plan for recycled gray water where codes allow.
Simple, reliable, functional design.
Add Safe Fire Features to Elevate Cooking
Fire features can elevate outdoor cooking, so I start with safety baked in: choose the right heater, stove, or grill for your space, then plan for proper clearances, wind protection, and flame containment.
- Assess placement to reduce smoke and heat impact
- Use ember-resistant materials and spark guards
- Install a weatherproof shutoff or timer
- Keep a ready extinguisher nearby
Build an Outdoor Bar Area for Quick Libations
A well-built outdoor bar makes quick libations easy and enjoyable, so I’ll start with a layout that keeps essentials within reach and traffic flowing smoothly.
I’ll position a compact beverage station at elbow height, include a sink, ice, and glassware within arm’s reach, and guarantee seating aligns with prep zones.
Choose durable materials and weatherproof storage for low-maintenance entertaining.
Greenery and Landscaping to Frame the Kitchen
We can frame the outdoor kitchen with plants and lighting that guide the eye and soften hard edges.
I suggest simple greenery strategies you can implement now:
- Layer shrubs for depth and year-round interest
- Use tall grasses as soft screens
- Clip and shape herbs for texture and fragrance
- Choose containers that mirror the kitchen’s materials and scale
Outdoor Audio: Weather-Resistant Speakers and Placement
I’m thinking through weatherproof speaker options and how to place them for even coverage without glare or wind noise.
We’ll talk about practical spots for sources and simple outdoor audio cable routes that stay tidy and weather-ready.
Let’s map out the best placement strategies so the sound feels natural and stays protected from the elements.
Weatherproof Speaker Placement
Weatherproof speaker placement matters because the last thing you want is muffled sound or rain-damaged gear ruining an outdoor chill session.
I’ll share practical tips you can trust.
- Choose sheltered, elevated spots to reduce water splash
- Seal enclosures and use IP-rated models
- Avoid direct sun for longevity
- Test coverage with a simple two-zone setup
Outdoor Audio Cable Routes
Now that we’ve pinned down weatherproof speaker spots, it’s time to map out the outdoor audio cable routes.
I’ll keep paths discreet, using trenches or conduit along edges to minimize trip hazards. I’ll label runs at junctions, protect them from moisture, and plan multiple access points for maintenance.
Finally, I’ll test impedance and balance before正式 firing up the system.
Easy Cleaning: Drainage, Backsplashes, and Materials
Cleaning really matters in an outdoor kitchen, and starting with drainage, backsplashes, and materials makes maintenance easier down the line.
I share practical picks you can trust:
- choose grouted joints that resist mold
- install smooth, nonporous backsplashes
- use stainless or stone that cleans easily
- guarantee sloped drainage for quick washing
Color Schemes That Tie Indoors to Outdoors
Blending indoor and outdoor spaces starts with a cohesive color story that carries your indoors outside and pulls outdoors in.
Pick a base neutral from indoors—stone, taupe, or warm gray—and extend it with natural accents you already own.
Add one outdoor-friendly accent hue, repeat it, and balance with textures.
Test lighting, avoid clash, enjoy a seamless, practical shift.
Small-Balcony Solutions: Maximizing Tiny Outdoor Kitchens
When space is tight, every inch counts, so I prioritize compact, multitasking essentials that still feel functional and inviting.
I share practical tweaks you can trust, with a calm, hands-on vibe that helps you cook aloud and relax.
- Use fold-down counters and shelves
- Choose a narrow grill with efficient ventilation
- Install wall-mount storage for utensils
- Add a slim, weatherproof prep station
Budget-Friendly Upgrades That Impress
Smart upgrades don’t have to break the bank.
I’ve learned small changes make a big impression: upgrade lighting with warm string LEDs, swap tired hardware for brushed steel, add a weatherproof USB outlet, and mount a compact sink kit.
Use a portable grill cover, clever storage, and inexpensive pavers for a polished look.
Practical, affordable tweaks elevate your outdoor kitchen today.
Maintenance Plan: Keeping Your Outdoor Kitchen Pristine
Regular upkeep keeps your outdoor kitchen looking and performing great year after year.
I’ll guide you with a practical, concise plan you can actually follow.
- Schedule monthly wipe-downs and check hinges, seals, and knobs
- Cover and clean surfaces after use to prevent stains
- Seal grates and stone every season
- Inspect plumbing and electrical, addressing issues promptly
Conclusion
Outdoors, your kitchen should flow, function, and feel effortless. Plan carefully, choose materials wisely, and install stations that streamline cooking, cooling, and cleaning. Think layout first, then weather-ready surfaces, then smart storage. Keep counters clear, appliances purposeful, and color cohesive. Budget smartly, update gradually, and maintain regularly. Design with guests in mind, then invite them in. Enjoy the process, enjoy the payoff, and enjoy your space—practical, approachable, and proudly yours. Your outdoor kitchen, built to last, shines.