I’m sharing 15 practical outdoor summer kitchen designs that focus on cooling comfort, durable fast-clean finishes, and smart layouts for easy grilling and socializing. Expect shade strategies, airflow tricks, heat-tolerant materials, and safe summer grilling ideas that fit mid-range budgets with premium touches. I’ll cover layout patterns that maximize circulation, weatherproof finishes, and small-space options you can DIY. If you keep going, you’ll pick up actionable steps to tailor a hot-weather setup for your yard.
What Makes a Hot-Weather Outdoor Kitchen Successful

When you’re designing a hot-weather outdoor kitchen, the key is to blend function with flow.
I keep layouts simple: clear work zones, ample counter space, and easy-clean surfaces. I choose heat-tolerant materials, durable cabinets, and smart storage.
I value ventilation, nearby shade, and accessible utilities. Practical, budget-minded tweaks beat flashy takes that stall progress. Incorporating features like a pizza oven can elevate your outdoor cooking experience while keeping the heat outside.
Core Design Criteria for Cooling Comfort: Shade, Airflow, and Materials
Shade, airflow, and materials aren’t just buzzwords—they’re the backbone of cooling comfort in an outdoor kitchen.
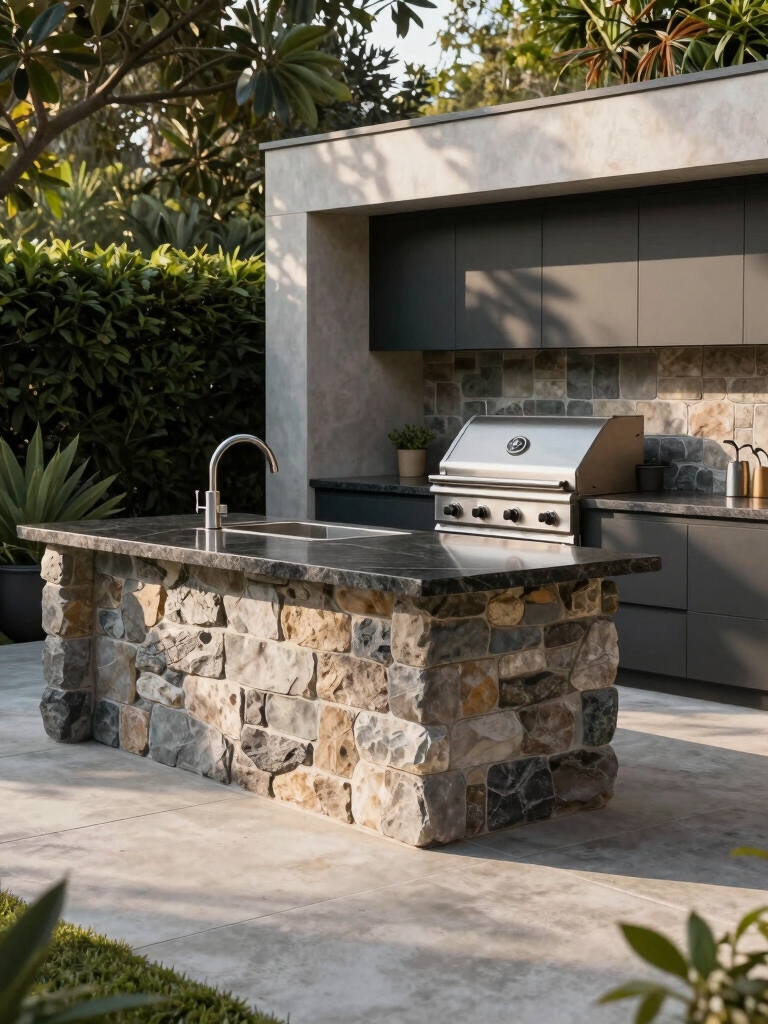
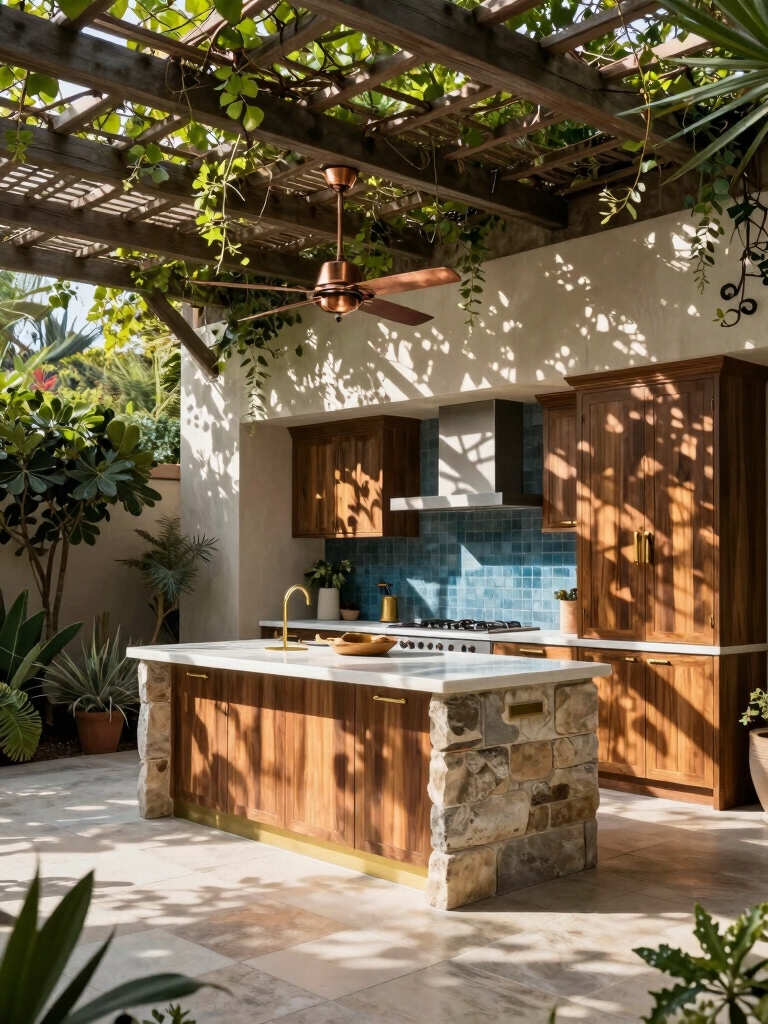
I choose shade strategies that fit your site, like pergolas, sails, or trees, then tune airflow with cross-venting, ceiling fans, and gaps.
Durable materials matter: light colors, fade-resistant finishes, and moisture-resistant surfaces save time and keep temps down for real-world cooking. Modern outdoor kitchen design styles can enhance both functionality and aesthetics for a refreshing cooking experience.
DIY-friendly, practical, proven.
Layout Patterns That Maximize Airflow and Social Interaction
So how can you wire your outdoor kitchen for both breeze and buzz? I’ll show patterns that promote airflow and social flow without clutter. DIY-ready tips below, practical and tight.
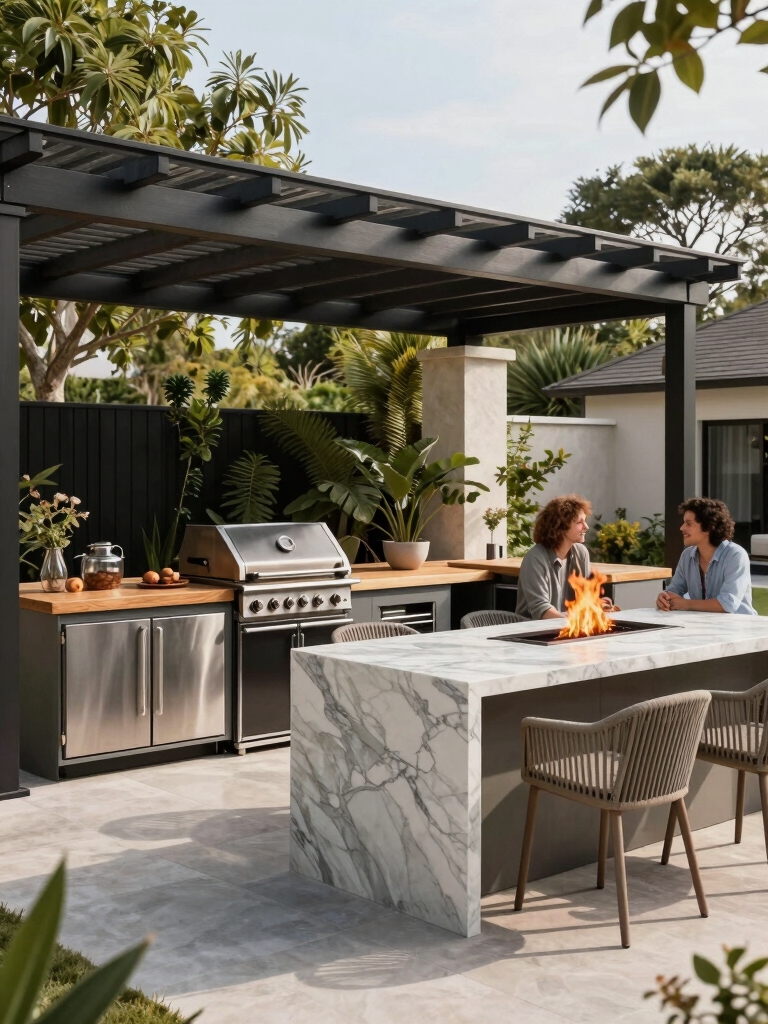
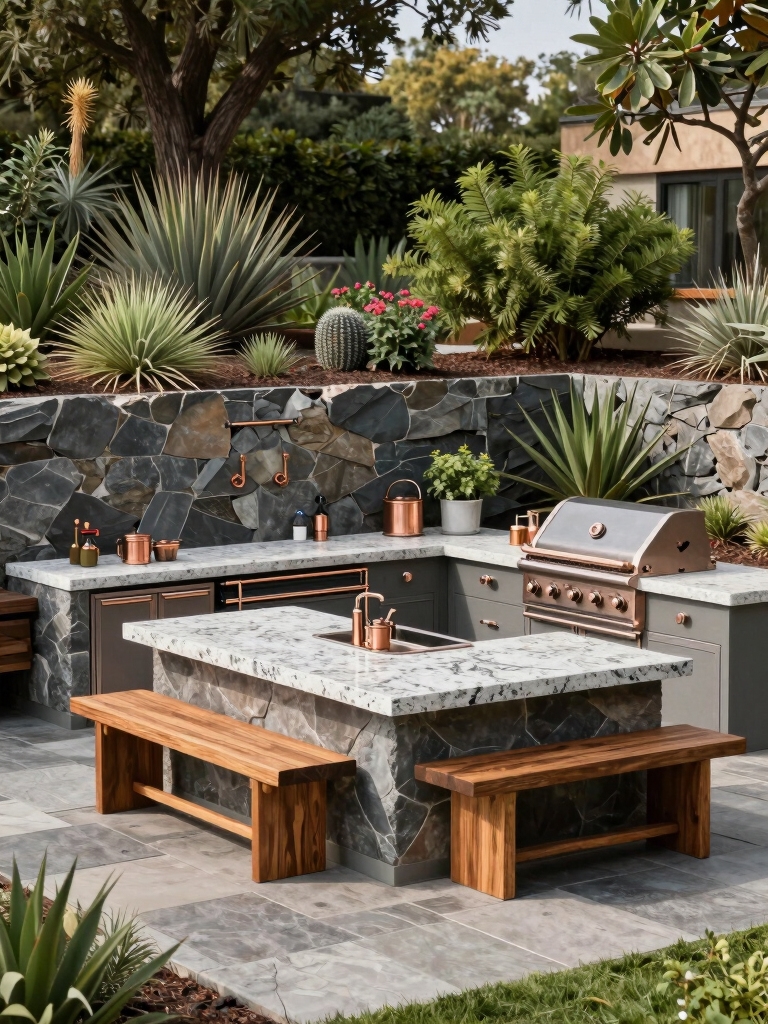
- Parallel counters with a central seating island encourages conversation and cross-ventilation.
- L-shaped layouts direct wind paths past the grill while keeping guests shaded.
- U-shapes maximize airflow channels, keeping traffic clear.
- Open-ended “barrier-free” zones invite movement and eye contact.
Incorporating natural elements like rustic outdoor kitchens can enhance both the aesthetics and functionality of your space.
Fire-Safe Zones and Summer Grilling Best Practices
I’m starting with Fire-Safe Zone Guidelines so you know exactly where you should weld in your grill and fire pit without crowding nearby doors or bushes.
I’ll cover Summer Grilling Best Practices like keeping a water source handy, using proper utensils, and maintaining a clear, dry perimeter for hot surfaces.
We’ll also touch on Hot Weather Cooking Safety so you can handle high temps without overheating, dehydration, or accidents. Additionally, consider incorporating affordable outdoor kitchen ideas to enhance your cooking space without breaking the bank.
Fire-Safe Zone Guidelines
Fire-safe zones aren’t just a recommendation—they’re a must for summer grilling.
I’ll lay out practical guidelines you can apply today, no fluff, just how-to clarity.
- Place grill on noncombustible surface, 10 feet from walls and furniture.
- Clear 3-foot radius of leaves, paper, and dry mulch.
- Shield heat with a metal screen, away from overhangs.
- Keep a water source and extinguisher within arm’s reach.
Additionally, creating fire-safe zones not only ensures safety but enhances your outdoor cooking experience by allowing for a more relaxed gathering.
Summer Grilling Best Practices
Summer grilling benefits from a simple, practical approach: keep the fire safe and the heat contained, then focus on flavor.
I share clear, DIY-friendly steps: position the grill in a dedicated fire-safe zone, use a sturdy mat, and keep a water bottle nearby.
Manage heat with indirect zones, direct sears, and restrained flames for consistent, tasty results. Additionally, consider incorporating stunning outdoor kitchen design ideas to enhance both functionality and aesthetics in your grilling space.
Hot Weather Cooking Safety
We’re coming off a practical look at summer grilling and now I’ll zero in on how to cook safely in hot weather by setting up fire-safe zones and sticking to smart grilling habits.
- Define a clear, nonflammable perimeter around the grill with outdoor-safe stones.
- Keep water and a fire extinguisher handy, within arm’s reach.
- Line flammables away from heat and never leave flames unattended.
- Practice preheating, but avoid overcooking your food in the heat. Additionally, consider incorporating outdoor kitchen designs that can enhance both your cooking experience and safety measures.
Weatherproof Finishes That Stand Up to Heat and Humidity
Keeping outdoor finishes reliable means choosing products that handle heat, humidity, and sun without balking. I look for high-UV resistance, mildew resistance, and flexible elastomeric coatings that won’t crack with temperature swings. For cabinets and countertops, I trust easy-clean, satin finishes. Reapply as needed, seal edges, and test a small area first. Practical DIY tip: label touch-ups by surface type. Additionally, selecting durable outdoor kitchen countertops ensures longevity against the elements.
Energy-Efficient Cooling and Climate-Control Ideas Outdoors
Outdoor spaces deserve comfort without pushing up energy bills.
I share practical, DIY-friendly cooling ideas you can implement this season. Think shading, airflow, and smart staging.
- Install a DIY shade structure with reflective fabric to cut heat.
- Create cross-ventilation by placing fans and vents for steady breeze.
- Use insulated curtains to seal hot spots during peak sun.
- Set up a portable misting system near cooking zones.
Lighting, Power, and Electrical Planning for Warm Evenings
We’ll map out lighting zones so you don’t over-illuminate or glare at the cooktop, keeping task, ambient, and safety lighting in tidy layers.
I’ll walk you through practical power source options that fit a DIY setup—think off-grid, solar-ready, and modest electrical runs that you can plan with simple diagrams.
Let’s start by spotting how Lighting Zones Planning and Power Source Options intersect to keep evenings comfortable, functional, and affordable.
Lighting Zones Planning
Lighting zones are all about planning practical, layered illumination that’s easy to use and stays comfortable after sunset.
I map zones around prep, grill, seating, and entry, so pathways glow softly without glare.
Then I plan dimmable spots, warm temps, and shielded fixtures.
1) Central prep beacon
2) Grill perimeter glow
3) Seating ambers
4) Pathway guides
Power Source Options
To keep your outdoor kitchen buzzing reliably after dark, I’ll map power sources to keep lighting, appliances, and charging smooth without tripping breakers.
For practicality, I favor a simple plan:
1) dedicated circuits for grills and fridges,
2) weatherproof outlets,
3) a portable generator or battery bank as backup,
4) proper GFCI protection,
5) surge protection.
Plan, label, test, and stay flexible.
Storage Solutions That Tolerate Heat and Humidity
Storing gear out here can be a breeze if you choose materials and layouts that truthfully handle heat and humidity.
I’ll share practical tips you can reuse.
- Use UV-resistant cabinets with rust-proof hardware
- Store plastics in sealed bins to deter mold
- Install slatted shelves for airflow and dry surfaces
- Mount hooks and magnetic strips to minimize clutter
Water Access and Easy-Clean Routines for Hot-Weather Kitchens
I’ll tackle water access constraints and share practical, DIY-friendly routines you can use to keep hot-weather cleanup quick and simple.
I’ll show easy-access options for hose hookups, portable sinks, and splash zones that fit outdoor kitchens, plus fast, repeatable clean-up steps.
Let’s walk through practical tips for staying on top of messes without slowing your day down.
Water Access Constraints
Water access is a real design constraint in hot-weather kitchens, so I’ll start by outlining practical options that fit tight spaces and budgets.
- Use a compact hand-pump or gravity-fed jug system for basics.
- Install a small utilitarian sink with a pull-down hose for rinsing.
- Prefer a portable water container and spigot for flexibility.
- Tie-in a splash-proof drainer with a removable filter.
Easy-Clean Routines
When you’re cooking outside in summer heat, quick-clean routines save time and keep bugs and grime from spoiling the meal, so I keep my setup simple and practical.
I rinse with a spray bottle, wipe surfaces with a damp cloth, and stash towels nearby.
I choose minimal cleaning gear, reuse containers, and dry parts thoroughly to prevent mold and rust.
Practical, DIY-tested.
Hot-Weather Cleaning Tips
Hot weather makes cleaning tougher, so I keep water access simple and routines fast.
I’ll share practical, DIY tips you can use right away.
- Rinse stations by sink, not far from prep, cutting steps.
- Pre-mix cleaners in spray bottles for quick bursts.
- Carry a small bucket and rag for instant wipe-downs.
- Dry with towels hung on hooks to prevent drip trails.
Built-In vs Portable: Choosing the Right Setup for Your Space
Choosing between a built-in or portable outdoor kitchen setup depends on how you use your space and your budget.
I weigh permanence against flexibility: built-ins save time, look integrated, and resist weather, but cost more and limit moves.
Portable units slash price and drift with your yard, yet require planning for stability and airflow.
Decide on function first, then scale accordingly.
Design Approaches Under $5,000
With a $5,000 target, you can still build a functional, stylish outdoor kitchen by prioritizing essentials and smart savings.
- Frugal cabinet reuse: repurpose weatherproof storage to hold tools and ingredients.
- DIY counter: build a simple granite-like laminate top on a cedar frame.
- Compact grill zone: choose a single, reliable grill with built-in thermometer.
- Splash-friendly backsplash: budget tiles plus grout for easy cleaning.
Mid-Range Outdoor Kitchens With Premium Touches
I’m unpacking how mid-range outdoor kitchens can feel premium without breaking the bank, balancing solid builds with smart details.
Think durable materials, practical features, and budget-friendly luxuries that elevate the space without complicating the project.
I’ll walk you through attainable touches that punch above their price tag and fit a DIY-friendly approach.
Mid-Range Premium Touches
A mid-range outdoor kitchen shines when you add premium touches without breaking the bank.
You’ll notice upgrades that feel luxe without draining funds, and I’ll walk you through practical steps you can DIY.
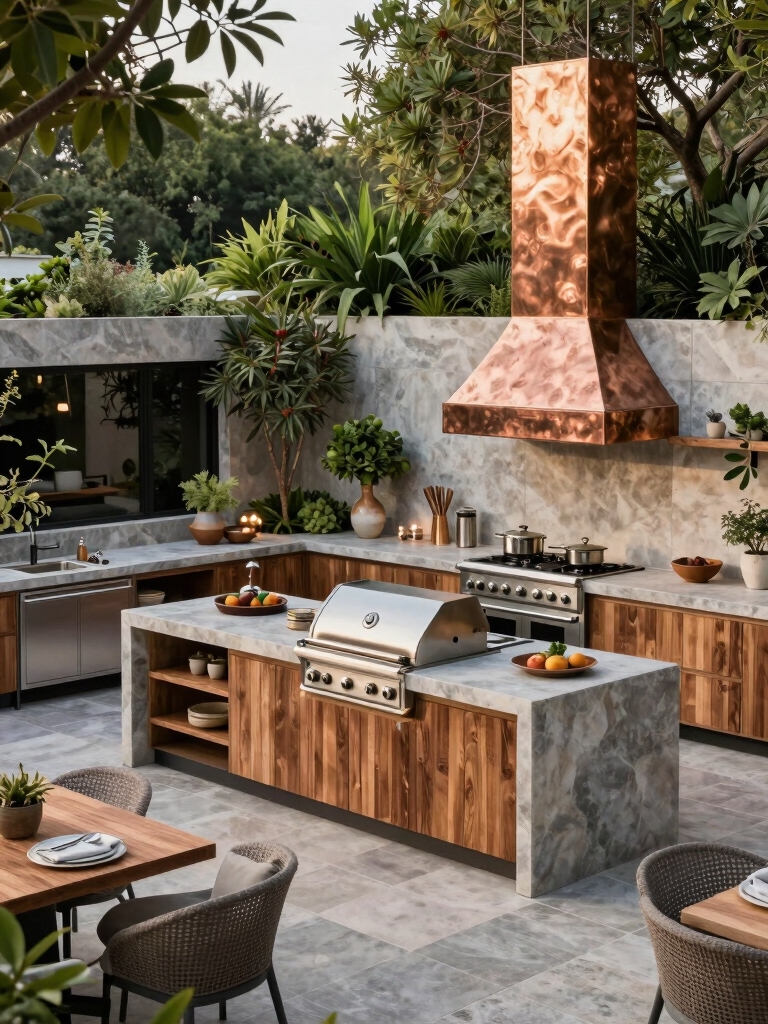
- Stainless accents on cabinets
- Built-in beer/wine cooler
- Stone veneer backsplash
- Under-counter lighting for ambiance and safety
Budget-Friendly Luxuries
Budget-friendly luxuries still feel premium without draining your budget, especially when you prioritize smart choices that deliver big impact.
I’ve found small upgrades—drawer organizers, stainless steel accents, and a quality grill cover—can elevate a mid-range setup.
You don’t need luxury to enjoy durable, stylish vibes; focus on functional details, simple installation, and durable materials that survive heat and humidity.
High-End Smart Outdoor Kitchens and Automation
High-end smart outdoor kitchens blend weatherproof luxury with practical automation, letting your cooking and entertaining flow seamlessly.
I’ll guide you through setting up shields, sensors, and reliable connectivity so grilling feels effortless and responsive.
1) Weatherproof controllers that survive rain and heat
2) Wi‑Fi or hubless networks for dependable remote monitoring
3) Smart lighting that sets moods and loads scenes
4) Modular components for easy upgrades and DIY installs
Small-Space Concepts That Maximize Every Inch of Your Yard
When space is tight, every inch counts—and the right approach makes a small yard feel like a full outdoor living room.
I’ll share simple, practical tweaks you can DIY: foldaway prep stations, vertical herb walls, compact counter space, and modular seating.
Use pocket corners, height variance, and mirrors for openness.
Plan zones, store smart, and enjoy cooking outdoors without crowding your patio.
Tailoring Your Design to Climate and Footprint
Climate and footprint should drive every outdoor kitchen choice, not the other way around.
I tailor designs to climate and space, cutting waste and effort while maximizing comfort.
Here are practical ideas:
- Orient seating to prevailing breeze for cooling.
- Use lighter materials in hot zones; shade where needed.
- Compact layouts minimize yard disruption.
- Build modular components for future tweaks.
Conclusion
I’ve learned that a great hot-weather outdoor kitchen isn’t just a grill and fridge—it’s shade, airflow, and smart materials working in harmony. Picture a sunny afternoon: a breeze gliding through open sightlines, cool tile underfoot, and a shaded prep zone where tasks flow effortlessly. It’s practical, DIY-friendly, and built to endure heat. Start small, plan for shade, and choose weatherproof finishes; soon your yard becomes an easy, inviting extension of your everyday cooking adventures.