I’ll help you pick an island that fits your space and lifestyle, whether a narrow prep cart for a galley or a multi‑function island with a cooktop and seating for an open plan. I focus on traffic flow, prep and storage zones, plumbing and ventilation needs, and layered lighting so the island works and looks great.
I’ll show durable surface choices, seating depths, and phased budgets so you can upgrade smartly — keep going and you’ll get practical layouts and details.
Assessing Your Space Before Choosing an Island

How do you know if your kitchen can really support an island? I measure clearances, traffic flow, and sightlines, then prioritize function—seating, prep, storage.
I consider proportions: island scale versus cabinetry and appliances. I sketch zones, note plumbing or electrical needs, and weigh circulation against comfort.
If the plan respects distances and purpose, an island earns its place; otherwise, rethink size or role. Kitchen islands work best when you respect classic spacing guidelines to maintain usability and flow.
Single-Function Prep Islands for Small Kitchens

I like using a single-function prep island when space is tight because it gives you a dedicated counter just for chopping and staging without crowding the room.
Choose a slim-footprint design—think narrow, movable, or wall-anchored—to keep traffic flowing while still offering a solid work surface.
Add task-specific storage like a knife rail, utensil drawer, or cutting-board slot so every tool you need lives right where you use it.
Small islands can still be powerful design features, proving that size doesn’t matter when planned correctly.
Dedicated Prep Counter
Carving out a single-function prep counter can transform a cramped kitchen into a focused workspace that keeps cooking tasks efficient and clutter-free.
I recommend a dedicated zone with a durable surface, integrated cutting board, and clear storage for tools.
I keep it minimal: one task at a time, easy clean-up, and purposeful placement near sink and stove so prep flows without crowding other work areas.
Unexpected small kitchen islands can also serve as space-saving solutions in compact layouts.
Slim Footprint Design
If you liked the idea of a single-purpose prep counter, you’ll appreciate a slim-footprint prep island that gives small kitchens the same focused functionality without stealing floor space.
I favor narrow islands—about 18–24 inches wide—with durable surfaces, an integrated butcher block or stainless top, and unobtrusive legs or casters. They define workflow, offer a dedicated workspace, and keep circulation open.
Many small kitchens benefit from single-function islands that fit tight layouts without crowding traffic patterns.
Task-Specific Storage
Think of a single-function prep island as a tiny workshop that’s been honed to do one job exceptionally well.
I recommend dedicating it to slicing, baking, or cocktail service with tailored storage: shallow drawers for knives, pull-out bins for mixers, spice rails, and a tray for cutting boards.
In tight kitchens, this curated focus boosts efficiency and keeps countertops uncluttered while feeling intentional.
Add a compact island outfitted with clever storage to maximize utility in small footprints, like those shown in kitchen island storage hacks that make the most of every inch.
Multi-Function Islands With Integrated Appliances

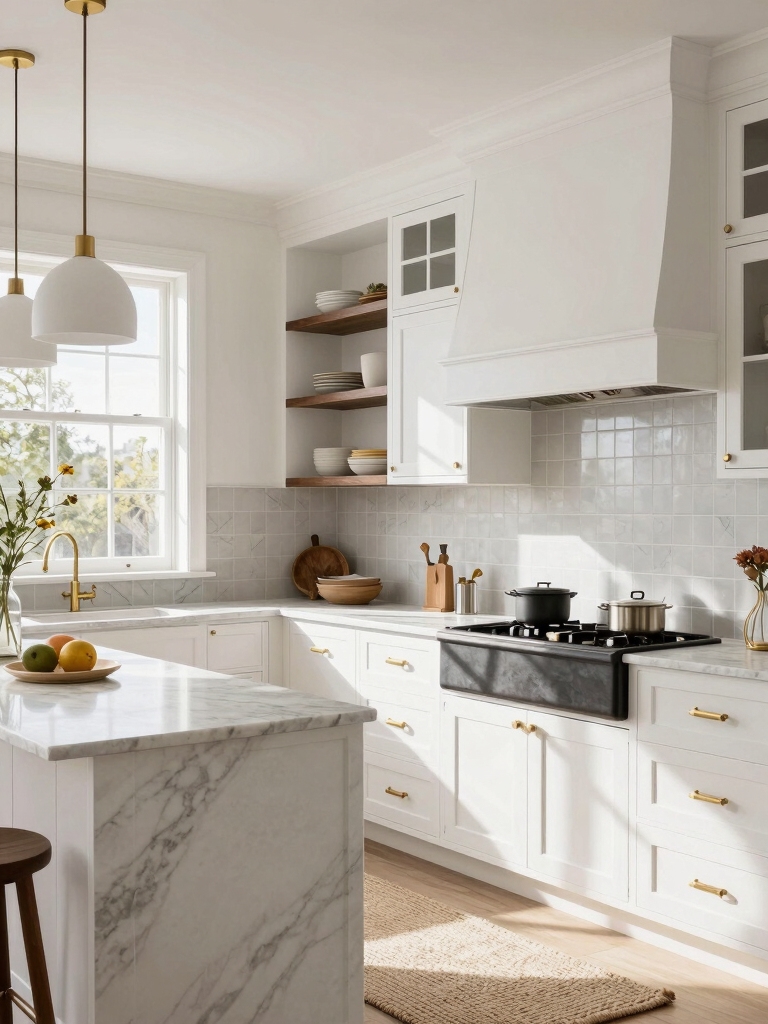
I like when a kitchen island does more than look good — it becomes the room’s workhorse, blending prep space, casual dining, and appliances into a single streamlined unit.
I favor integrated cooktops, under-counter refrigerators, dish drawers, and hidden vents that keep lines clean.
Thoughtful placement saves steps, supports multiple tasks, and keeps the kitchen feeling intentional and uncluttered without sacrificing performance.
Islands that pair an integrated cooktop with proper ventilation and layout planning optimize both function and flow for daily use, especially when designed with a cooktop configuration in mind.
Islands Designed for Entertaining and Bar Seating

Many hosts want an island that pulls guests into the kitchen, so I favor designs that balance seating, service, and flow without feeling crowded.
I recommend varied seating heights, durable surfaces for spill-prone moments, and integrated task zones so servers—whether you or guests—move easily.
Curate lighting and storage to keep clutter hidden, making the island both social hub and efficient workstation.
Consider incorporating bar seating for flexible entertaining and casual dining.
Waterfall-Edge Islands for a Modern Look

Anchoring a kitchen with a waterfall-edge island gives the space a clean, modern pulse, and I often recommend it when you want a statement that’s both sculptural and supremely practical.
I favor continuous stone for visual flow, hidden storage for clutter-free surfaces, and mixed finishes to warm the look. It reads minimal but feels intentionally layered — striking, durable, and effortlessly curated.
L-Shaped Islands for Open-Concept Layouts
When you want an island that tucks into an open floor plan without interrupting sightlines, I turn to L-shaped islands for their blend of social function and workspace efficiency.
I recommend pairing a prep zone with bar seating, using mixed materials to define areas, and adding integrated storage to keep clutter hidden.
They balance conversation, cooking flow, and visual openness without crowding traffic paths.
Peninsula-Style Islands When Space Is Limited
When space is tight, I often recommend a peninsula-style island because it tucks into the floor plan without cutting off traffic.
I’ll show how a narrow countertop can serve as prep space, a casual dining spot, and extra storage so every inch earns its keep.
Let’s look at practical layouts and surface choices that make a small kitchen feel organized and intentional.
Space-Saving Layouts
If I’m working with a tight footprint, a peninsula-style island often gives me the best balance of counter space and traffic flow without eating into the room, because it tucks against a wall or cabinet run and extends usable surface where I need it most.
I favor slim profiles, integrated storage, and open sightlines so the kitchen feels larger. Anchoring finishes and smart lighting complete the compact plan.
Dual-Function Surfaces
I lean on a peninsula-style island as a dual-function surface that keeps a tight kitchen efficient without feeling cramped: it gives me prep counter, casual dining, and storage while hugging a wall to preserve traffic flow.
I choose durable surfaces, undercounter drawers, and overhang seating to layer utility and style. It reads curated, maximizing function without clutter and maintaining clear circulation.
Mobile and Rolling Islands for Flexibility
I’ve come to rely on a mobile island as the kitchen piece that adapts to every task—rolling it out for prep, tucking it aside to open circulation, or parking it by the table for extra seating.
I recommend models with sturdy wheels and stops, versatile tops, and balanced proportions.
- Easily repositionable
- Fast setup for guests
- Extra counter when needed
- Defines zones temporarily
- Keeps sightlines open
Islands With Built-In Storage and Pull-Outs
When I plan an island I think about storage that actually works: deep drawers for pots, vertical slots for trays and pans, and pull-out spice and utensil organizers that keep everyday tools within reach.
These features save cabinet space and make cooking smoother because everything has a designated spot.
I’ll walk you through smart layouts and sizing so the island fits your workflow and kitchen scale.
Deep Drawers for Pots
Deep drawers for pots turn an island into a hardworking hub where bulky cookware isn’t hidden in dark cabinets but lives in easy reach;
I’ll show you how to think through depth, dividers, and pull-out inserts so every piece has its place.
- Measure for full-depth access
- Choose soft-close slides
- Add adjustable dividers
- Use pull-out racks for lids
- Keep heavy items low
Vertical Tray and Pan Storage
If you loved how deep drawers keep pots organized, you’ll appreciate what vertical tray and pan storage does for flat cookware: it makes plates, baking sheets, and cooling racks stand upright and grab-ready instead of stacked and hard to sift through.
I recommend adjustable dividers, soft-close slides, and mixed-height slots so your island stores everything neatly, maximizes space, and keeps daily prep effortless and visible.
Pull-Out Spice and Utensil Organizers
Across the front of an island, pull-out spice and utensil organizers turn clutter into reach-and-go convenience, and I always recommend them for cooks who want everything at hand without sacrificing style.
I choose slim, labeled racks and soft-close slides to keep order and calm.
- Slim spice shelves
- Vertical utensil trays
- Soft-close hardware
- Adjustable dividers
- Integrated lighting
Incorporating a Sink or Cooktop Into the Island
For me, deciding whether to put a sink or cooktop in an island starts with how I use the kitchen: do I want the island to be a prep hub, a social center, or both?
I weigh workflow, plumbing/electrical complexity, ventilation needs, and safety.
I choose fixtures that match my routine, prioritize clear sightlines, and plan storage nearby for efficient, curated functionality.
Seating Configurations and Overhangs for Comfort
Now that we’ve looked at placing sinks and cooktops in the island, I want to talk about seating configurations and overhangs so your counter is actually comfortable to use.
I’ll cover practical overhang depth guidelines, which seating types work best for different heights and styles, and the legroom and clearance you should plan for.
These choices are small details that make a big difference in daily comfort and flow.
Overhang Depth Guidelines
When I’m planning seating at a countertop or island, I focus on overhang depth as the difference between a comfortable perch and a cramped one; it determines how people sit, eat, and move around each other.
- 10–12″ for stools without knees under
- 12–15″ for casual dining
- 15–18″ for full knee room
- 18+” for deep comfort
- Consider stool back and footrests
Seating Type Choices
Although overhang depth sets the foundation, I choose seating types to shape how people use the space—bar stools for casual chatting, counter stools for quick meals, and chairs for more relaxed dining—and each brings different clearance and comfort needs.
I recommend mixing heights, backs, and swivel or fixed bases to balance interaction and function, curating materials for durability and visual cohesion without overcomplicating the layout.
Legroom and Clearance
Because comfort starts where bodies meet counters, I pay close attention to legroom and clearance when planning seating configurations and overhangs.
I balance stool height, knee space, and traffic flow so people sit naturally and move easily.
- 10–12″ overhang for casual seating
- 15″ knee clearance under islands
- 24–30″ seat spacing per person
- 36″ aisle minimum behind chairs
- recessed supports for toe room
Lighting and Electrical Considerations for Islands
I’ll start by saying the island is the heartbeat of a modern kitchen, and getting its lighting and electrical right makes that heartbeat steady and useful — task lights for prep, accent lights for ambiance, and strategically placed outlets for gadgets.
I advise layered lighting: pendants, undercounter strips, and dimmers.
Plan circuits for appliances, consider pop-up outlets, and consult an electrician to meet code and usability.
Material and Finish Choices for Island Surfaces
When I choose island surfaces, I start by balancing function and personality: hard-wearing materials like quartz or honed granite handle prep and spills, while warm woods or matte concrete bring texture and a softer look.
- Quartz: low maintenance, consistent pattern
- Granite: heat resistance, natural veining
- Wood: warmth, can be oiled
- Concrete: customizable finish
- Stainless steel: sleek, hygienic
Zoning and Traffic Flow Around the Island
As I plan the island, I think about how people will actually move and live around it: clear zones for prepping, cooking, seating, and passing through keep the space efficient and safe.
I map dedicated work triangles, allow 36–48 inches for circulation, separate social seating from hot zones, and use lighting and flooring changes to subtly guide traffic while keeping sightlines open and functional.
Budgeting and Phased Island Remodel Strategies
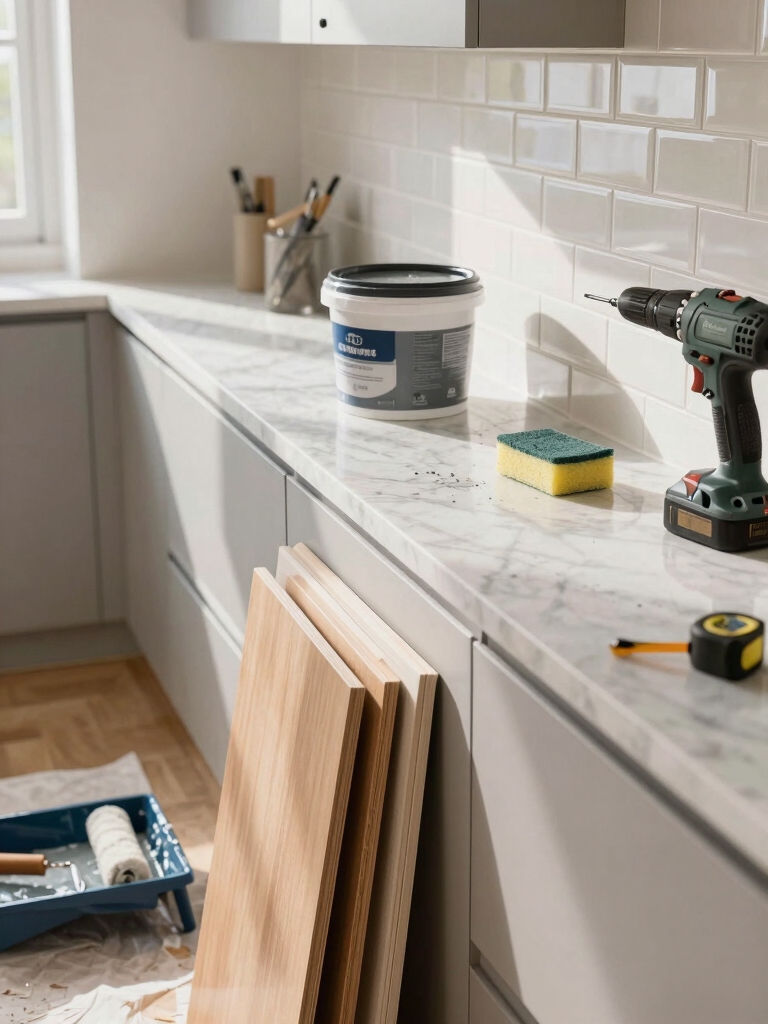
Although a full island overhaul can be tempting, I recommend breaking the project into phases so you can control costs, test materials, and live with each change before committing to the next.
I plan budgets, prioritize function, and stagger upgrades to reduce disruption.
- Assess essentials first
- Set realistic budget tiers
- Phase plumbing/electrical upgrades
- Trial surface samples
- Schedule countertop and seating last
You’ve got options for every kitchen and every budget, and I hope these island ideas sparked plans you can actually use.
Think of your island like a well-packed suitcase—compact when you need it, roomy when you entertain, and tailored to the trip you’re taking.
Start by evaluating flow and needs, then layer function, finish, and lighting to curate a space that feels personal. Take it one thoughtful phase at a time.