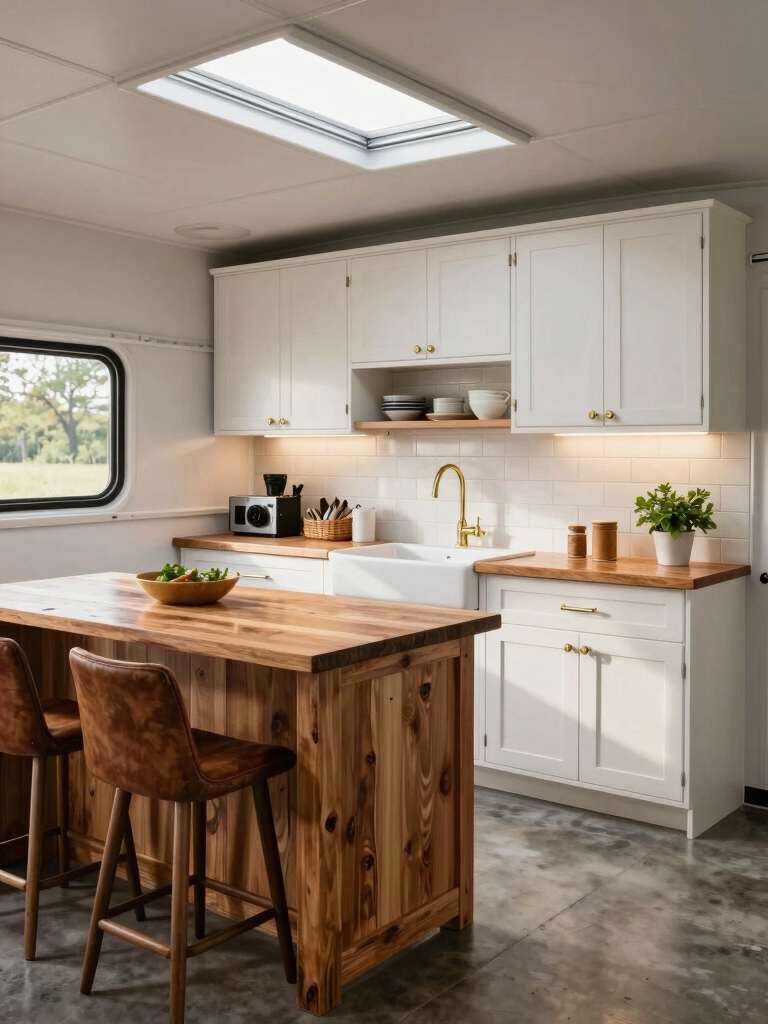
I’ll show you simple, high-impact moves you can do for under $500 to make your kitchen feel custom. Start by painting lower cabinets a moody shade and uppers bright, add trim for shaker-style doors, and swap dated knobs for a mix of matte black and brass.
Use peel-and-stick backsplash or refreshed countertops, update lighting with warm LEDs and undercabinet strips, and style thrifted finds on open shelves—keep going and you’ll pick up exact projects, costs, and step-by-step tips.
Quick Cabinet Refreshes That Look Custom

I’ll show you how small cabinet changes can read like a custom job without blowing your budget: swap out dated knobs for a mix of matte black and brass, add simple trim to create shaker-style doors, or paint the lower cabinets a moody color while keeping uppers bright to mimic built-ins.
I’ll walk you through prepping, cost-saving materials, and paint techniques for crisp, lasting results.
A fresh coat can make old cabinetry look nearly new, especially when you focus on cabinet refinishing and attention to prep work.
Swap Hardware for Instant Style

I swapped out dated pulls and knobs and it instantly modernized the whole cabinet look—it’s one of the cheapest, highest-impact moves you can make.
I’ll show you how to choose styles that read contemporary without clashing. And I’ll explain how to mix finishes thoughtfully so the kitchen feels cohesive, not chaotic.
Many successful makeovers follow simple, low-cost strategies like those in Budget-Friendly Kitchen Cabinet Makeovers to keep costs under control.
Modernize Cabinet Look
When you’re ready to give your cabinets a fresh, modern vibe without ripping anything out, swapping the hardware is the fastest, most budget-savvy move I recommend.
I pick streamlined pulls or matte knobs to update style instantly, match scale to door size, and install consistent spacing for a custom look.
It’s quick, inexpensive, and transforms the room’s personality overnight. Many beginners can achieve these results with simple tools and basic skills, making it a great beginner-friendly DIY project.
Mix Finishes Thoughtfully
Mixing finishes thoughtfully can turn a basic hardware swap into a signature design move that feels deliberate, not thrown together.
I swapped brass knobs on upper cabinets for matte black pulls below and kept chrome faucets—contrast brings depth.
Pick two complementary finishes, repeat them in small doses, and keep scale consistent.
It’s an affordable tweak that instantly elevates the room’s personality and cohesion.
Stunning cabinet makeovers often start with paint and hardware swaps that create dramatic before and after transformations.
Paint Tricks to Open and Brighten

How can a coat of paint make your kitchen feel twice as big? I choose pale, warm neutrals on walls and ceilings to bounce light, then paint trim a crisp white for contrast.
Reflective, satin finishes amplify brightness. I also suggest painting tall cabinets lighter than lower ones to lift sightlines.
Small, targeted color pops keep personality without shrinking the space. Pair white cabinets with warm accents and timeless contrasts to keep the room lively and never flat, especially when you use white cabinet pairings to guide your choices.
Peel-and-Stick Backsplash Ideas

I love using peel-and-stick backsplashes when I want a fast, budget-friendly update that still looks designer-made.
I’ll walk you through quick product options, simple prep and installation tips, and how to pick stylish patterns that read high-end without the cost.
With a little planning you’ll get a polished focal point in a weekend.
Affordable swaps like new hardware, paint, and lighting can completely fool the eye and elevate the whole kitchen with minimal cost and effort — see how budget-friendly kitchen updates can make a big difference.
Quick Peel-And-Stick Options
Peel-and-stick backsplashes have become my go-to when I want a fast, stylish update without tearing out tile or calling a pro.
I pick options like metallic subway, faux marble, geometric vinyl, or textured stone-look sheets to match cabinets and countertops.
They’re budget-friendly, easy to swap, and instantly modernize the kitchen.
Small pattern choices can create big personality without breaking the bank.
Weekend projects like cabinet refacing can pair perfectly with peel-and-stick backsplashes to transform a kitchen quickly and affordably, especially when you focus on cabinet makeovers that simplify the process.
Prep and Installation Tips
Before you stick anything down, I always take the time to prep the wall properly so the finish looks professional and lasts. I clean, sand glossy spots, and fill holes for a smooth surface.
I measure carefully, plan grout-line seams, and warm adhesive with a hairdryer in cold rooms. Trim precisely, press firmly from center outward, and caulk edges for a clean, durable result.
Stylish Patterns on Budget
Often I reach for patterned peel-and-stick tiles when a client wants big style without the big cost or commitment.
I suggest geometric, Moroccan, or subway mash-ups to add personality instantly. They’re forgiving for imperfect walls, removable for renters, and quick to install.
Mix matte and glossy finishes, stagger patterns for movement, and keep grout lines minimal to maintain a clean, updated look.
Budget-Friendly Lighting Upgrades

I usually start a kitchen refresh by rethinking the lighting, because swapping fixtures and bulbs delivers big visual impact without blowing the budget;
I’ll walk you through simple, stylish changes—like upgrading to LED, swapping a dated pendant, and adding task lighting—that lift both form and function while keeping costs down.
I suggest warm LEDs, dimmers, undercabinet strips, and thrifted or DIY fixtures for personality.
Smart Open Shelving on a Shoestring
Lighting can set the mood, but smart open shelving gives your kitchen personality and practical storage without a big spend, so I like to pair warm LEDs and layered light with a few well-placed shelves.
I choose affordable brackets, thrifted wood, and tidy styling to keep things chic and functional.
- Reclaimed pine plank
- Matte black brackets
- Uniform white dishes
- Herb pots in terracotta
- Concealed LED strip
Affordable Countertop Makeovers
When updating a kitchen on a budget, I turn to countertop makeovers that deliver big style without a full replacement.
I refinish laminate with paint kits, add peel-and-stick faux stone, or install affordable butcher block overlays.
These options refresh surfaces quickly, resist stains, and stay under $500. I recommend testing samples, prepping thoroughly, and sealing edges for durability and a polished look.
DIY Accent Wall Treatments
I’ll walk you through simple DIY accent wall treatments that give your kitchen personality without blowing the budget.
I picked options that are quick, low-cost, and high-impact so you can refresh the room in a weekend.
- Bold paint stripe or geometric stencil
- Peel-and-stick wallpaper behind open shelves
- DIY shiplap with thin plywood
- Removable tile decals near the stove
- Floating shelf vignette with contrasting color
Organizing Systems That Transform Function
Now that your accent wall sets the mood, let’s talk about making the kitchen actually work for you.
I’ll show how simple drawer dividers and inserts tame utensils and prep tools, while open-shelf binning keeps everyday items accessible and styled.
With a few smart organizers you’ll boost function without blowing the budget.
Drawer Dividers and Inserts
I love how a few simple drawer dividers and inserts can turn chaos into calm—pull one open and everything has a place, which makes cooking and cleanup faster.
I swap mismatched utensils for tidy zones, save time hunting gadgets, and keep surfaces clear. Here’s how it looks:
- Slim tray for utensils
- Adjustable bamboo dividers
- Knife block insert
- Spice jar rack
- Baking tool caddy
Open-Shelf Binning
I’ve embraced open-shelf binning because it makes storage feel intentional instead of cluttered—pull a labeled basket and everything you need is right there.
I group items by task: baking, snacks, daily dishes.
I mix woven baskets and clear bins for style plus visibility, label fronts, and keep heavier items low.
It’s affordable, flexible, and turns open shelving into a tidy, efficient system.
Statement Faucets Without the Price Tag
Let’s cut to the chase: you don’t have to blow your budget to get a faucet that turns heads. I swapped mine for a matte black pull-down and the kitchen felt new.
Look for high-contrast finishes, easy-install single-handle models, and reliable cartridge valves for longevity.
- Matte black pull-down
- Brushed brass tone
- Compact industrial gooseneck
- Two-tone finish
- High-arc minimal design
Flooring Fixes That Don’t Require Demo
You can give your kitchen a whole new vibe without tearing out the floor — I learned that when I layered luxury vinyl planks over tired tile and suddenly the room felt warmer and more modern.
Try peel-and-stick tiles, paint stencils for concrete, or low-profile floating floors. Each option’s quick, affordable, and reversible, so you get style upgrades without demolition stress or big costs.
Create a Focal Island on a Budget
With a few smart moves and a modest budget, I can turn a plain counter into a focal island that anchors the whole kitchen.
I pick a standout paint color, add open shelving, and tweak lighting to make it feel intentional without major work.
- Deep accent paint
- Portable butcher block top
- Under-counter baskets
- Statement pendant
- Decorative corbels
Small Appliance Styling and Placement Tips
I pull a few key machines out of hiding and arrange them so they feel intentional instead of cluttered; small appliances can be styled like accessories if you think with respect to rhythm, scale, and function.
I group similar finishes, stagger heights, and leave breathing room. Keep daily-use items visible, stash occasional gadgets in cupboards, and use a tray or mat to anchor the collection.
Thrift and Upcycle Finds That Shine
Digging through thrift shops and flea markets has become one of my favorite ways to add personality without blowing the budget.
I scout for pieces I can clean, paint, or tweak to fit my kitchen’s vibe. Small changes deliver big charm.
- Vintage enamelware reborn as utensil holders
- Brass pulls polished or spray-painted
- Retro frames for menu art
- Glass jars repurposed for storage
- Wooden crate shelving
Plan, Prioritize, and Shop Smart for Savings
Finding thrifted treasures got me excited about what a little elbow grease can do, but planning will keep that excitement from turning into overspend.
I list must-haves, set a strict cap per area, and track receipts. I prioritize fixes that boost function and resale, then hunt sales, coupons, and swap meets. That strategy stretched my $500 into real impact.
I once turned my dated cabinets into a mini-showroom by swapping hardware and adding peel-and-stick tile—cost: $142 and a weekend. That little change felt like upgrading from a flip phone to a smartphone: same core, wildly different vibe.
You can do this room by room, prioritizing what you see and use most. With a plan, thrifted finds, and smart paint tricks, a fresh, custom-looking kitchen is within reach—no bank loan required.