I’ll show you how to turn tired cabinets into a high‑end look for under $500 using smart prep, paint, and a few swap‑outs. Start by degreasing and light sanding, prime with a high‑adhesion product, then use durable acrylic enamel or a high‑build satin for two thin coats; swap hardware with measured placement and consider peel‑on or adhesive options if you rent.
Add open shelving, liners, or a refaced door for impact. Keep reading to get step‑by‑step tools, timelines, and mistakes to avoid.
Planning Your Budget-Friendly Cabinet Makeover
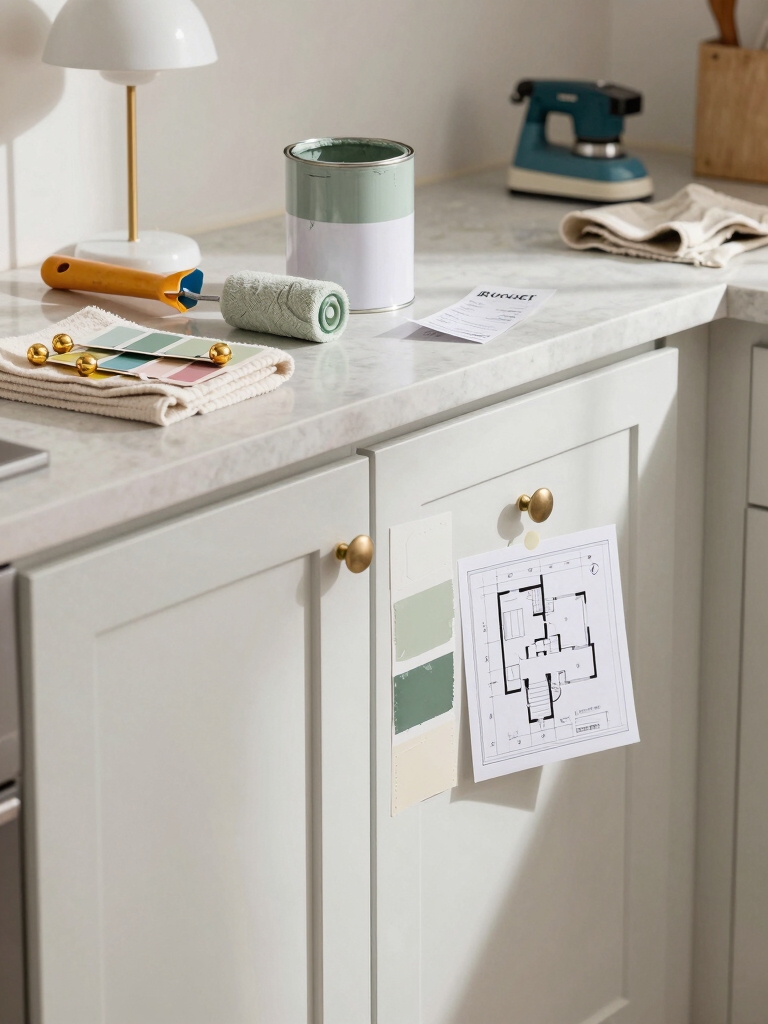
Let’s jump into planning a budget-friendly cabinet makeover that actually delivers style without breaking the bank.
I’ll help you list priorities, measure accurately, and set a firm cap so decisions stay smart.
We’ll choose where to splurge—hardware, open shelving, or minor structural fixes—and where to save with DIY labor or simple updates that refresh your kitchen affordably and thoughtfully.
Avoid common pitfalls like inadequate surface prep or skipping primer to ensure a professional-looking finish and longer-lasting results, especially when repainting cabinets can suffer from poor adhesion if not done correctly.
Choosing Paints and Finishes That Last

Now that your budget and priorities are locked in, picking paints and finishes becomes the move that makes everything look intentional.
I choose durable, low-VOC acrylic enamel for cabinets—hard-wearing, easy to clean, and smooth.
I match sheen to use: satin for most, semi-gloss for high-traffic areas.
I seal edges and hardware with a clear water-based urethane to protect against chips and fingerprints.
Pros like me also recommend proper surface prep and using a high-quality brush or foam roller for smooth results.
Step-by-Step Cabinet Painting for Beginners

I’ll walk you through a straightforward, foolproof process for painting cabinets so you get professional-looking results without guesswork.
I’ll show prepping—cleaning, sanding, and deglossing—then priming, steady brush and foam-roller technique, and light sanding between coats.
I recommend two thin, even coats of durable paint and hardware masking.
Allow proper drying and cure times for a hard, lasting finish you’ll love.
Freshly painted cabinets can transform your kitchen and boost its appeal with minimal expense; see how painted kitchen cabinets change everything.
Quick and Affordable Drawer and Door Refacing

If you want a big kitchen update without ripping everything out, refacing drawer fronts and doors is a smart, budget-friendly move that delivers high-impact results fast.
I measure carefully, choose durable veneer or paint-grade panels, remove fronts, and replace or laminate them. It’s a quick project—clean lines, consistent finish, minimal disruption—and it refreshes your kitchen for well under $500.
Weekend projects like these are perfect for DIY kitchen Cabinet Makeovers when you want impressive results without a full renovation.
Swap Hardware for Instant Style Upgrade

Swap out the old knobs and pulls and you’ll give your cabinets an instant style lift without touching the doors themselves.
I like mixing finishes — matte black for contrast, brass for warmth — and matching backplates to hide old marks.
Measure hole spacing, choose durable materials, and swap in stages so you can tweak style.
New hardware refreshes feel and function for little cost.
Beginner-friendly projects like simple cabinet updates are great entry points for DIY kitchen cabinet makeovers and build your confidence for larger renovations.
Open Shelving and Removing Upper Doors
I’ve stripped a few upper doors off my own cabinets to try open shelving, and the difference is immediate — the kitchen breathes, looks lighter, and suddenly displays become part of the design.
I curated everyday dishes, glassware, and a few plants for balance, keeping items organized and color-coordinated. It’s affordable, easy to revert, and forces tidy, intentional styling that reads like purposeful decor.
I also recommend arranging items to highlight open kitchen cabinets as a stylish display.
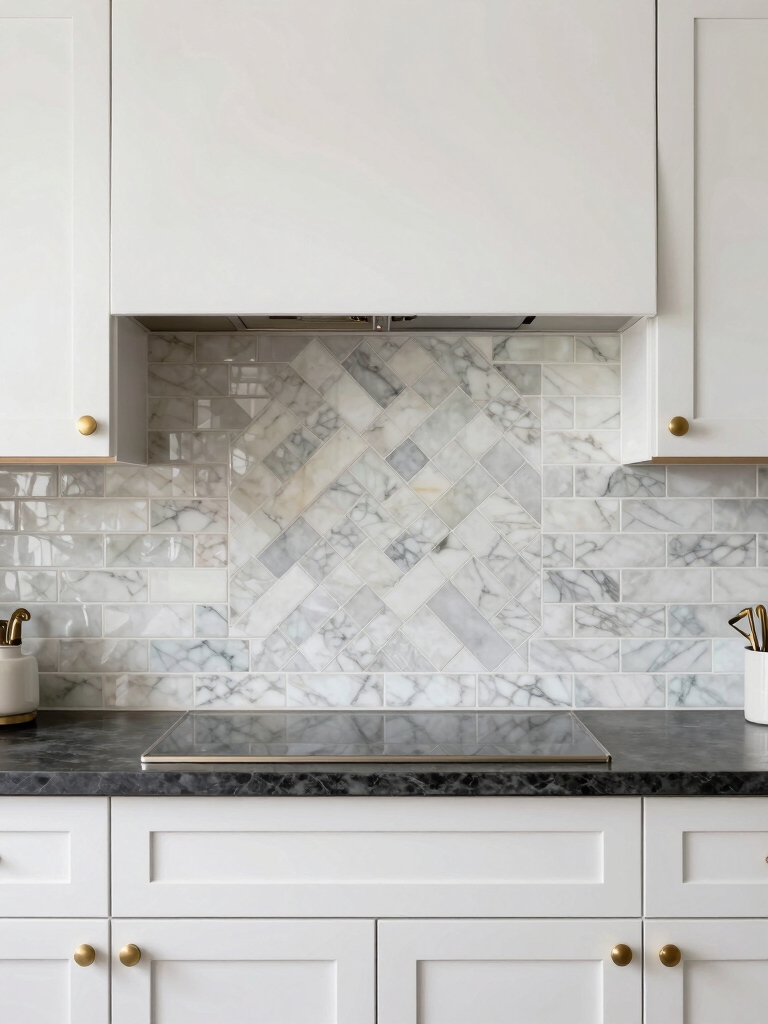
Adding Trim and Molding for Custom Looks
When I want a run-of-the-mill cabinet to read custom, I reach for trim and molding — it’s the quickest way to add architectural interest without gutting the kitchen.
I measure and choose profiles that echo crown or baseboards, add beadboard panels for depth, and caulk seams cleanly.
A fresh coat of paint ties everything together, giving cabinets a tailored, high-end feel on a budget.
Many homeowners have been shocked by reveals when simple painted cabinet updates dramatically changed their kitchens.
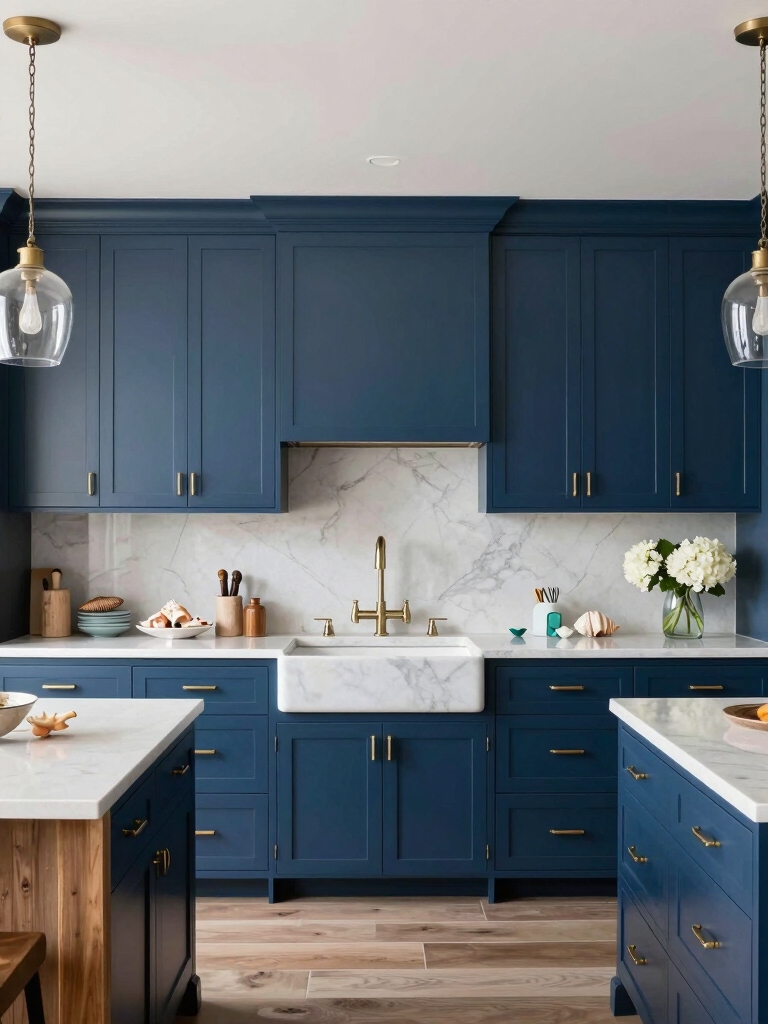
Two-Tone Cabinets: Tips and Placement Ideas
I like using two-tone cabinets to create clear visual zones, so I usually recommend contrasting upper and lower units to keep the room feeling airy while grounding the work surfaces.
For a focal point, I’ll paint the island a richer hue to act as an accent while keeping surrounding cabinetry more neutral.
When I pick colors I follow simple pairing rules—one dominant shade, one supporting tone, and a finish contrast—to keep the look intentional and balanced.
Upper vs. Lower Contrast
Contrast can make a kitchen feel deliberate rather than accidental, and I’ll show you how uppers and lowers play different visual roles.
I prefer lighter uppers to lift the room and darker lowers to ground it; that balance hides scuffs and frames appliances.
Keep finishes consistent, pick a unifying hardware tone, and test paint samples at eye level before committing.
Island Accent Strategies
Often I choose the island as the place to flex a second cabinet color because it anchors the room without overwhelming it.
I favor durable finishes, contrast in texture, and hardware swaps to differentiate the island.
Placement near natural light and clear sightlines maximizes impact.
Keep proportions balanced: smaller islands suit bolder tones, larger ones can carry subtle depth while tying into surrounding cabinetry.
Color Pairing Rules
A few simple rules will keep your two-tone cabinet scheme looking deliberate instead of accidental: I pick a dominant color for most of the cabinetry and a secondary hue for accents—islands, uppers, or lower runs—so the eye has a clear place to rest.
I balance warm and cool tones, repeat one color in hardware or trim, and test samples under real light before committing.
Faux Shiplap and Beadboard Accents
When I want to give cabinets instant character without a full remodel, I turn to faux shiplap or beadboard accents because they add texture and depth while staying budget-friendly.
I often add narrow boards to cabinet sides, backsplashes, or inside open shelving, paint them crisp white or subtle gray, and caulk seams for a polished look—small details that read custom without breaking the bank.
Creative Cabinet Door Inserts on a Budget
I love swapping in unexpected inserts to give plain cabinet doors personality without blowing the budget.
Mesh or metal screens add an industrial, airy feel and keep things sturdy, while fabric or wallpaper panels let you introduce pattern and color that’s easy to change.
Let me walk you through simple materials and fastening methods so you can pick an insert that fits your style and skill level.
Mesh and Metal Inserts
Sometimes the simplest swap gives the biggest style boost, so I like using mesh and metal inserts to update cabinet doors without blowing the budget.
I swap plain panels for reclaimed wire mesh, perforated brass, or copper sheets to add texture and light.
It’s an easy DIY: measure, cut, secure with trim, and finish edges.
The result feels modern, airy, and expensive.
Fabric and Wallpaper Panels
Mesh and metal can add airiness and edge, but fabric and wallpaper bring instant warmth and pattern without much fuss.
I peel doors, measure panels, and use spray adhesive or removable wallpaper for a clean finish.
Choose washable fabrics, match grain direction, and finish edges with trim or iron-on hem tape.
It’s an inexpensive, reversible update that feels custom and cozy.
Prep Work: Cleaning, Sanding, and Priming Right
I’ll walk you through the prep work that makes a cabinet makeover hold up: cleaning away grease, sanding for bite, and priming to create a lasting bond.
I start with a degreaser and microfiber, target creases, then sand lightly to scuff glossy finishes. I vacuum dust, tack cloth, and apply a high-adhesion primer in thin coats.
Proper prep saves time and guarantees a smooth, durable finish.
Renter-Friendly Temporary Cabinet Updates
If you’re renting but want a fresh look, I’ll show you small changes that make a big impact without risking your deposit.
Try peel-and-stick shelf liners for a clean, protected interior, removable cabinet decals to mimic paint or inset panels, and temporary hardware swaps—like slip-on knobs or magnetic pulls—for instant style.
I’ll walk you through selecting durable, easy-to-remove options and the simple steps to install them neatly.
Peel-And-Stick Shelf Liners
I often reach for peel-and-stick shelf liners when I want a quick, renter-safe refresh that still looks intentional; they protect surfaces, hide wear, and add pattern or color without permanent changes.
I pick easy-clean, non-slip options and cut precisely for a custom fit.
- waterproof protection
- simple peel-and-stick install
- trims conceal chips
- changeable seasonally or by mood
Removable Cabinet Decals
After using peel-and-stick liners, I like to carry that same renter-friendly mindset up onto the cabinet faces with removable decals that make a big visual impact without permanent change.
I pick matte geometric patterns or subtle faux-millwork, measure panels precisely, and smooth bubbles with a plastic card.
They peel cleanly, refresh style instantly, and let me experiment without committing to paint or permanent alterations.
Temporary Hardware Swaps
Swapping out dated knobs and pulls is one of the fastest ways I refresh a kitchen without touching paint or hardware holes; I look for renter-friendly options that slip on, stick, or clamp so nothing’s drilled into place.
I’ll swap for style, then test function. Quick picks I love:
- adhesive knobs
- clip-on pulls
- magnetic fronts
- temporary backplates
How to Refresh Cabinet Interiors and Drawers
Let’s dig into the often-overlooked insides of your cabinets and drawers—I’ll show you how small changes make a big difference.
I clean, sand lightly, and line shelves with peel-and-stick contact paper for pattern and protection.
I add clear bins, drawer dividers, and simple labels to organize spices and utensils.
A fresh coat of paint brightens cramped spaces and improves function.
Time-Saving Tools and Techniques for Weekend Projects
When I’m planning a weekend cabinet refresh, I lean on quick prep hacks like tack cloths and peel-off caulk to cut setup time without cutting corners.
For speedy paint methods I use a high-quality sprayer or a fast-curing alkyd formula, plus light sanding between coats for a flawless finish.
And when it comes to hardware, I swap hinges and pulls in batches with a simple template and magnetic tray so the whole job feels smooth and efficient.
Quick Prep Hacks
I like to get a weekend cabinet makeover off the ground by cutting prep time in half with a few smart tools and tidy routines. I focus on efficient cleaning, labeling, and staging so painting and hardware swaps flow.
- Microfibre cloths and citrus cleaner
- Magnetic trays for screws
- Pre-cut painter’s tape strips
- Portable folding table for parts
Speedy Paint Methods
Now that the prep’s out of the way, I’ll focus on paint methods that shave hours off a weekend makeover.
I use quick-dry primer, high-build satin for one-coat coverage, and a mini HVLP sprayer for smooth, fast application.
Roller tips for flat panels and angled brushes for trim speed things up.
Dry times, ventilation, and tidy drop cloths keep the project efficient and polished.
Efficient Hardware Swaps
Swap smart and you can change the whole look of your kitchen in a few hours without ripping out cabinets.
I swapped knobs and pulls myself, saving time and money. I’ll show quick tools and tricks that keep doors aligned and holes hidden.
- Measure twice, buy once
- Use a jig for consistent placement
- Quick-fill mismatched holes
- Torque-limited driver prevents striping
Common Mistakes to Avoid During a Makeover
Because cabinet makeovers can look straightforward on Pinterest, I’ve seen homeowners rush and trip over the same pitfalls — mismatched finishes, poor prep, and unrealistic timelines — that turn a fresh renovation into a patchwork job.
I always double-check measurements, test paints and hardware together, sand and prime thoroughly, and schedule realistic blocks of time. Small planning choices preserve a polished, cohesive result.
You’ve got everything you need to transform cabinets on a shoestring without sacrificing style. I’ll be honest — a little prep and the right materials make a world of difference — and watching dated cabinets turn into fresh focal points feels like uncovering hidden treasure.
Pick the smart paint, swap hardware, and use renter-friendly tricks when needed. With these tips, your kitchen will sparkle again, and you’ll finish the job feeling proud and savvy.