Here’s how I get a high-end look on a budget: I start with cohesive color stories across cabinetry, countertops, and hardware, swapping pulls and painting to unify the space. I layer textures and light with sleek fixtures, a budget-friendly backsplash, and premium-looking finishes. I keep surfaces clean, seals fresh, and grout refreshed for a near-new feel. I plan quick, high-impact changes that don’t require permanent chaos. Stay with me to uncover more smart tweaks.
What Makes a Kitchen Look High-End on a Budget

A high-end kitchen doesn’t have to break the bank; smart tweaks can elevate the space with a focused, budget-friendly approach.
I’ll show you practical tricks: prioritize clean lines, cohesive color, and purposeful lighting. Replace clutter with intent, keep surfaces seamless, and use texture to signal luxury.
Small-scale updates, well-planned layouts, and durable finishes deliver a refined look without overspending. Consider budget-friendly kitchen remodel ideas to maximize your impact without exceeding your budget.
Choose Hardware That Instantly Elevates Cabinets

Choosing hardware is my quick way to elevate cabinets, and I start by matching the finish to the room’s overall vibe.
I pair bold knobs or sleek pulls with the right finish to create a cohesive look, then use a standout piece as a subtle accent.
Let’s consider a statement knob or a unique pull as the easy, surgical move that instantly refreshes your space. Additionally, opting for updated hardware can significantly contribute to kitchen cabinet upgrades that boost home value.
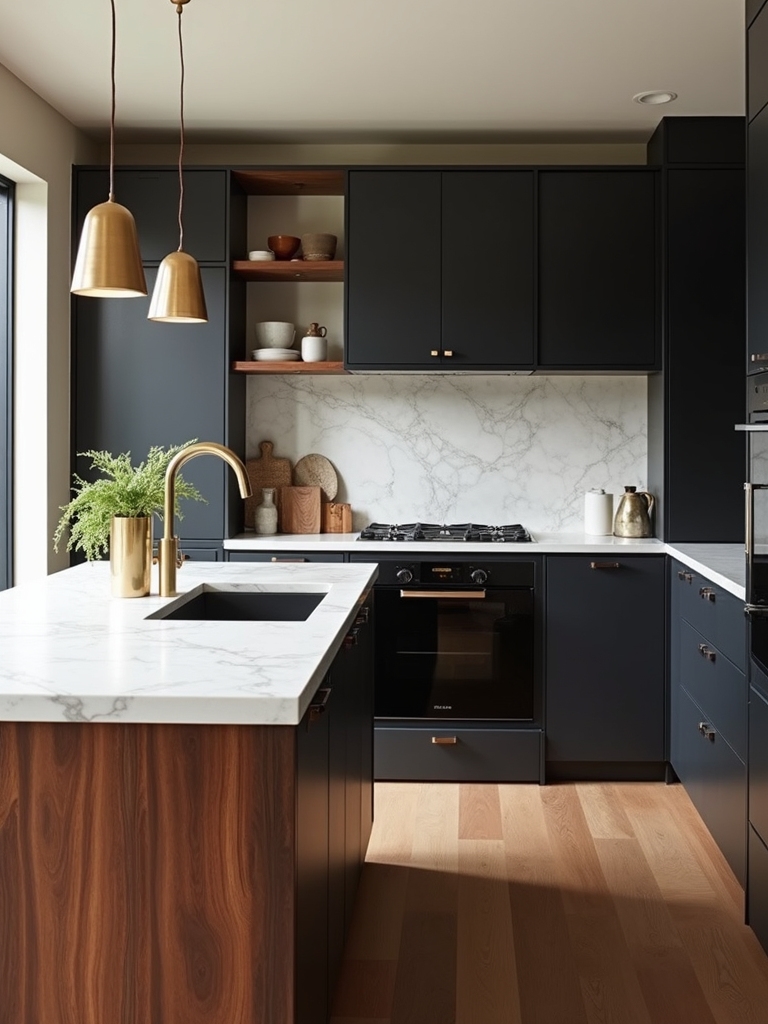
Pair With Finish
Pairing hardware with the right finish instantly refreshes your cabinets and ties the room together.
I recommend matching metals to your faucet and lighting accents for cohesion, then pick a finish that complements your cabinetry.
If you have warm tones, go brass or bronze; for cooler palettes, opt stainless or matte nickel.
Subtle contrast elevates without shouting. Additionally, using White Oak Cabinets can enhance the natural warmth of your kitchen, making your upgrades even more impactful.
Elevate With Hardware
Elevate your cabinets by selecting hardware that makes a statement without shouting.
I choose knobs and pulls that mirror the room’s metal accents and drawer profiles, avoiding gimmicks. Subtle contrast, clean lines, and quality finishes instantly lift a look. Incorporating glass-front cabinets can further refine your kitchen’s aesthetic and create an illusion of greater space.
Pair scales thoughtfully, mix brass with matte black, and guarantee installation is level and secure for lasting polish.
Statement Knob Accent
A striking knob or pull can instantly uplift your cabinets, and I favor statement pieces that still feel grounded in the room’s metal accents.
Choose bold shapes or contrasting finishes sparingly, then let hardware echo other finishes nearby.
Practical tips: measure, test feel, and guarantee alignment.
Elevate without shouting. Subtle yet memorable details create cohesion and a refined, affordable upgrade. Incorporating kitchen cabinet ideas that transform your space can also elevate your overall aesthetic.
Paint Cabinets and Swap Pulls for a Cohesive Look

I recently tackled a kitchen update by painting the cabinets a fresh hue and swapping in new pulls, and the whole space instantly feels more cohesive.
I learned quick wins:
- Choose a unifying color that echoes countertops.
- Opt for uniform hardware to ground the look.
- Seal surfaces for durability and easy cleaning.
- Consider using paint that skips sanding for a smoother application.
Small changes, big harmony.
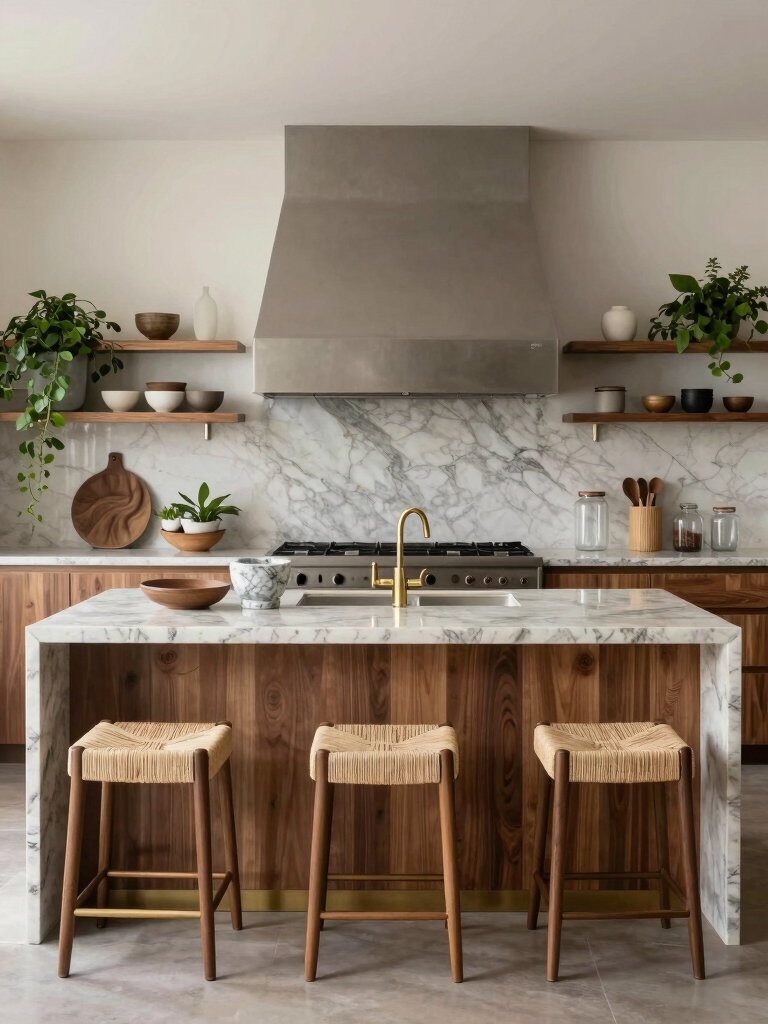
Create a Luxe-Looking Backsplash on a Budget

I’m exploring a luxe-looking backsplash on a budget by leaning into a marble-inspired vibe without the cost.
We can mix a thrifted marble look with peel-and-stick options to get that high-end shine without the hassle.
Let’s talk about practical swaps and smart patterns that maximize impact while keeping it affordable. Additionally, opting for peel-and-stick tiles can significantly reduce installation costs while still elevating your kitchen’s aesthetic.
Thrifty Marble Look
A marble-look backsplash can feel luxe without the marble price tag, and I’ll show you how to get that high-end effect on a budget.
Here’s how I approach it:
- Choose large, light tiles for fewer grout lines.
- Mix matte and glossy finishes for depth.
- Seal edges and grout to prevent staining. Additionally, consider using durable countertops that can withstand everyday kitchen life to complement your stylish backsplash.
Peel-and-Stick Glam
Peel-and-stick options give you a luxe look without the hefty price tag, making it easy to upgrade a backsplash in days, not weeks.
I test samples, measure carefully, and prep walls for solid adhesion. I choose grout-like seams that hide imperfections, then trim edges for a seamless finish.
You’ll enjoy durable, washable results without the contractor chaos.
Upgrade Lighting to Frame and Flatter the Space

To frame and flatter the space, start with lighting that blends function and mood.
I guide you toward layered illumination, smart placement, and warm tones that read expensive without shouting.
- Layer ambient, task, and accent lights for balance
- Use dimmers to modulate atmosphere throughout the day
- Choose fixtures with clean lines and realistic finishes for cohesion
Add Countertop Accents That Read Expensive
I start with countertop color coherence to keep the look cohesive.
Then, I layer in texture and finish pairing for depth.
Next, I elevate the edge detail to add a premium feel without shouting.
Let’s discuss how these three points work together to read expensive in everyday kitchen use.
Countertop Color Coherence
When you choose a countertop color that reads expensive, you can elevate the whole room with just a few smart accents.
I aim for coherence, matching hues across surfaces to avoid confusion and noise. This simple discipline keeps your space calm and refined.
- Align backsplash tones with countertop subtly
- Mirror dominant cabinet wood or paint shade
- Introduce metallic or stone accents that echo color family
Texture and Finish Pairing
Texture and finish play a big role in reading expensive, cohesive countertop accents.
I pair textures with complementary sheens—matte for contrast against glossy tiles, satin for seamless shifts, and subtle honed on stone with a whisper of metallic gloss.
You’ll notice depth when finishes echo hardware tones, minimizing busy patterns.
Keep scale aligned, restraint guiding luxurious cohesion.
Edge Detail Elevation
Edge detail elevates a countertop from good to luxe, and choosing the right edge profile can read as expensive without a single overt flourish.
I guide you to elevate with subtle accents:
- Contour bevel for depth
- Ogee with clean line
- Narrow waterfall edge
These choices feel premium, cohesive, and practical for everyday use.
Use Door-Front Storage to Maximize Space
Door-front storage is one of the simplest, most effective ways to reclaim kitchen space without sacrificing style.
I install shallow pull-outs and slim shelves behind cabinet doors, keeping everyday items organized yet accessible.
Use labeled bins and u-shaped dividers to maximize every inch.
This approach hides clutter, boosts efficiency, and makes your counters feel unexpectedly roomy and refined.
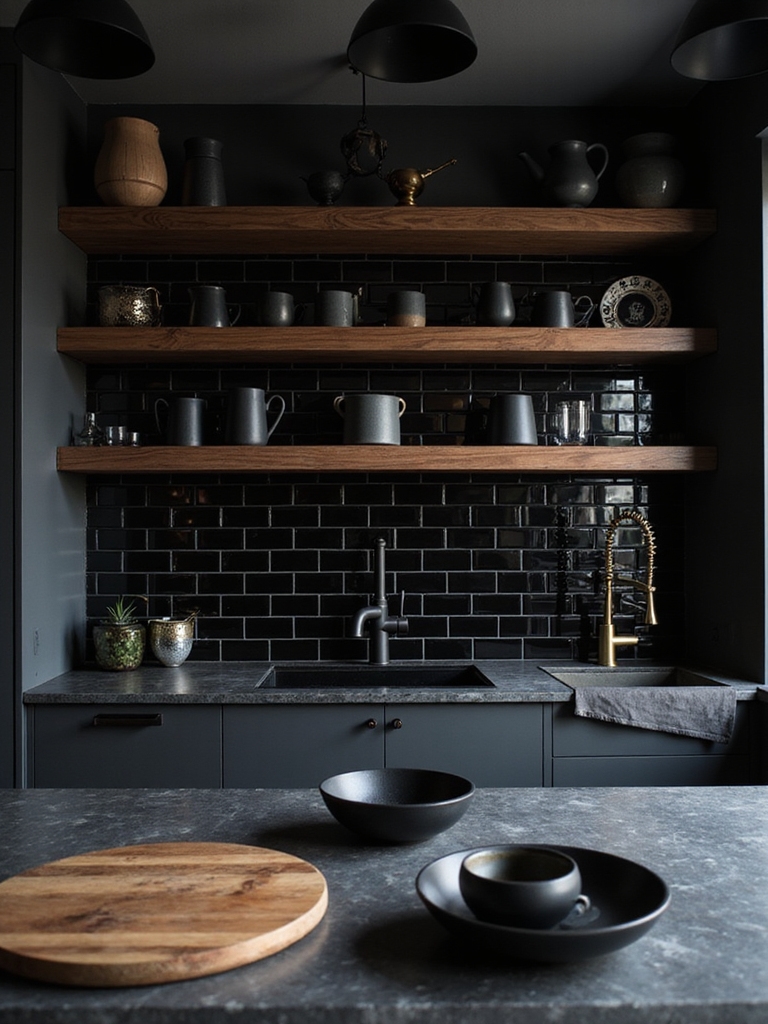
Layer Textures for Depth and Warmth
Layer textures add depth and warmth by combining materials across surfaces and textiles.
I’ll show you how mixing fabrics, finishes, and subtle patterns creates a cozy, layered vibe you can actually live with.
Let’s explore practical swaps and simple tweaks that elevate your kitchen without overhauling your style.
Layered Textures Thrive
Layered textures bring depth and warmth to any kitchen, and I’ve learned that a simple mix—rugged linen, glossy ceramic, and matte wood—can transform the space without overpowering it.
- Pair tactile surfaces with clean lines
- Layer finishes in small, thoughtful doses
- Keep contrast subtle for longevity
Warmth Through Materials
Warmth in a kitchen starts with materials that invite touch and feel.
I choose textures that warm the eye and the hand, like matte wood, soft leather, and brushed metal.
I mix contrast with coziness, balancing smooth and grain.
You’ll notice depth when grain runs the length, and warmth when tones sit together, not compete.
Practical, approachable, finished.
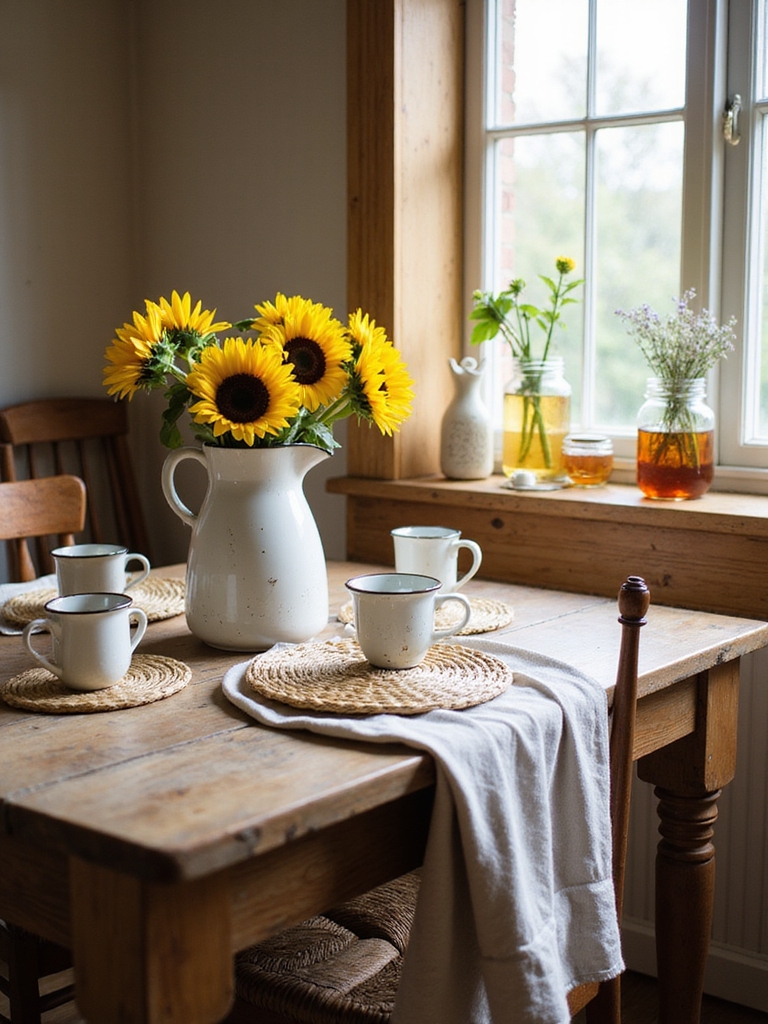
Swap in Statement Small Appliances and Accessories
To elevate your kitchen’s vibe without a full overhaul, swap in statement small appliances and accessories that reflect your style and keep counter clutter under control.
- Choose a bold toaster or kettle as focal points.
- Pair chic storage canisters with a cohesive color palette.
- Integrate a compact coffee setup that fits your routine.
Refresh Grout and Seals for a Pristine Finish
Revitalizing grout and seals can make your updated kitchen feel almost new without a full remodel.
I start by cleaning and inspecting for cracks, then match grout color to tiles for a seamless look.
Replace worn seals around counters and sinks to prevent moisture leaks.
Quick fixes, durable results, and a crisp, pristine finish you’ll notice daily.
Use Mirrors and Glass to Brighten the Space
Mirrors and glass are simple, effective tools for brightening a kitchen.
I show you practical steps that reflect light and open the room without clutter.
- Place a backsplash mirror to double daylight and make walls feel taller.
- Use glass cabinet doors to showcase sparkling dishware and reduce visual heaviness.
- Install a pendant with a clear shade to scatter light evenly across surfaces.
Tune the Sink Area With Premium Fixtures
Premium fixtures can elevate your sink area without a full remodel.
I’d pick a sleek faucet, matching soap dispenser, and a compact dual-basin setup for efficiency.
Replace worn hardware, add a lightweight under-sink rack, and choose finishes in brushed nickel or matte black to coordinate with existing accents.
Keep lines clean, avoid clutter, and enjoy lasting, affordable polish.
Plan Non-Permanent, High-Impact Changes
Ever thought you could refresh your kitchen’s vibe without a full remodel?
I’ll show quick, high-impact tweaks that feel premium yet stay non-permanent.
Here’s a concise plan:
- Swap hardware and lighting accents
- Add removable floating shelves with a bold finish
- Use peel-and-stick backsplash panels for contrast and texture
Build Cohesive Color Stories Across Zones
Color storytelling ties the whole kitchen together, so I’ll show you how to carry a cohesive palette across zones without locking you into one look.
I start with a unifying base—neutral walls or cabinetry—and layer accents that travel from backsplash to textiles.
Use shared undertones, repeat a few hues, and prefer adaptable finishes to keep the space polished and practical.
Map a Budget-Friendly Before-and-After Timeline
Mapping a budget-friendly before-and-after timeline starts with a clear plan and realistic milestones, so you stay on track without feeling overwhelmed.
- Define goals and constraints
- Schedule small, frequent tasks
- Review progress weekly
I share a practical path: prioritize purchases, layer updates, and celebrate milestones as you visibly transform your kitchen without overspending.
Conclusion
I’ve shown you how a few thoughtful changes can elevate your kitchen without breaking the bank. Imagine the moment you install a chic pull, swap a gleaming sink, or lay a budget-friendly backsplash and catch the first glance in the mirror of your cabinet doors. It won’t be flashy at first, but the impact will quietly compound. Stay curious, because the best upgrade might be one small, confident decision you’re about to make right now.