I’ll show you smart, low‑disruption ways to refresh your kitchen without tearing anything down: swap cabinet faces and hardware or paint with durable, washable finishes; add pull‑out shelves, vertical organizers, or open shelving for better storage; install a new backsplash and updated fixtures; layer lighting with under‑cabinet LEDs and new pendants;
introduce a mobile island or cart; swap outlet covers and upgrade to smart appliances. Stick around and I’ll share practical, budget‑friendly steps and product ideas.
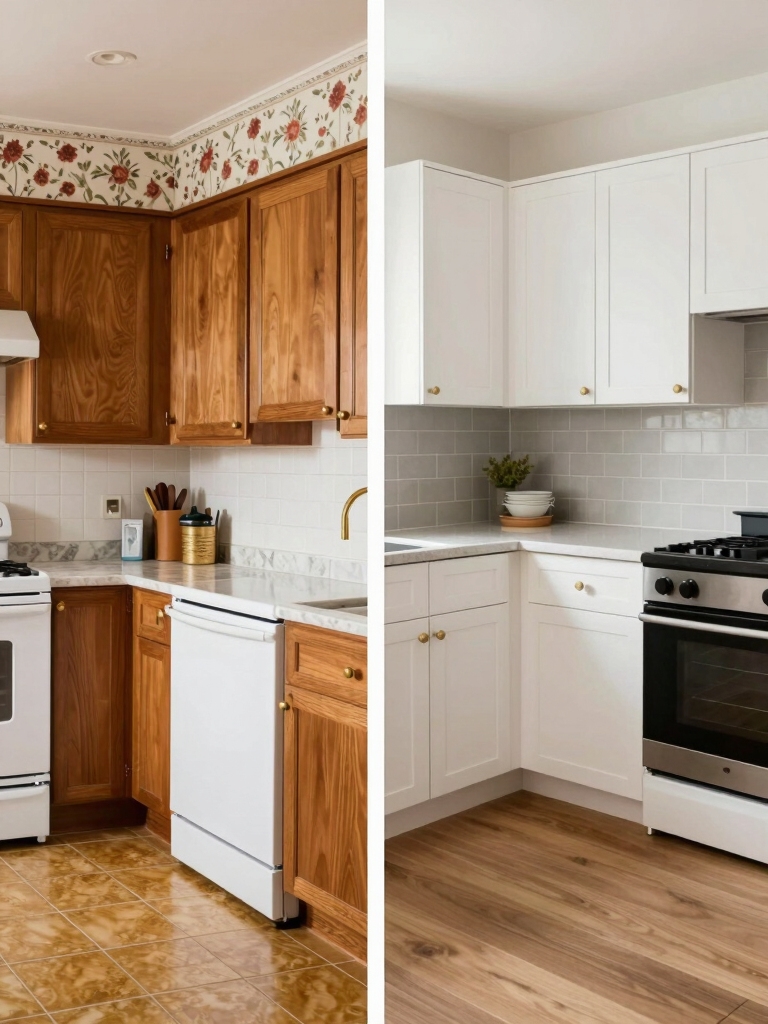
Update Cabinet Faces and Hardware

Swap out old cabinet faces and hardware to give your kitchen a fresh look without gutting it.
I suggest choosing durable, timeless styles that complement your counters and lighting. I’ll help you pick finishes and modern pulls that feel cohesive.
Replace only fronts you dislike or hinge mechanisms that bind — small swaps deliver big impact, save money, and keep disruption minimal.
Weekend projects like painting or replacing doors can be surprisingly transformative when you focus on cabinet faces and hardware selection.
Paint for a Fresh Finish
I often recommend a fresh coat of paint as one of the quickest, least disruptive ways to transform a kitchen’s feel without tearing anything out.
I pick durable, washable finishes for walls and cabinets, favoring neutrals or a single accent to modernize without overpowering.
Prep matters: clean, sand, prime.
Small investments in quality paint and tools give a crisp, lasting update.
You can also achieve a smooth, professional-looking cabinet finish without extensive sanding by using sanding-free primers and proper prep techniques.
Add Open Shelving

Open shelving can open up a kitchen instantly, and I often recommend it when you want style and function without a full remodel.
I swap bulky upper cabinets for clean, sturdy shelves to display everyday dishes, glassware, and a few curated cookbooks.
It brightens the room, encourages neatness, and lets you personalize storage affordably while keeping everything within easy reach.
Open Kitchen Cabinets With Stylish Display helps create a welcoming focal point.
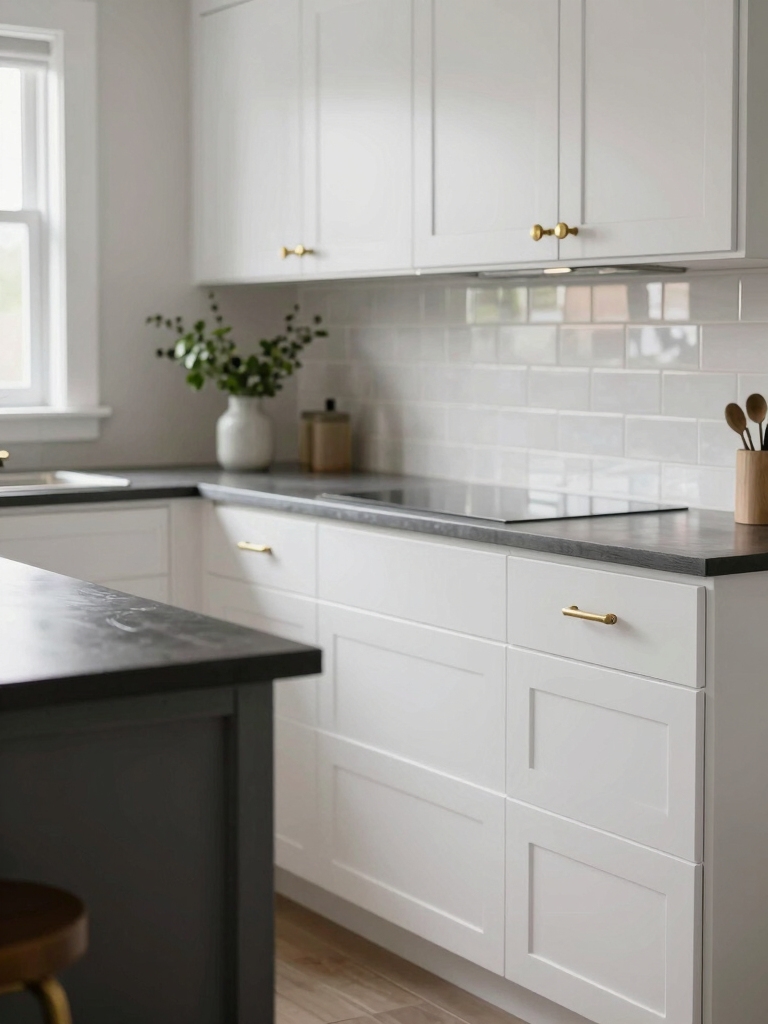
Install a New Backsplash
After freeing up wall space with open shelving, you can make a big visual impact by installing a new backsplash.
I pick materials that balance style and maintenance—porcelain, glass mosaic, or simple subway tile—and keep grout color practical.
I’ll plan a focal area behind the stove or sink, use peel-and-stick for an easy update, and seal edges for longevity.
A well-chosen backsplash can transform your kitchen and become the room’s standout feature.
Swap Out Light Fixtures
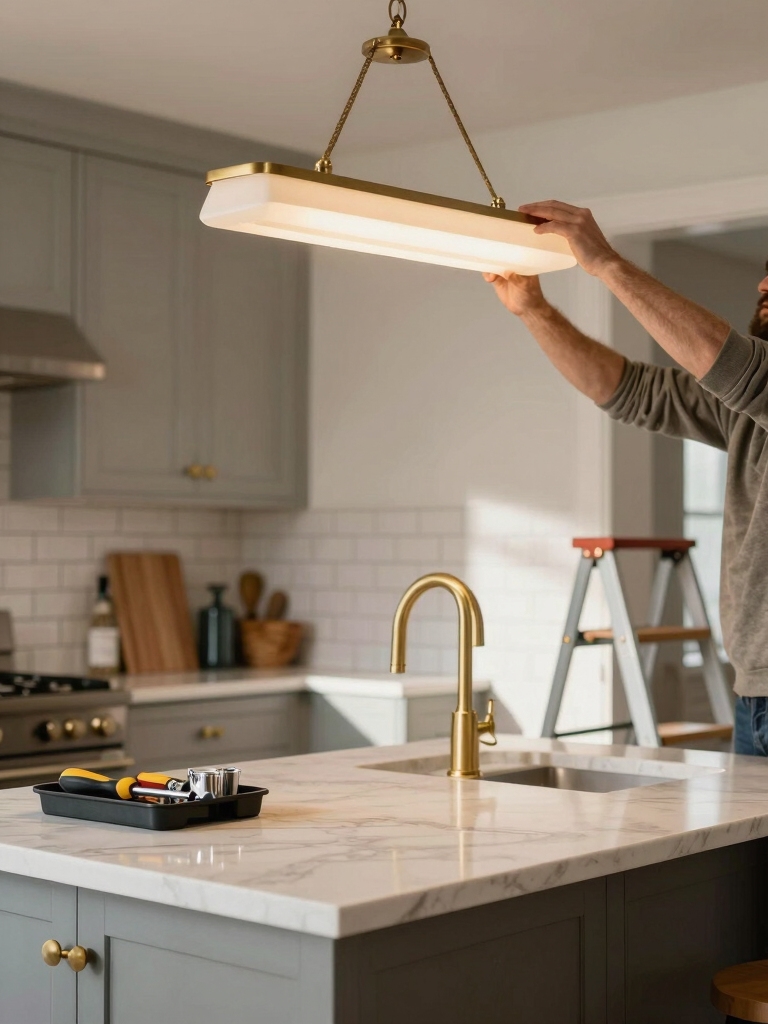
Usually I start swapping out light fixtures by standing in the kitchen at different times of day to see where I want more task light, more ambiance, or a statement piece.
I pick fixtures that balance scale and style, layer overhead, under-cabinet, and pendants, and choose bulbs for color temperature.
Small changes instantly refresh the room without demolition.
Lighting over an island can steal the spotlight and become the room’s main character.
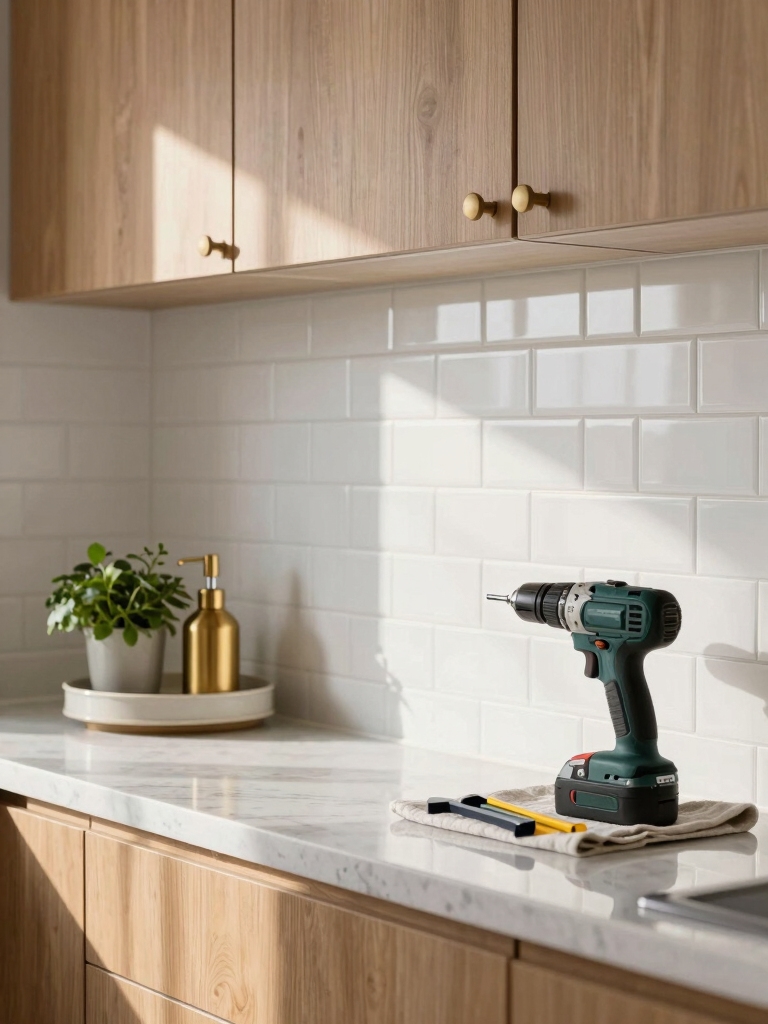
Upgrade Faucets and Sink Accessories
I start by thinking about how I use the sink every day—washing vegetables, filling pots, or rinsing dishes—and then pick faucets and accessories that make those tasks easier and more pleasant.
I choose a pull-down sprayer, a high-arc spout for clearance, and a hands-free option where handy. Add a matching soap dispenser and a sink grid to protect finishes and simplify cleanup.
Smart kitchen island sink placements optimize workflow and can influence which faucet and accessory choices work best.
Refinish or Replace Countertops
Think about what you want from your countertops—durability, budget friendliness, or a fresh look—then decide whether refinishing or replacing gets you there quickest.
I’ve refinished laminate with paint and sealant for a quick refresh, or recommended budget-friendly butcher block overlays for warmth.
If you need longevity and resale value, I’ll suggest replacing with quartz or granite, balancing cost and style.
Kitchen islands can also be transformed into functional focal points that serve as both prep zones and social hubs, making them a smart place to prioritize upgrades like new countertops and finishes for increased usability.
Improve Storage With Organizers
I’ve found that adding pull-out shelving systems instantly makes deep cabinets usable and keeps things within reach.
I also like using vertical space solutions—like tall racks and wall-mounted organizers—to free up countertops and drawers.
These simple swaps give you smarter storage without tearing anything out.
Pull-out Shelving Systems
Pull-out shelving systems bring order to cluttered cabinets and make everything easy to reach, so I recommend them whenever you want big storage gains without tearing out walls.
I choose slim, full-extension slides for pots, pans, and pantry items so nothing gets lost.
They install quickly, fit existing bases, and let you customize trays and dividers—small investment, noticeable everyday convenience.
Vertical Space Solutions
When you stop letting empty vertical space go to waste, kitchens suddenly feel bigger and work better;
I start by adding tiered racks, hanging rails, and slim shelf extenders that turn narrow gaps into purposeful storage.
I also mount magnetic strips for knives, pegboards for utensils, and stackable bins inside cabinets.
These small changes keep counters clear, make items visible, and maximize every inch without demolition.
Create a Functional Work Triangle
When I plan a no-demolition kitchen update, I make the stove, sink, and fridge the heart of the layout so they form an efficient work triangle.
I’ll keep those three zones close enough for easy movement but spaced to prevent crowding and to preserve clear walkways.
That balance keeps cooking flow smooth without tearing out walls.
Stove–Sink–Fridge Placement
With a few simple measurements and a bit of attention, I’ll help you place the stove, sink, and fridge so they form an efficient work triangle that actually makes cooking easier.
I recommend keeping each leg between 4–9 feet, avoiding obstacles between stations, and balancing prep space near sink and stove.
Small shifts in appliance location often boost flow without major demolition.
Clear Walkway Zones
Before we map out your work triangle, I make sure clear walkways connect the stove, sink, and fridge so you won’t be dodging traffic while cooking.
I check sightlines, uninterrupted paths, and counter access to keep flow smooth.
- Measure clearances
- Remove obstructions
- Prioritize direct routes
I’ll help you tweak layout and storage so movement feels effortless.
Install Under-Cabinet Lighting
I like to add under-cabinet lighting early in a remodel because it instantly brightens work surfaces and gives the kitchen a finished look without ripping anything out.
I choose low-profile LED strips or puck lights, hide wiring, and pick warm temperatures for cooking zones.
They improve task visibility, highlight backsplashes, and create ambiance—small, affordable, and high-impact updates you can install without major construction.
Refresh Flooring Options
Often I start flooring decisions by thinking about how you use the kitchen day-to-day: do you want warmth underfoot, toughness against spills, or a quick-install option that won’t disrupt life?
I guide you through choices I trust:
- Engineered wood for warmth and stability.
- Luxury vinyl plank for waterproof durability.
- Ceramic or porcelain tile for heavy-duty longevity.
Introduce a Kitchen Island or Cart
I like adding an island or a mobile cart when you want more prep space and storage without tearing anything out.
A fixed island gives a sturdy work surface and built-in storage, while a rolling cart offers flexibility and can tuck away when you need room.
I’ll walk you through how to choose the right size and style so it fits your kitchen’s flow and look.
Fixed Island Benefits
Think of a fixed island as the backbone of a no-demolition kitchen refresh: I’ll add durable storage, defined work zones, and a focal point without tearing down walls.
I recommend a few focused choices:
- Deep drawers for pots and pantry items.
- Integrated prep sink or power for appliances.
- Seating that blends form and everyday function.
Mobile Cart Advantages
Bring in a mobile cart and you’ll instantly add flexibility where a fixed island can’t reach. I love using one for prep, serving, and extra storage that moves with my flow.
It’s budget-friendly, lets me adapt layout for guests, and offers surface variety—wood, stainless, or butcher block. I keep it styled yet practical, ready to tuck away when I need open space.
Styling and Sizing
A mobile cart is great for testing footprint and function, but when you’re ready to commit to an island or a permanent cart, sizing and style become the next decisions I focus on.
I consider traffic flow, scale, and finish. Practical priorities guide choices:
- Measure clearances.
- Match proportions to cabinetry.
- Choose durable, cohesive materials.
Use Accent Walls or Wallpaper
When I want to refresh a kitchen quickly, I turn to an accent wall or wallpaper to add character without tearing anything out.
I pick durable, washable papers or a painted accent in a complementary hue, then anchor it with art or open shelving.
It’s a low-cost, high-impact trick that defines a zone, lifts mood, and feels intentionally curated without major work.
Replace Outlet Covers and Switch Plates
Often I swap out outlet covers and switch plates as one of the quickest fixes in a kitchen refresh.
I pick finishes that complement cabinets and hardware, and I change worn plastic for crisp metal or colored options.
Try these quick steps:
- Turn off power and remove old plates.
- Match finish to room accents.
- Tighten screws and test functionality.
Incorporate Smart Appliances and Controls
I’ve been adding smart appliances and controls to my kitchen to get big convenience without tearing anything out.
Connecting a smart oven, fridge, or dishwasher and linking them to voice assistants or a central app lets me start preheating, check timers, or adjust settings from anywhere.
I’ll show simple ways to integrate these devices and use voice or remote controls so you can upgrade function with minimal fuss.
Smart Appliance Integration
Because I want your kitchen to work smarter, not harder, I’ll walk you through adding smart appliances and centralized controls that fit a modest remodel.
I’ll help you choose compatible devices, plan placement for workflow, and simplify interfaces.
- Match hubs with appliances.
- Prioritize energy-saving features.
- Opt for retrofit options over rewiring.
You’ll get convenience without heavy construction.
Voice & Remote Controls
Now that you’ve got smart appliances and a central hub planned, let’s make them easy to use hands-free and from anywhere with voice and remote controls.
I recommend assigning clear voice commands, grouping devices by routine, and configuring remote access for timers, oven preheat, and lighting.
Test shortcuts and privacy settings, then label controls for guests so everyone can operate the kitchen confidently.
You’ve got great groundwork for a gorgeous, functional galley or grand kitchen without gutting the guts—small shifts, smart selections, and simple swaps.
I’ve shown easy edits like painting, fresh hardware, and a bold backsplash to boost beauty and betterment.
Try thoughtful touches—tech upgrades, tidy shelving, or a versatile island—to create a calm, curated kitchen that’s both chic and comfortable. Start small, savor the shift, and enjoy your stylish space.