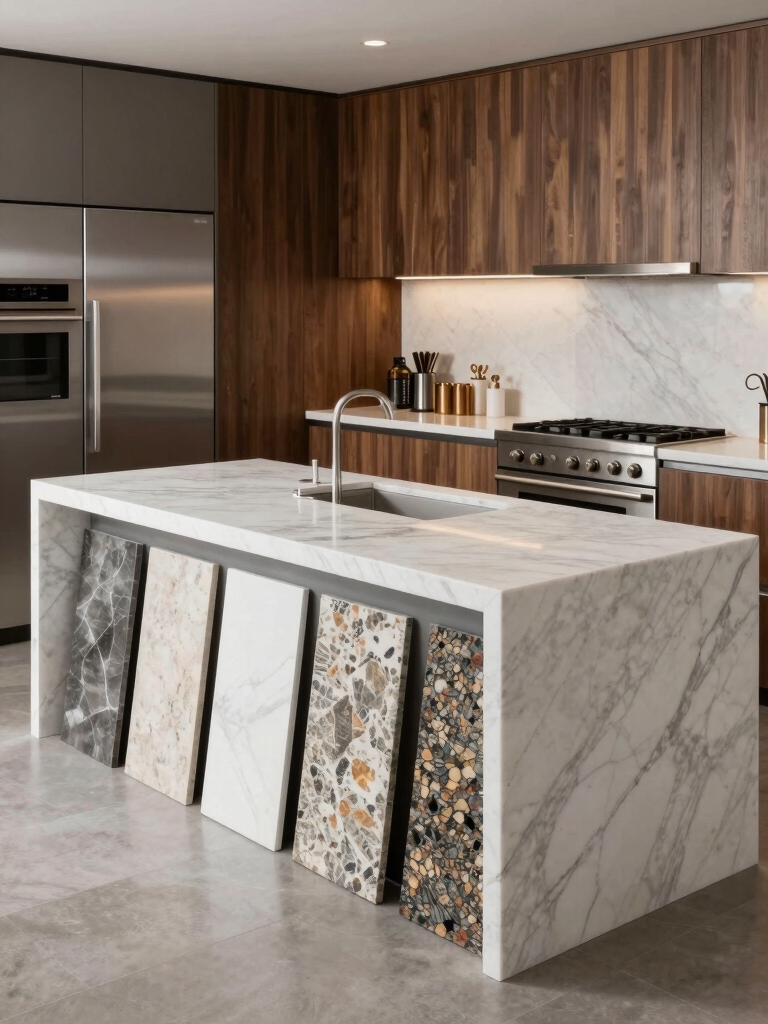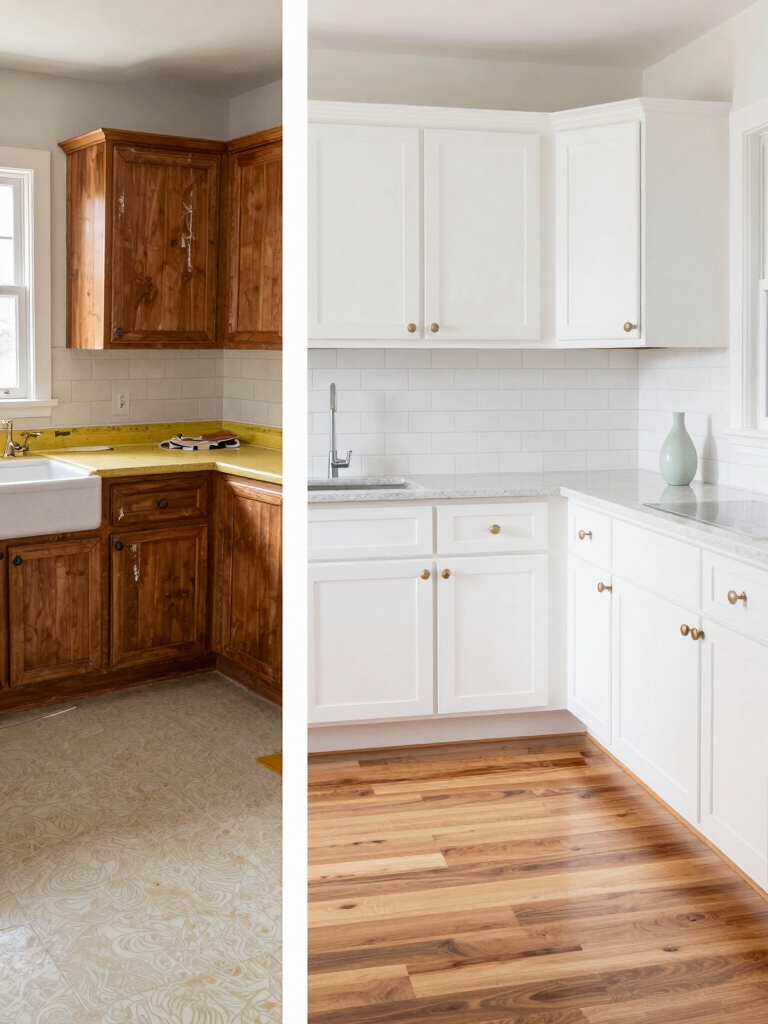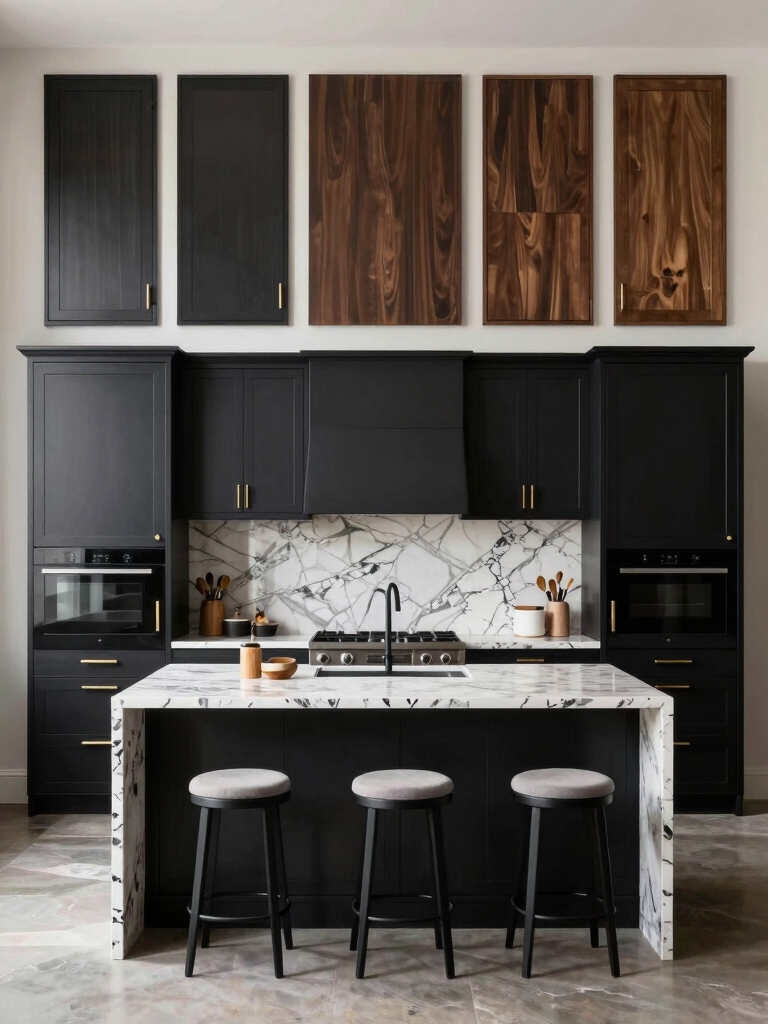

I’ve learned you can totally transform a kitchen without breaking the bank by prioritizing function and style: paint and refinish cabinets, swap hardware, add under‑cabinet LED strips, and use peel‑and‑stick backsplashes or butcher‑block/laminate counters as smart stand‑ins.
Declutter, add open shelves with grouped jars, and pick warm paint and vintage‑leaning fixtures for cohesion. Focus on durable basics—cooktop, fridge, faucet—and stage with curated props; keep going and I’ll show practical steps and exact materials.
Assessing Your Priorities and Setting a Realistic Budget
Before I lift a single tile or tear out a cabinet, I take stock of what actually matters in my day-to-day kitchen life and translate that into a hard number I can live with.
I list must-haves, nice-to-haves, and deal-breakers, assign costs, and prioritize durability and function.
That budget becomes my design compass, keeping choices honest, practical, and pleasantly intentional.
I also lean on simple, cost-saving strategies designers recommend, like selective updates and smart material swaps, to stretch my dollars without sacrificing style—especially when focusing on high-impact changes.
Quick Cabinet Refresh: Paint and Refinish Techniques
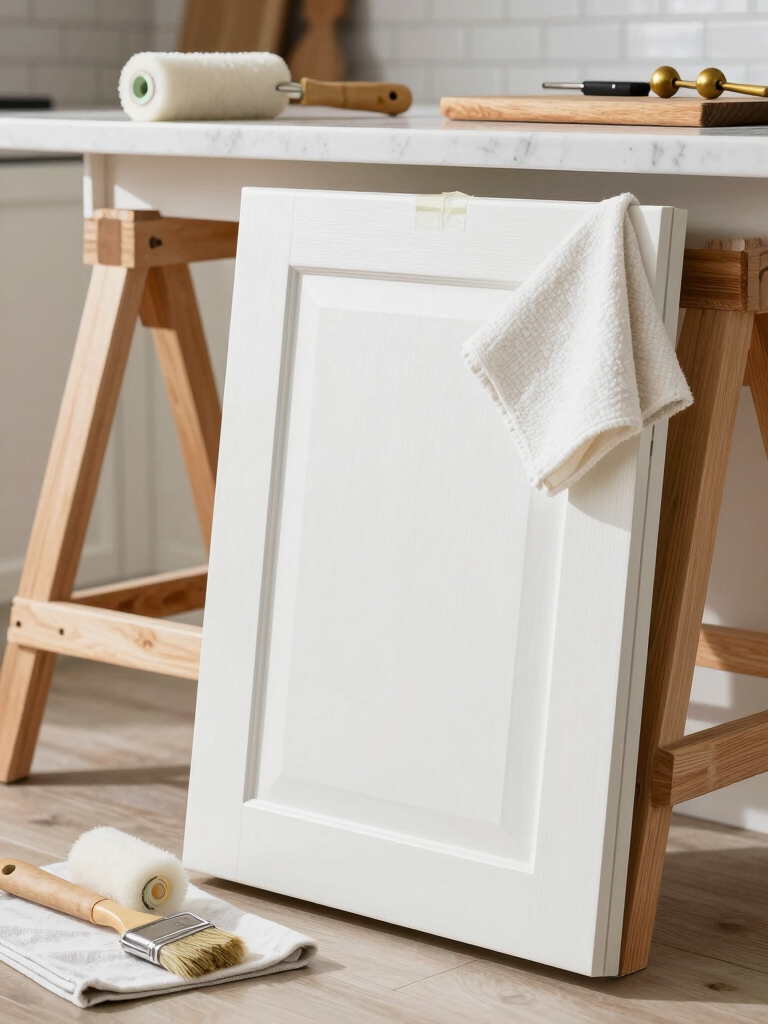
I’ll walk you through a fast cabinet refresh that starts with a careful clean and degrease to lift years of cooking grime.
After that I’ll show how to sand and scuff surfaces for proper adhesion, then we’ll pick the right paint and sealant for long-lasting results.
Follow these steps and your cabinets will look thoughtfully restored without a full replacement.
A fresh coat of paint can make a dramatic difference, proving painted cabinets change everything.
Clean and Degrease
Usually I start by tackling the grease first, because even the best paint won’t stick to a grimy surface; I’ll show you how to get cabinets truly clean without stripping their character.
I use a citrus-based cleaner, gentle degreasing pads, and warm water, working creases and corners with a soft brush.
Rinse, dry thoroughly, and inspect for lingering residue before priming. Weekend projects like these can produce dramatic results that feel like a full remodel without breaking the bank.
Sand and Scuff
Start by knocking down the glossy finish just enough to give new paint something to grab onto — I use a sanding block with 120–150 grit for flat surfaces and a fine-grit pad for edges and profiles, working lightly until the sheen dulls but the wood grain still shows.
Then I wipe with a tack cloth, check for rough spots, and scuff hardware areas for even adhesion.
When tackling cabinet surfaces, it’s helpful to follow pro tips on technique and materials to ensure a durable finish, such as selecting the right grit and scuffing methods for paint adhesion.
Paint and Seal
Once the surfaces are prepped and scuffed, I move straight into paint and sealing, choosing materials and techniques that balance durability with a hand-rubbed, vintage look.
I pick paints and finishes that age well, thin coats, and careful sealing to protect edges.
- Chalk or milk paint for warmth
- Sand-between-coats for soft wear
- Waterbased poly for clear protection
Transforming your cabinets can be achieved with methods that go far beyond basic paint, including techniques that layer texture and finish for lasting character and protection, like those used in kitchen cabinet remodels beyond basic paint.
Swap Cabinet Hardware for Instant Style Upgrades

I swapped out my dated pulls and knobs and the room felt like a mini revelation — hardware is one of the fastest, least expensive ways to shift a kitchen’s personality.
I chose aged brass cup pulls and matte black knobs, matched screw finishes, and measured backplates.
The swap cost little, required basic tools, and instantly tightened the vintage-modern vibe without repainting or ripping anything out.
Budget-friendly kitchen cabinet makeovers can transform a space for under $500 with small changes like hardware swaps and paint touch-ups, especially when focusing on cabinet hardware upgrades that maximize impact.
Open Shelving and Decluttering for Visual Space
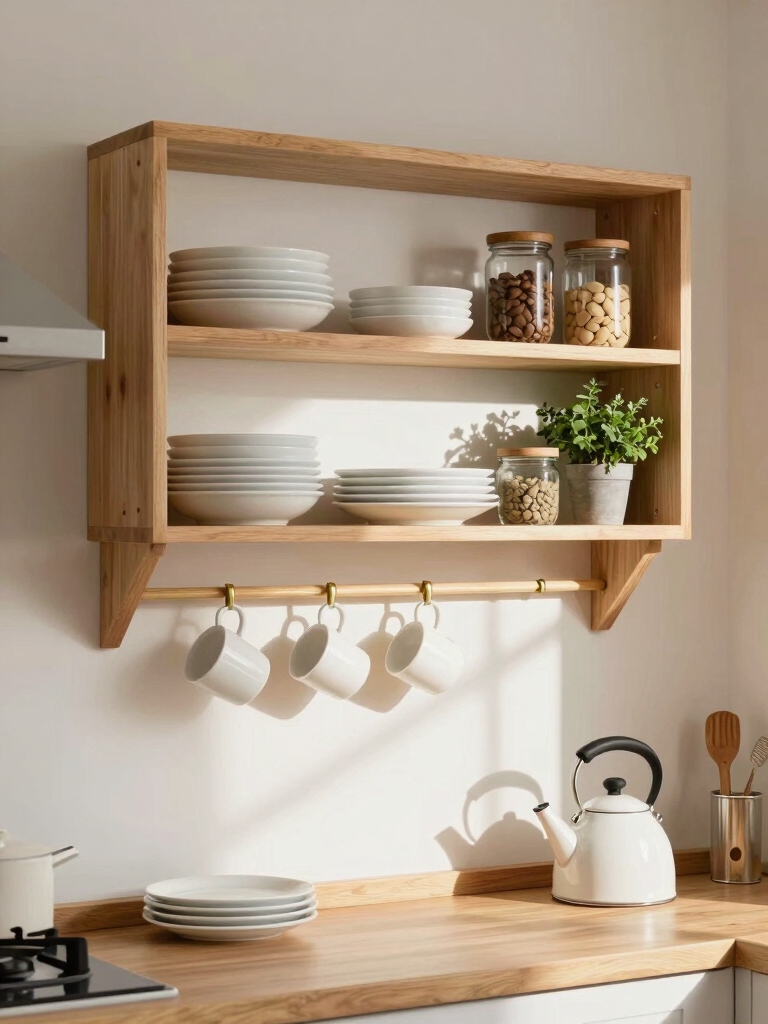
I cleared the countertops first so the eye can rest and the room feels bigger.
Then I grouped like items on open shelves—stacking plates, clustering mugs—to make everything look intentional.
I finish with a few stylish containers for utensils and pantry bits so clutter stays hidden but accessible.
Open shelving creates an airy, open kitchen feel by replacing upper cabinets with visible storage and making the room seem larger and more open open shelves.
Clear the Countertops
Start by stripping the counters down to the essentials; you’ll be surprised how much visual space even a few thoughtfully chosen items create.
I keep only functional, beautiful pieces—no clutter. Open sightlines make a small kitchen feel curated and airy.
- A vintage cutting board propped vertically
- One ceramic utensil crock with wooden spoons
- A single potted herb near the sink
Group Like Items
A few cohesive clusters make open shelving read as intentional instead of chaotic, so I group like items by function, color, and scale.
I tuck everyday plates together, stack bowls by size, and place glassware where light flatters it.
Leaving negative space keeps the display airy; repeating materials and hues ties vintage finds to modern pieces for a calm, curated look.
Use Stylish Containers
Think of stylish containers as the quiet workhorses that keep open shelving neat while adding personality.
I choose glass jars, woven baskets, and enamel tins to declutter visually and create a curated vignette. They hide mismatched bags, show off textures, and add vintage charm without clutter.
- Glass jars for grains
- Woven baskets for linens
- Enamel tins for tea packs
Affordable Countertop Solutions and Temporary Options

With a tight budget and a deadline, I’ll show you how to get countertops that look intentional without breaking the bank.
I favor butcher block, affordable laminate with retro patterns, and peel-and-stick stone tiles for short-term style.
For temporary fixes, use sealed plywood or stainless steel sheets—both sturdy, easy to trim, and photo-ready until you splurge on a permanent surface.
Update Lighting: Fixtures, Under-Cabinet Lights, and Bulbs
I swapped out an ugly overhead fixture for a vintage-inspired pendant that cost less than a night out, and it instantly warmed the room.
I added slim under-cabinet LED strips to brighten work surfaces without rewiring, and they make chopping feel safer and more charming.
Finally, I chose warm, energy-efficient bulbs to keep the look cohesive while cutting my electric bill.
Swap Fixtures Affordably
I’m going to walk you through swapping out lighting without blowing the budget, starting with fixtures, under-cabinet strips, and the right bulbs that make everything sing. I’ll keep it simple, vintage-modern, and exact so you can DIY with confidence.
- Choose a focal pendant with warm metal.
- Replace dated shades for instant style.
- Pick LED bulbs by CRI and warmth.
Add Under-Cabinet Lighting
Let’s bolt in under-cabinet lighting that actually changes how the kitchen reads: I’ll show you compact strip options, where to place them for even task light, and how to power them without rewiring the whole room.
I recommend slim LED tape or puck clusters mounted near the front edge, concealed wiring into nearest outlet, and simple dimmers so the glow feels vintage-warm, useful, and intentional.
Choose Efficient Bulbs
Usually I swap bulbs before changing fixtures, because the right lamps instantly lift a space and save money long-term.
I pick warm LEDs for character, match CRI to show true colors, and choose dimmable bulbs for mood. Small swaps make big impact—cozy, efficient, and precise.
- Warm 2700K LED, high CRI
- Dimmable bulbs
- Low-profile bulbs for under-cabinet lights
Backsplash Ideas Using Peel-And-Stick and Tile Alternatives
I started poking around peel-and-stick backsplashes because I wanted a big visual change without a contractor or demolition; they give you instant pattern and texture with minimal mess.
I tested faux subway, metallic, and encaustic-look tiles, noting seam alignment, adhesive strength, and heat resistance near the stove. For textured depth, I layered beadboard panels and removable shiplap for an easy, vintage-meets-modern finish.
Refreshing Appliances on a Budget and When to Splurge
When I’m revitalizing appliances on a budget, I start by listing what’s used most and what actually affects daily life—cooktop performance, fridge temperature stability, and a reliable oven matter more than flashy bells.
I clean, tune, and replace small parts first, then decide what deserves a splurge: energy savings, longevity, and style.
- Prioritize function
- Repair before replace
- Splurge smartly
Flooring Options That Look High-End Without the Cost
You can get big-style impact underfoot without breaking the bank, so after sorting appliances I turned my attention to flooring that looks high-end but won’t drain the budget.
I chose luxury vinyl plank with subtle wood grain, encaustic-look porcelain tiles for a vintage punch, and peel-and-stick geometric tiles for a renter-friendly upgrade—durable, low-maintenance, and layered with character.
Smart Storage Hacks and Organizational Upgrades
Let’s clear out the chaos and make every inch work smarter: I swapped bulky, underutilized cabinets for pull-out shelves and slim rolling drawers that give instant access to pots, pans, and pantry staples.
- Magnetic spice rail by the stove.
- Tiered baking-sheet and cutting-board dividers.
- Clear-labeled canisters on open shelves for vintage charm and quick counts.
DIY Sink and Faucet Updates That Improve Function
I replaced my old basin myself and was surprised how manageable a sink swap can be with the right measurements and a good silicone seal.
For an instant upgrade in daily function I installed a pull-down faucet — the spray hose makes rinsing and filling pots so much easier.
If you want, I can walk you through the tools, steps, and a few pitfalls to avoid.
Swap Sink Without Pro
Swapping out a kitchen sink without a pro can feel intimidating, but I’ll walk you through straightforward choices and tricks that actually improve function without blowing the budget.
I chose an undermount stainless basin, tested clearances, and kept plumbing simple—no rerouting.
Quick gasket tips and clamp choices saved time.
- Measure deck-to-trap
- Choose single-bowl for depth
- Reuse drain hardware
Install Pull-Down Faucet
Start by picking a pull-down faucet that matches your sink depth and daily habits—I went with a commercial-style head for the reach and a magnetic docking for one-handed use.
I removed the old faucet, checked hose length and supply line threads, tightened connections with plumber’s tape, and secured the mounting nut.
Test for leaks, adjust spray settings, and enjoy better reach and cleaner prep.
Paint Choices and Finishes to Brighten and Unify the Space
Because paint is one of the quickest, most affordable ways to transform a kitchen, I focus first on color and finish to brighten and unify the space.
I pick warm whites, muted sage, or soft navy, then coordinate sheen for durability and light reflection.
- Satin cabinets for subtle glow and wipeability.
- Eggshell walls to diffuse light.
- Semi-gloss trim for crisp, vintage lines.
Window Treatments and Small Decorative Details
I like to tie the room together with window treatments and small decorative details that feel intentional, not tacked on.
I choose linen café curtains for light control, antique brass rods for warmth, and woven shades for texture.
I add a few curated jars, a framed vintage print, and matching hardware finishes to create cohesion—tiny, affordable touches that read collected, not cluttered.
Small Structural Changes Worth Tackling Yourself
With a few basic tools and some careful planning, I’ll take on small structural changes that make a big visual and functional difference—think removing a half-wall to open sightlines, lowering a cabinet to create a display niche, or adding a shallow pantry by reclaiming underused space.
I’ll tackle projects that balance safety and impact.
- Remove a half-wall safely.
- Lower a cabinet.
- Carve a shallow pantry.
Staging and Finishing Touches for a Cohesive Look
After the heavy lifting is done, I focus on staging and finishing touches that pull the whole kitchen together—layered lighting, curated countertop vignettes, and consistent hardware finishes make the space read as deliberate, not piecemeal.
I add a vintage rug, tidy open shelves with matching ceramics, warm bulbs, and a single statement piece. Small, intentional details create cohesion without blowing the budget.
Funny enough, the cheapest kitchen makeover usually starts with decisions you already knew you should’ve made—declutter, repaint, swap a few handles—and somehow feels revolutionary.
I’ve learned that smart shortcuts, like open shelving or peel-and-stick counters, give personality without wrecking the budget.
You’ll still be washing dishes, but now they’ll sit in a sunlit, styled space you actually like. Go ahead—make sensible choices, embrace small risks, and enjoy the surprisingly luxe results.