I’ve mapped out 17 practical kitchen island organization blueprints that maximize each drawer, focusing on power and space planning plus modular, labeled zones for fast access. I’ll help you assess your island, define workflow by zone, and choose deep-drawer dividers that stretch space. You’ll build modular bin systems, add hidden pullouts, and keep drawers clean with regular maintenance. Small islands get clever nooks; large islands gain layered storage for workflows. Stick with me, and you’ll reveal more efficiency soon.
Assess Your Island: Key Power and Space Factors

Before you start organizing, take a quick inventory of your island’s power needs and available space.
I’d map outlets, USB ports, and clocked appliances, noting wattage and clearance.
Then I measure tabletop dimensions, leg room, and drawer depth.
I prioritize essential tools and plan for airflow, cable routing, and accessibility.
With clear limits, I design efficient, safe, practical storage zones. Additionally, consider implementing kitchen cabinet organizing ideas that can enhance your overall efficiency and aesthetics.
Define Your Drawer Workflow by Zone

To define your drawer workflow by zone, start by grouping tools and items you reach for most into clearly labeled zones—daily essentials, specialty gear, and maintenance supplies.
I, you, and the layout work together: place frequent items at the front, rarer gear toward the back, and keep cords, batteries, and wipes within easy reach. Additionally, consider incorporating smart cabinet organization strategies to further enhance your kitchen’s efficiency.
Clarity reduces rummaging and speeds everyday tasks.
Choose Deep-Drawer Dividers That Maximize Space
I’ll walk you through choosing deep-drawer dividers that boost space, focusing on how deep-dividing tactics and smart displays can transform every pull-out.
I’ll share practical setup ideas that keep items organized and reachable, so you waste less time hunting shelves.
Let’s explore clear configurations you can apply right away to maximize every inch of drawer depth. Deep drawer organization is essential for utilizing your kitchen’s full potential, ensuring that even the most challenging spaces become functional.
Deep-Drawer Division Tactics
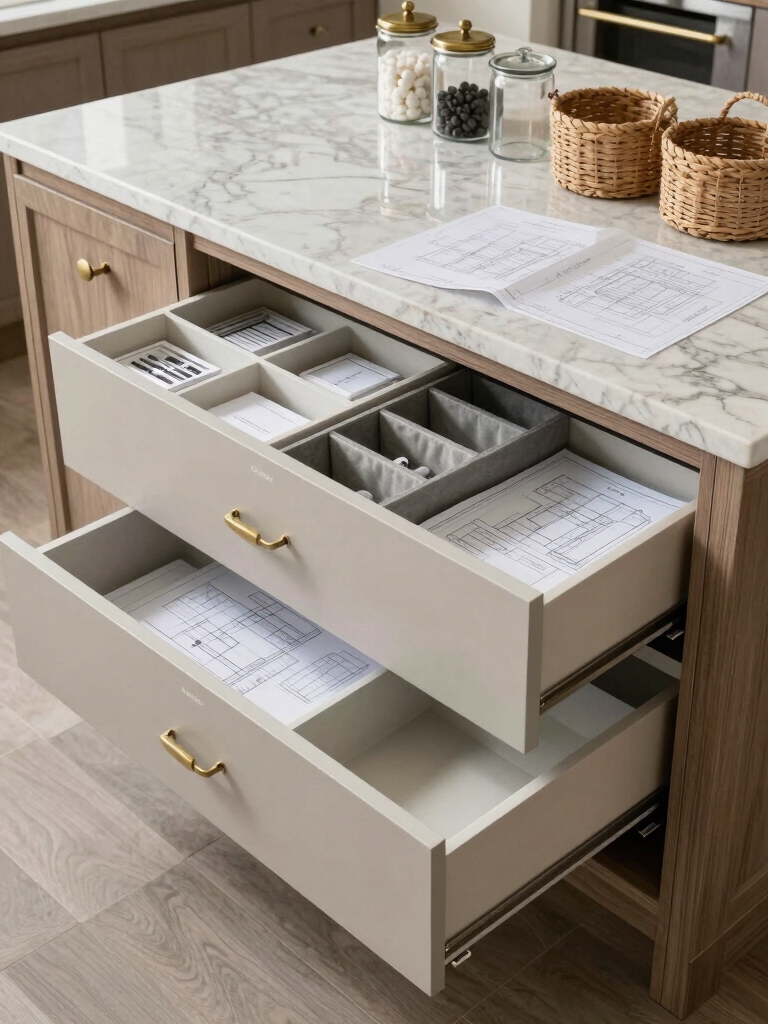
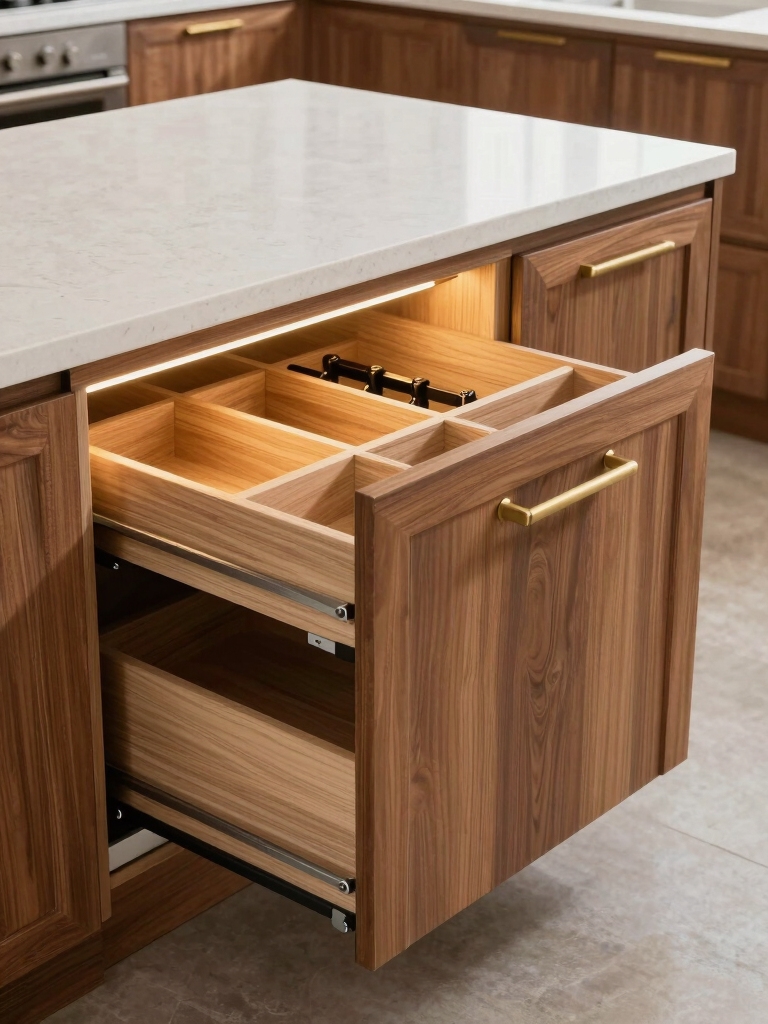
When you’re organizing a deep drawer, the right dividers open up space you didn’t know you had, so start by grouping items by height and frequency of use. I prefer adjustable or modular pieces that create clear zones, prevent shifting, and accommodate odd shapes. Additionally, consider using space-saving solutions that can help you maximize every inch of your drawer. Label sections briefly, keep utensils upright, and leave a small gap for easy removal and airflow.
Space-Saving Divider Displays
We’ll keep the deep-drawer approach tight while boosting capacity with space-saving divider displays. I select sturdy, adjustable dividers to carve clear zones, reduce crowding, and maximize each inch. You’ll benefit from predictable layouts, quick access, and easy maintenance.
- Choose adjustable dividers for flexibility
- Group similar tools by type
- Align edges for clean visibility
- Stack where possible without interference
- Label sections for fast locating
Incorporating kitchen drawer organization techniques will further enhance your efficiency and streamline your cooking process.
Build Modular Bin Systems for Flexibility
Modular bin systems give you flexible storage that grows with your needs. I design them to adapt as you categorize snacks, tools, and craft supplies. You’ll mix stackable, labeled containers on open shelves, so you can reconfigure quickly without a full overhaul. Keep a simple plan: group similar items, measure space, and swap bins as priorities shift. Your island stays organized, accessible, efficient. Additionally, utilizing budget-friendly DIY ideas can enhance your kitchen organization without breaking the bank.
Add Hidden Pullouts to Reclaim Counter Space
Hidden pullouts are a smart follow-up to modular bins because they reclaim precious counter space without sacrificing accessibility.
I’ll explain how I integrate slim, glide-out trays that tuck under the island, keeping tools reachable yet out of sight.
- Measure cabinet depth and clearance
- Choose sturdy, full-extension slides
- Use soft-close mechanisms
- Label intended contents on the front
- Regularly prune unused items
Incorporating hidden pullouts can significantly enhance your kitchen’s overall organization layout, making it easier to find and access your essentials.
Create Labeled Zones for Fast Access
I’m going to label zones clearly so you can grab what you need in moments.
I’ll group items by need, so everyday tasks flow faster and confusion stays out of the way.
Let’s start with simple zone names and place items where they’re used most. Incorporating smart organization tips can further enhance your kitchen efficiency and streamline your daily routines.
Label Zones Clearly
Label zones clearly by marking each storage area with simple, legible labels that describe what belongs there.
I guide you to keep wording simple, concrete, and consistent so you instantly recognize where items live.
- Use short tags
- Align labels with drawers
- Match items to zones
- Prefer durable materials
- Update as needs change
Zone Faster Access
To speed up retrieval, I’m shaping labeled zones for fast access.
I group tools, utensils, and常 used items into clear segments, placing them within easy reach.
I keep labels legible and consistent, so you recognize sections at a glance.
This setup reduces hunting time, minimizes clutter, and supports smooth workflows, helping you prep, cook, and clean with confidence.
Organize By Need
Organize by need means creating labeled zones that mirror how you actually reach for items during a task.
I map functions, not shelves, so you grab quickly. Here’s how:
- Tools at the prep zone
- Oils and spices near heat
- Cutting boards by hand-wash sink
- Quick-clean supplies near waste station
- Containers and lids together for easy stacking
Design Knife and Sharpening Drawers Safely
When I design knife and sharpening drawers, I prioritize safety and accessibility first, so you can grab what you need without fumbling or risking cuts.
I place blades in labeled, angled slots and keep the sharpening tools separated from prep zones. Non-slip liners, secure magnetic strips, and a dedicated blade tray prevent slips, guiding every action with calm, deliberate organization.
Store Lids, Wraps, and Bags in Slim Drawers
Slim drawers are perfect for lids, wraps, and bags because they stay out of the way yet easy to grab.
I keep these essentials organized and accessible, so cleanup is quick and frictionless.
- Group lids by size for quick matching
- Use a slim file sorter for wraps
- Store bags flat to reduce bulk
- Label sections for clarity
- Rotate frequently used items forward
Done.
Map Tools to Drawers: Measurement and Plan
I start by measuring every tool and space I plan to use, then map it all out so nothing feels off.
I’ll compare plan sketches with actual drawer depths, widths, and clearances to avoid surprises.
Let’s use these measurements to guide a neat, efficient layout that I can actually implement.
Measure And Map
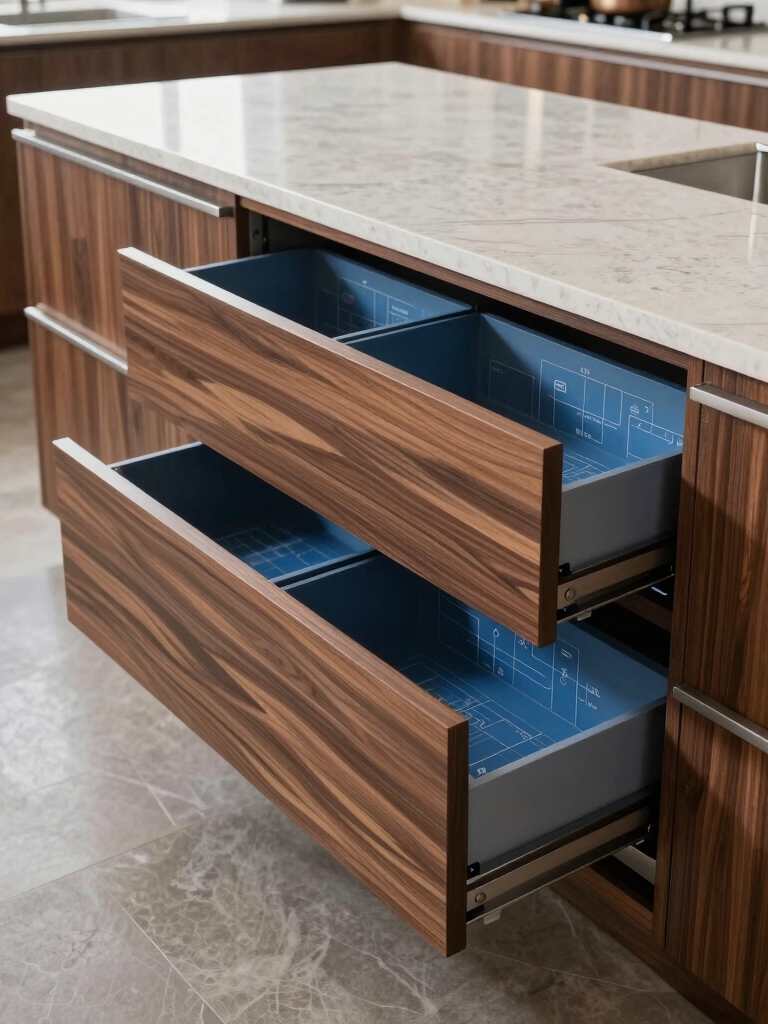
Measuring and mapping your kitchen island setup starts with a clear plan: map tools to drawers so every measurement and layout decision has a home.
I keep data organized, jot sizes, and note clearance, then sketch outcomes to compare.
- Measure drawer depths precisely
- Record tool widths and handle space
- Check clearance for openings
- Color-code categories
- Draft a quick layout map
Plan To Drawers
Plan To Drawers: Map Tools to Drawers, then tighten the fit with a clear layout.
I map every tool and its drawer space to prevent chaos. I measure, sketch, and compare depths, widths, and heights, choosing organizers that match.
I label zones, reserve pull-out shelves, and adjust for clearance. You’ll gain consistent access, faster prep, and neater results.
DIY Divider Options vs Premium Inserts
When deciding between DIY divider options and premium inserts, I weigh cost, customization, and install ease to fit how you use your island.
- DIY cost vs. premium price
- Custom fit and shapes
- Assembly time and tools
- Maintenance and longevity
- Aesthetic consistency with décor
Materials That Resist Moisture and Wear
Materials that resist moisture and wear are essential for a kitchen island that stays tidy and functional.
I choose materials like sealed plywood, PVC-coated laminates, and stainless steel where water contact is common.
I avoid gaps and seams, favor wipeable finishes, and note warranty specifics.
This practical setup reduces warping, staining, and squeaks, keeping drawers reliable and long-lasting for daily use.
Light Up Each Drawer for Easy Finding
Lighting inside drawers makes organization tangible. I show you how to illuminate every compartment so found items aren’t a scavenger hunt. Quick LEDs, battery packs, and motion sensors keep power tidy and invisible. You’ll see benefits in seconds, not hours.
- Choose slim LED strips for shallow drawers
- Use motion-activated switches for hands-free light
- Install dimmable options for mood and focus
- Route cables neatly away from utensils
- Test brightness at different times of day
Child-Friendly Access Without Compromising Safety
I’ll explore Safe Yet Accessible, Kid-Friendly Drawer Layouts and height-adjustable storage points to keep things both practical and safe.
We’ll look at where to place kid-accessible items, how to design drawers that are easy to reach without tipping risks, and how adjustable storage grows with growing kids.
Let’s discuss simple, clear configurations that balance curiosity with supervision, so your island stays organized and secure.
Safe Yet Accessible
To keep kids safe without making the island feel off-limits, I prioritize reachable storage and thoughtful layout.
I design zones that deter climbing, but invite exploration. I label clearly, soften corners, and use childproof latches selectively. My goal is easy access for ingredients, while safety stays top priority.
- reachable bins
- lower shelves
- labeled containers
- anti-tip organization
- simple child-access paths
Kid-Friendly Drawer Layouts
Kid-friendly drawer layouts strike a balance between quick access to essentials and ongoing safety.
I design with clear zones for daily staples, minimizing friction and clutter. I use soft-close guides, rounded corners, and labeled bins so kids learn where things belong without risky rummaging.
I prioritize low, reachable heights and simple, magnetic closures for calm, confident use.
Height-Adjustable Storage Points
Height-adjustable storage points let kids reach essentials without sacrificing safety.
I design around reach, not rush, so you don’t bend your back searching. By adjusting heights, we keep tools handy and hazards low.
Here’s how I approach it:
- Choose sturdy rails
- Set kid-friendly levels
- Install clear labels
- Use locking mechanisms
- Regularly test stability
Clean and Maintain Drawers for Long-Term Order
Maintaining clean, orderly drawers starts with a quick, regular routine: wipe sides and bottoms, then sort contents by category so you can see what you actually use.
I keep a simple cadence: weekly sos, monthly deep clean, quarterly reevaluation.
I label bins, rotate rarely used items forward, and track empties.
This discipline prevents chaos, makes topshelf access painless, and reinforces long-term order.
Small Islands: Maximize Every Nook
Small islands punch above their size by turning every nook into usable space.
I show you how to squeeze function from compact layouts, keeping essentials accessible without clutter.
Here’s the plan:
- Use slim shelves for spices and oils
- Add hooks under edges for towels or utensils
- Install a pull-out cutting board
- Create corner storage with angled bins
- Choose multi-purpose, wipe-clean surfaces
Large Islands: Layered Storage for Workflows
Large islands shine when you layer storage by workflow, so you can grab what you need without digging.
I design zones for prep, cook, and cleanup, aligning tools to moments you actually use.
Keep labeled bins, clear lids, and predictable heights.
I flag frequent items at eye level, rare items lower.
Your workflow stays smooth, efficient, and focused.
Troubleshoot Common Drawer Organization Pitfalls
When you’ve got built-in drawer layouts in place, a few common snags can slow you down; we’ll tackle them head-on so your organization sticks.
I’ll guide you through quick fixes you can trust.
- Identify misfits and relocate them
- Label sections for instant orientation
- Tighten loose dividers or add inserts
- Regularly purge unused items
- Maintain a simple, repeatable routine
Conclusion
I’ve shown you practical steps to transform any kitchen island into an organized powerhouse. Start by evaluating power and space, then tailor drawer zones, dividers, and modular bins to your flow. Add hidden pullouts to reclaim counter space, and keep things clean for long-term order. If a cabinet or drawer trips you up, rework the layout rather than forcing it. Your island will feel like a well-oiled machine, and that clarity is the true payoff. It’s as satisfying as a tidy chore.