I’ve found that chipped plates often start from stress, mishandling, and shocks, so I organize with sturdy shelves, low-heavy items, and padded dividers. I spot breakage hotspots, stack safely with offset plates, and use non-slip mats. I label zones, color-code, and keep a weekly maintenance routine to prevent chips. I place heaviest pieces back and center, then fill around them for stability. If you keep going, you’ll uncover more practical tweaks that fit your home.
Identify the Real Causes of Plate Chips

Plate chips aren’t mysteries; they’re usually signs of stress and mishandling in the kitchen.
I’ll pinpoint real causes from daily use: hurried loading, rough dish racks, stacking too high, abrasive washware, and sudden temperature shocks. Incorporating drawer organization techniques can significantly reduce the risk of damage to your dishes.
By recognizing patterns, you can adjust steps, space fragile pieces, and adopt a calm routine.
Simple fixes prevent cracks and keep dishes durable and dependable.
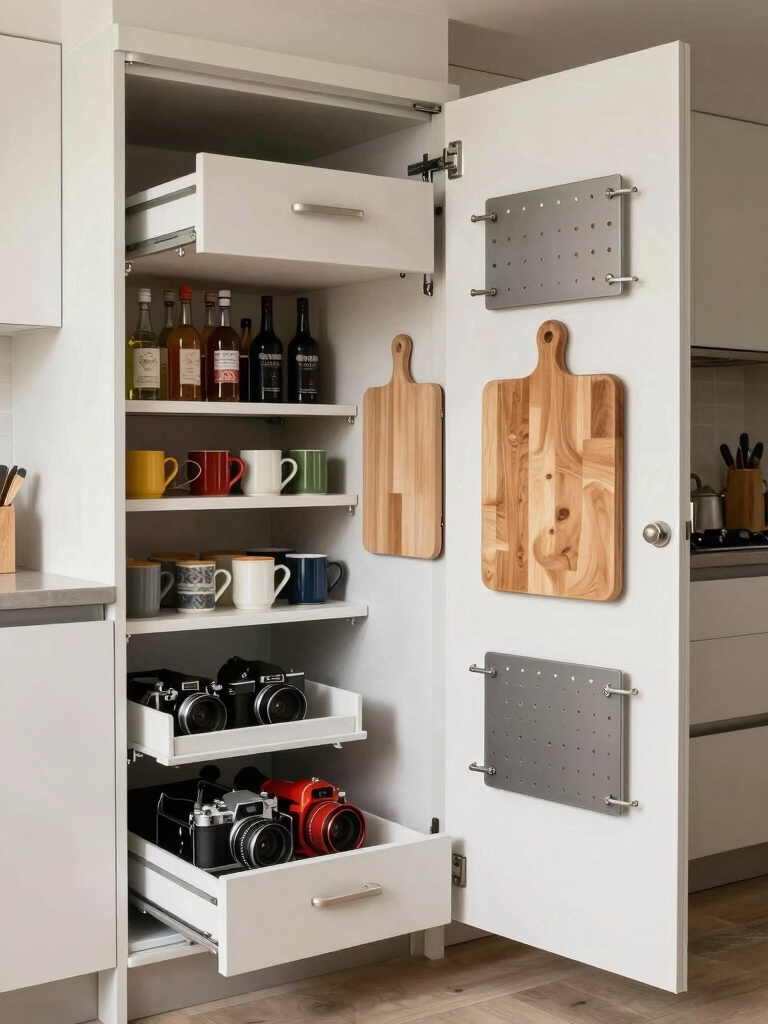
Spot Breakage Hotspots in Your Cabinets

I’ll start by locating where breaks tend to happen and plan safer access, so you don’t have to juggle fragile dishes.
We’ll map fragile zones, then set up a staggered storage plan that keeps heavy items low and reachables within easy reach. Implementing deep kitchen drawer organization can greatly reduce the risk of breakage.
Together, we’ll schedule safe access and identify those hotspots to keep your cabinets organized and breakage-free.
Schedule Safe Access
To keep things safe and smooth, I start by mapping out which cabinet spots see the most action and the most risk, then set a simple access schedule that minimizes rushes and spills.
I group tricky items near eye level, reserve low shelves for light dishes, and keep heavier pieces where stabilizing walls help.
Additionally, utilizing small pantry organization tricks can further enhance the safety of your dishes by optimizing your storage space.
Consistent timing prevents chaos; calm routines protect fragile plates.
Identify Fragile Zones
Now that I’ve mapped the busy spots and set a steady access rhythm, I’m turning to fragile zones you should guard against.
I spot shelf edges, tall stacks, and narrow gaps where plates lean or slide. Place breakables toward the back, cushions or shelf liners beneath, and group like sizes. Smart organization tips can help you establish effective storage solutions.
Regularly check for wobble, tighten brackets, and keep a calm, organized routine.
Staggered Storage Plan
Staggered storage helps me spot breakage hotspots and keep cabinets safer, so I arrange dishes by height, weight, and frequency of use. I group sturdy bowls lower, lighter cups above, and fragile pieces toward the back or in a protective rack. This plan makes unloading simple, reduces chip risk, and fuels calm, orderly routines in my kitchen. Additionally, implementing smart storage solutions can maximize the efficiency of your kitchen space while minimizing the risk of damage to your dishes.
Choose Sturdy Shelf Configurations to Prevent Falls

Choosing sturdy shelf configurations is essential to prevent falls and keep your kitchen safe; I’ll help you set up shelves that stay put, even when you’re pulling out heavy pots.
I prefer reinforced brackets, anchored studs, and weight-tested shelves.
Distribute Weight: heavy items below, frequently used dishes at eye level.
Secure corners, tighten screws quarterly, and label each zone for tidy access.
Additionally, consider using kitchen cabinet organization ideas to maximize your space and efficiency in the kitchen.
Add Slip-Resistant Shelf Liners for Grip

Add slip-resistant shelf liners to your cabinets and drawers to keep dishes from shifting when you open or close them.
I like these liners because they grip softly and clean easily.
Place a thin pad under delicate mugs, and trim edges for neat rows.
When loading, press items down gently so nothing slides, and wipe spills promptly for lasting grip.
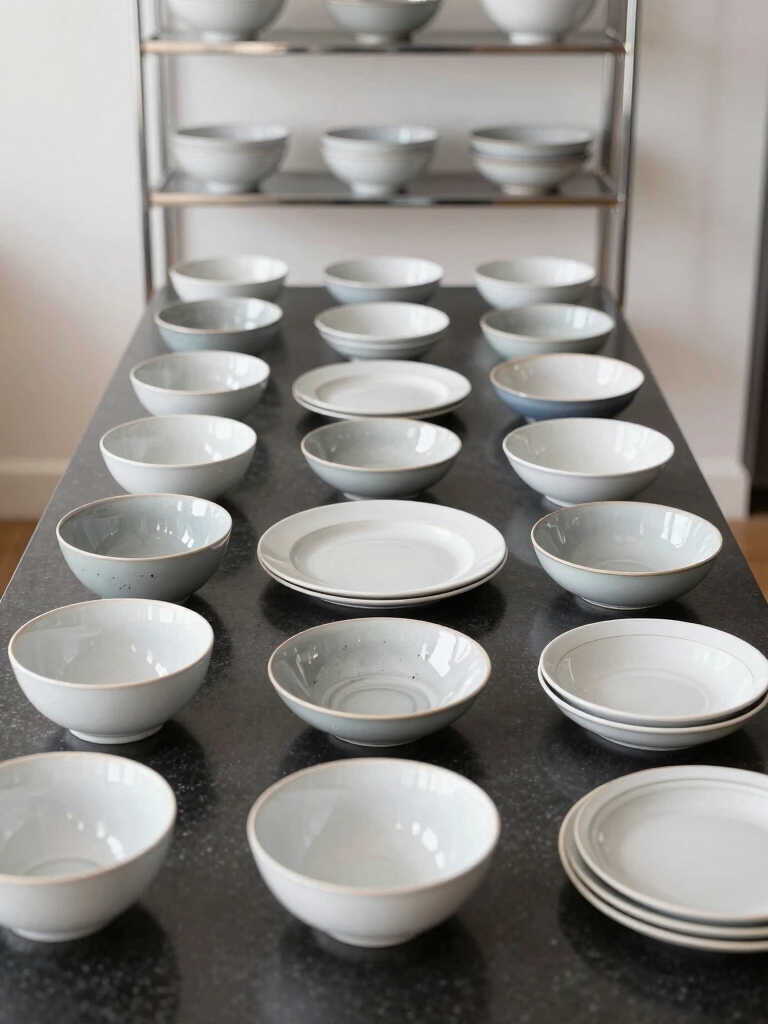
Stack Dishes Safely: Proper Heights and Offsets

I’ll start by sharing simple guidelines for safe stack heights and precise plate offsets so you can grab what you need without wobbles.
Keeping plates at moderate heights and aligning edges helps prevent slips and makes unloading easier.
Let’s talk through your current shelf setup and how small tweaks can improve stability and flow.
Safe Stack Heights
When stacking dishes, I keep heights practical and safe: mugs on the top, plates medium, and bowls low, with each group offset slightly so nothing tips or slips.
- Use stable, flat surfaces
- Center heavy items first
- Space items evenly yet snugly
- Regularly tidy shelves to prevent shifts
- Additionally, stable stacking techniques can help reduce the risk of chipping and breakage over time.
Proper Plate Offsets
Proper plate offsets keep stacks stable and easy to grab.
I place bowls and plates with a small, deliberate offset so rims don’t nest, but rims stay accessible. I align edges, stack in even heights, and leave space for fingers.
In practice, this minimizes chipping risks, speeds reloads, and keeps my cabinet calm, organized, and reliably functional for daily meals. Additionally, utilizing small kitchen organization ideas can further enhance your space while protecting your dishware.
Pad Fragile Pieces for Storage Protection
I always pad fragile pieces before putting them away, because careful protection now saves headaches later.
I use soft cloths or bubbly paper, place each item gently, and avoid crowding. Lightly wrap edges, then nest plates with felt between them. Keep lids separate but nearby.
Label bins, keep a steady rhythm, and check for shifts after a move.
- Soft cloth wrap between items
- Felt or foam separators
- Clear labeling for bins
- Gentle stacking with room to breathe
Create Zones: Heavy-Duty vs. Delicate Dishes
I start by separating heavy-duty dishes from the delicate ones, so they’ve their own zones for protection and easy access.
For heavy items, I keep sturdier shelves and lower racks, while for delicate pieces I line with soft inserts to cushion each piece.
If you’re unsure, we’ll discuss practical layout tweaks and lining options that keep both groups safe and organized.
Heavy-Duty Placement Rules
When organizing the kitchen, I separate heavy-duty dishes from delicate ones and place them in distinct zones so you can load and unload smoothly without risk of chips or cracks.
- Place heavy plates in lower racks near the edge
- Store sturdy bowls on mid-level, easy reach
- Use padded dividers for mugs and cups
- Reserve a separate zone for bakingware to avoid collisions
Delicate-Dish Lining Strategy
Delicate-dish lining means I prioritize soft touch and careful placement, so fragile items stay safe even as I load and unload.
I create zones: soft liners and dividers, then place lighter, delicate pieces toward the center and toward the back.
I slide heavy items to the sides, keep gaps, and check stability before closing the rack.
Practical, calm, organized.
Use Non-Slip Drawer Inserts for Easy Loading
Using non-slip drawer inserts keeps loading quick and neat, so you won’t chase dishes around the drawer every time you reach in.
I share simple ways this helps, then list practical tips:
- Align dishes with soft edges
- Use separate sections for cups and plates
- Keep inserts clean to maintain grip
- Label zones for fast loading and retrieval
Learn Proper Loading Techniques to Minimize Collisions
I’m going to show you how to load dishes deep, stable, and with space seams properly so everything sits secure.
Start by placing the heaviest items at the back and center, then fill around them to keep the rack balanced.
If you notice wobble or crowding, pause, rearrange, and tighten gaps for smooth, collision-free loading.
Load Deep, Stable
When loading the dishwasher, I start from the back and work my way forward, aiming for a deep, stable stack that won’t collapse. I place heavy items first, align rims flat, and avoid crowding. This keeps water flow even and plates intact.
Practical tips follow:
- Space evenly
- Load rims down
- Keep bowls angled
- Stable bases only
Space Seams Properly
Spacing seams properly is the next step, because neat gaps keep every item from clanking together.
I place bowls and plates with equal space, avoiding crowding that invites chips. I stack sturdy items first, then lighter pieces on top, aligning rims.
I adjust loading as I go, listening for quiet, steady fills. Your shelf stays calm, organized, and protected.
Label and Color-Code Restocks to Reduce Errors
Labeling restocks and using color codes keeps our kitchen running smoothly; when items are clearly marked, I waste less time digging for the right box.
I keep labels simple, group by use, and place colors by category.
- Label each canister and shelf
- Color-code like-with-like items
- Update stock cards weekly
- Audit mismatches promptly
Standardize Dish Sets to Ease Stacking
Standardizing dish sets makes stacking hassle-free and keeps cabinets tidy.
I choose matching bowls, plates, and mugs, so every piece fits predictably. When I buy only complete sets, I minimize mismatches and rearranging.
I label a single shelf for the set and stack by size, not mix. This consistency speeds loading, reduces chips, and preserves space.
You’ll notice the order instantly.
Use Vertical Storage With Safe-Rack Solutions
When I’m organizing dishes, I turn to vertical storage and safe-rack solutions to maximize cabinet space and protect fragile pieces. I keep dishes upright, label sections, and choose non-slip mats. This approach reduces scraping, frees shelf edges, and makes access easy.
- Install adjustable dividers for flexibility
- Use risers to stack safely
- Apply cushioned liners for protection
- Mount slim racks on doors for extra space
Clean and Maintain Dishware Regularly
After setting up vertical storage and safe racks, I’m ready to keep our dishes in tip-top shape.
I rinse gently, dry promptly, and stash like-with-like to prevent chips. I inspect glazes, rotate aging pieces, and replace dull tools.
I scrub weekly with mild soap, avoid harsh cleaners, and air-dry fully.
Consistent habits save time, space, and fragile china.
Protect Edges With Corner Guards and Padded Dividers
Corner guards and padded dividers are my simple insurance for fragile edges.
I shield shelves with soft liners, non-slip mats, and labeled zones so dishes rest safely.
Here’s how I keep edges intact:
- Install corner guards on all corners
- Use padded dividers between pieces
- Arrange heavier items lower for balance
- Regularly inspect and replace worn padding
Handle Dishes Gently: Safe Placement Practices
I handle each dish with care, guiding it gently from hand to shelf and staying mindful of its edges.
I place plates on level stacks, aligned rims up, not crowded. I slide bowls into even rows, supportively, without jerks.
I keep a clear path, inspect for chips, and pause to recheck balance before adding the next item.
steady routine, calm results.
Protect During Transit: Tips for Moving and Staging
When you’re moving dishes from one spot to another, protection isn’t an afterthought—it’s part of the routine.
I pace the packing with calm steps, label boxes, and keep fragile faces upright. You’ll want padding at every layer, stack stability, and clear paths.
- Wrap, cushion, seal
- Label top and orientation
- Use dish dividers
- Plan a staging zone
Seasonal Adjustments for Holiday Hosting
Seasonal adjustments for holiday hosting mean tweaking your dish organization to match the season: I lean into what’s on hand, set up a simple display plan, and keep the flow calm and efficient.
I group items by course, rotate seasonal serves, and label clearly. I store extras nearby, rehearse the sequence, and trust consistent spacing to prevent clutter and chipped plates.
Quick Fixes for Common Chip-Causing Scenarios
I’m sharing quick fixes for common chip-causing scenarios, focusing on simple, practical methods you can use right away.
We’ll cover Quick-Cix Scenarios Fixes and Chip-Prevention Household Tricks to keep dishes intact and save you time.
Let’s start with clear, doable steps you can apply as you organize and tidy your kitchen routines.
Quick-Cix Scenarios Fixes
Quick-Cix Scenarios Fixes helps you tackle hiccups that pop up in the kitchen fast.
I share simple, doable fixes for everyday chip culprits, so your dishes stay intact. You’ll feel confident handling quick tangles and rough bumps without drama.
- Stack plates evenly and use a non-slip mat
- Warm plates before serving to reduce shock
- Use a gentle, steady rack for drying
- Cushion glasses with towels during storage
Chip-Prevention Household Tricks
From smoothing out quick-draw chips to steadying every dish, I’ve learned a few reliable tricks that keep chips from happening in the first place.
First, stack evenly and use shelf liners to prevent sliding.
Second, separate china by weight, not size, and cushion with felt.
Third, air-dry after washing, then reassemble gently.
Simple routines save fragile plates daily.
Teach Household Members a Chip-Prevention Routine
To keep pockets of chips from ending up everywhere, I’ve put together a simple routine you can teach every household member.
It’s practical, clear, and repeatable, so chores stay calm and dishes stay pristine, not chaotic.
- Load dishes by size, not random shapes
- Stack safely, with taller items toward the back
- Dry thoroughly before returning to cabinets
- Gentle handling, don’t slide plates on shelves
Establish a Maintenance Routine to Keep Dishes Chip-Free
Establishing a simple maintenance routine keeps chips from creeping back into the lineup.
I keep a weekly checklist, quick tips, and a dedicated dish rack routine. I rinse and dry immediately after use, store heels with care, and rotate toward the front so fragile pieces aren’t overlooked.
With clear steps, tidiness becomes predictable, not desperate, and chips stay minimized.
Conclusion
I’ve shown you practical steps to keep chips at bay, and you can start today. If you think it’s too fussy or time-consuming, you’ll be surprised how quickly a few simple tweaks add up—less mess, fewer breakages, calmer mornings. I’ve got your back: sturdy shelves, slip-proof liners, mindful stacking, and a quick routine you can repeat. Give it a week, then tell me how much calmer your cabinet feels. You’ve got this—your dishes will thank you.