


I prefer open shelves in a small kitchen because they cut visual bulk, reflect light and make the room feel airy while keeping everyday dishes within easy reach. With moisture‑resistant wood or powder‑coated brackets and proper stud anchoring, shelves can be durable and safe.
I balance them with a few closed cabinets for pantry clutter and hide heavy cookware below. I keep displays minimal, mix textures, and add plants—keep going and I’ll show layouts, materials, and styling tips.
Why Open Shelving Works for Small Kitchens
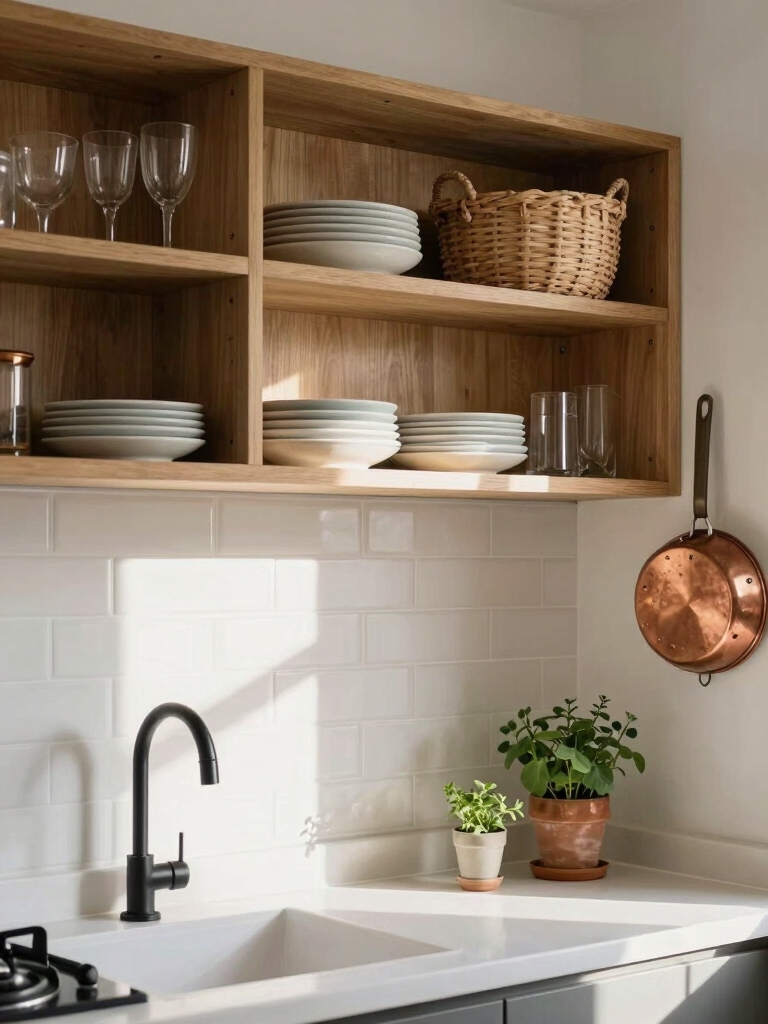
I’ve switched out upper cabinets for open shelves in my tiny kitchen, and it instantly made the space feel lighter and more usable.
I can see surfaces, reach everyday items, and display pretty dishes that act like decor.
Open shelving removes visual bulk, reflects light, and forces tidy habits—small changes that expand both function and style without crowding the room.
Open shelving also lets you showcase open kitchen cabinets by styling and arranging items as part of your decor.
Choosing the Right Shelf Material and Finish
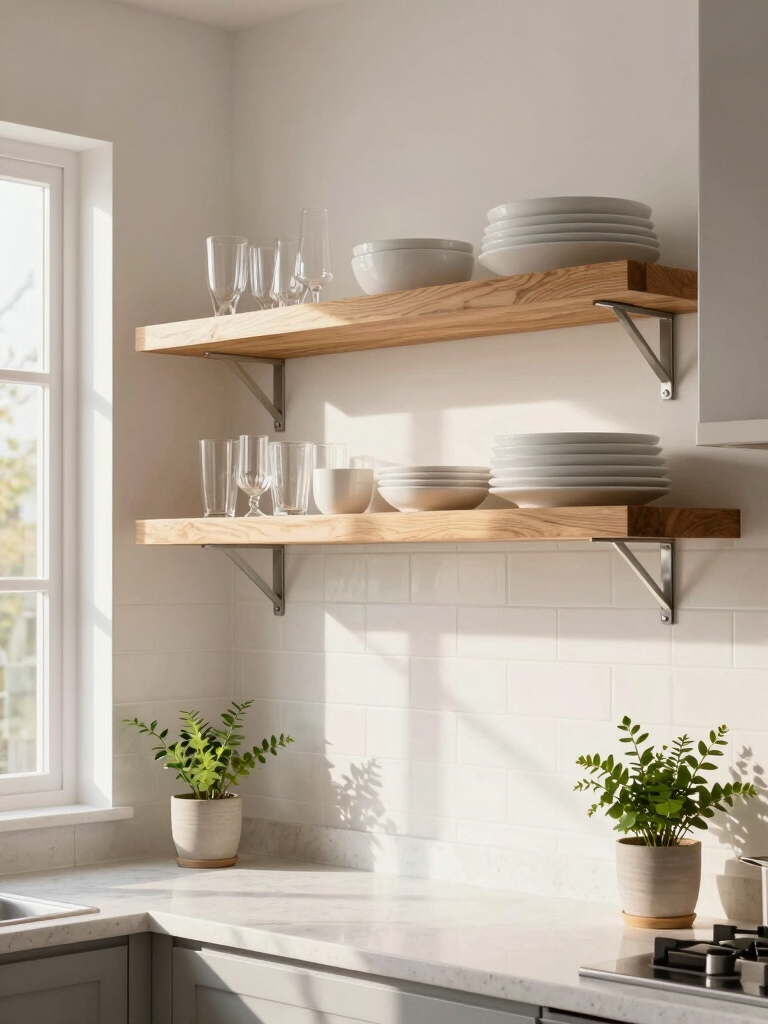
Because open shelves put your dishes on display, I pick materials and finishes that balance looks with everyday wear — and you should too.
- Reclaimed wood for warmth and character
- Solid maple for durability and a clean look
- Metal brackets with powder coat for modern toughness
- Matte lacquer on plywood to resist stains
I choose practical, stylish options that age gracefully and stay easy to maintain. Light oak cabinets bring natural simplicity and work well with open shelving natural simplicity.
Balancing Open Shelves With Closed Storage
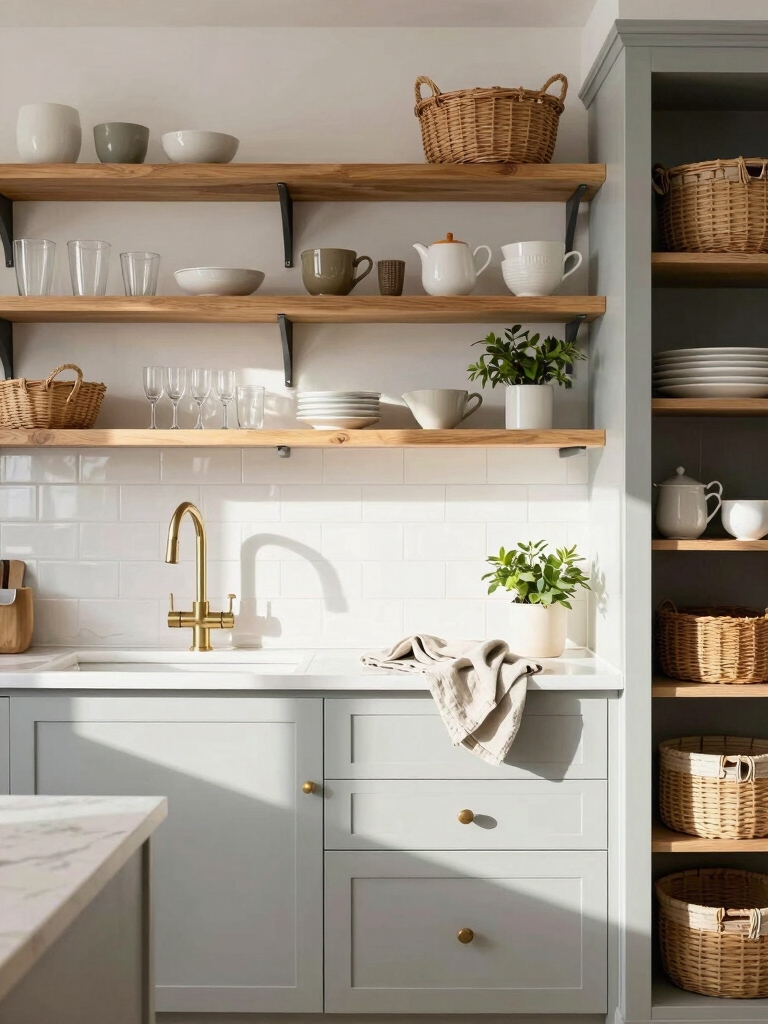
I like to mix open shelves for the things I want on show with closed cabinets for everyday clutter and less attractive items.
That way I get the joy of styling mugs and cookbooks while keeping practical storage for pans, food, and small appliances.
Let’s talk about how to balance visible display with hidden, functional storage so your kitchen looks curated but works smoothly.
Mixing open shelving with well-planned closed storage supports stylish shelving solutions that make the most of compact kitchens.
Visible Display vs. Hidden
Let’s dig into how to balance open shelves with closed storage so your kitchen looks curated rather than cluttered. I prefer displaying beautiful dishes and hiding odds-and-ends.
Mix visuals and practicality:
- Showcase ceramics and glassware for personality
- Keep utilitarian items in cabinets
- Use matching containers for rhythm
- Rotate displays seasonally to stay fresh
That way the space feels styled and functional. Small kitchens can benefit from clever cabinet alternatives like open shelving and shallow pull-outs to maximize every inch; see ideas for space-saving cabinets.
Practical Daily Storage
When I plan daily storage, I aim to keep the things I touch most within easy reach on open shelves while tucking bulkier, less attractive items behind doors so the kitchen stays efficient and calm.
I use baskets and labeled bins in cabinets for pantry overflow, reserve drawers for utensils and linens, and leave frequently used dishes and mugs visible for quick, lovely access.
I also incorporate smart vertical solutions like narrow pull-out cabinets and wall-mounted racks to maximize every inch, especially in tiny spaces that benefit from clever small kitchen cabinet strategies.
Styling With Functionality
Although open shelves make a kitchen feel airy and personal, I balance them with closed storage so the space stays tidy and functional for everyday life.
I mix visible displays with hidden zones, keeping clutter minimal and essentials handy.
My approach:
- Display pretty dishes and frequently used items
- Hide small appliances and pantry staples
- Use drawers for utensils
- Keep cleaning supplies out of sight
Glass cabinets can also open up a small kitchen visually by reflecting light and creating a sense of depth, so I sometimes pair open shelves with glass cabinets to enhance brightness and openness.
How to Arrange Dishes and Cookware for Style and Function
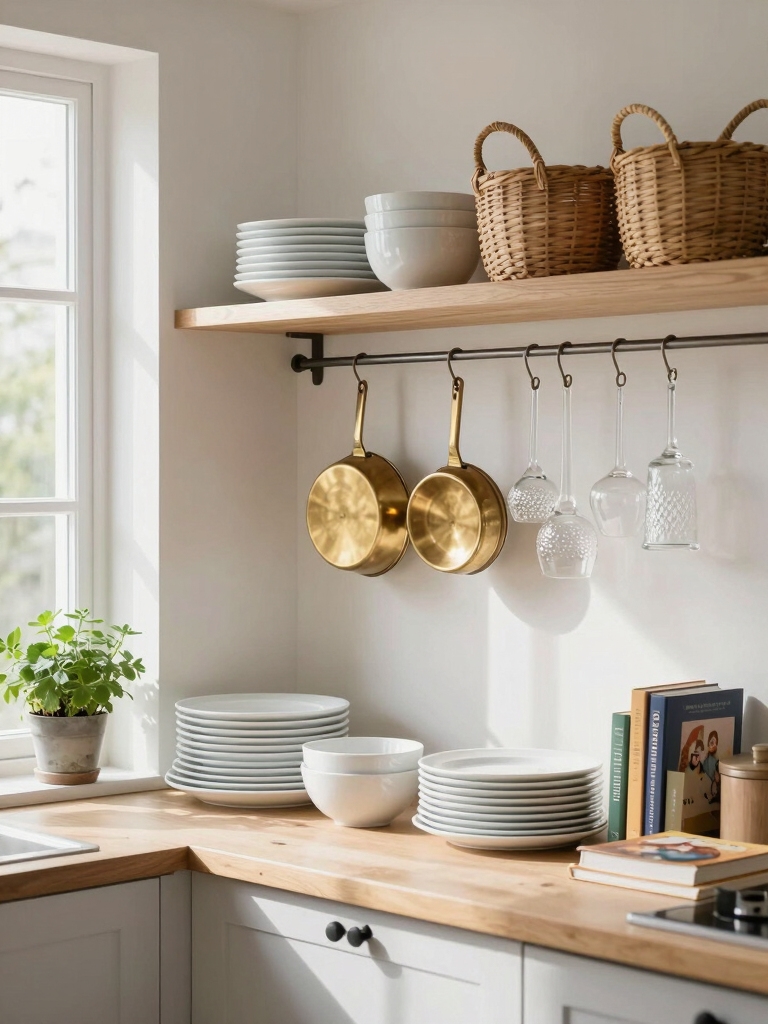
I like to arrange dishes and cookware by how I actually use them—everyday plates and pans within easy reach, seasonal pieces tucked a bit higher.
I balance open visuals by spacing chunky items with airy stacks so the shelf doesn’t feel cluttered.
Then I layer in accents like a small plant or a colorful bowl to add warmth and personality.
Open shelving can be paired with smart organizing solutions like pull-out trays and dividers to maximize accessibility and visual flow.
Group by Use
Because I reach for the things I use most, I group dishes and cookware by function so the shelves actually work for me — not just look good.
I keep zones for cooking, prep, casual dining, and display, so everything’s intuitive and tidy.
- Everyday plates and bowls near the dishwasher
- Pots and pans by the stove
- Prep tools at counter height
- Glassware on a top shelf for lightness
Balance Open Visuals
When I arrange open shelves, I aim for a mix of practicality and visual calm so the kitchen feels curated without being precious.
I balance heavy cookware with lighter ceramics, alternate vertical and horizontal stacks, and leave breathing room so items read easily.
Frequently used pieces stay accessible; decorative sets anchor corners.
Consistent color or material ties the display together for effortless cohesion.
Layer With Accents
Although open shelves celebrate simplicity, I like to layer accents so they do double duty — looking stylish while staying useful.
I arrange practical pieces with pops of color and texture, keeping things approachable yet curated:
- Neutral dinnerware grounded by one vibrant bowl
- Stacked mixing bowls for height
- A wooden board for warmth
- Copper pans displayed for sheen
This keeps function front and center.
Styling Tips for a Cohesive Kitchen Look
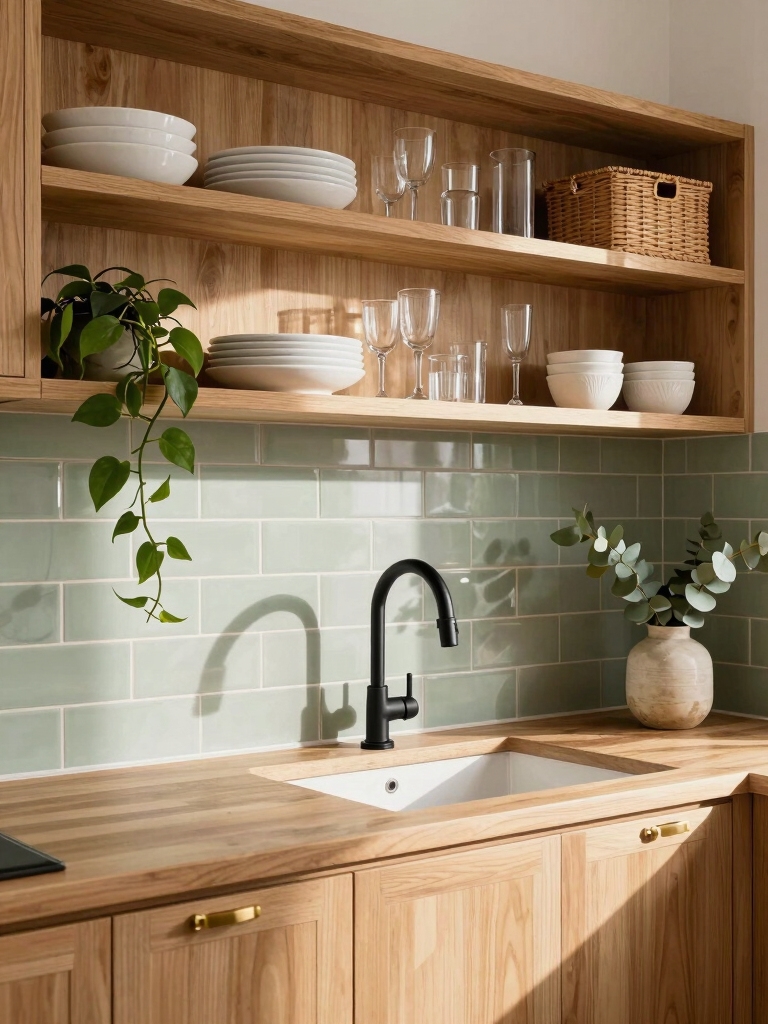
Since open shelving changes the kitchen’s visual rhythm, I think styling with intention keeps the space feeling cohesive rather than cluttered.
I group items by color and material, mix functional pieces with a few curated decor items, and vary heights for rhythm.
I repeat finishes—wood, brass, matte ceramic—to unify the scheme, and leave breathing room so each element can shine.
Practical Items to Keep on Display
I keep everyday essentials on open shelves so they’re easy to grab and actually get used—think plates, sturdy glassware, a stack of everyday bowls, and my go-to mugs.
I also display functional pieces that look good and work hard:
- Olive oil and frequently used spices in matching jars
- A wooden cutting board
- A small row of everyday bowls
- A couple of attractive mixing bowls
Lighting Solutions to Highlight Shelves
When I added lighting to my open shelves, the whole look shifted from purely practical to deliberately styled — it made everyday items feel curated and welcoming.
I used warm LED strips and small puck lights to create depth, highlighting textures and dishware.
Dimmer controls let me switch from task brightness to soft ambiance, keeping the kitchen functional yet effortlessly chic.
Installing Shelves Safely and Securely
When I mount kitchen shelves I always start by finding studs and choosing the right anchors so the load’s carried where it should be.
I plan the weight each shelf will hold — glassware or cast iron needs very different support — and pick moisture-resistant materials for backs and brackets near the sink.
Tell me what you plan to store and I’ll walk you through the exact anchors and boards that’ll keep everything safe.
Stud Wall Anchoring
Start by finding and marking the studs — that’s the single most important step in getting your shelves anchored safely. I use a stud finder, tap test, and a small pilot hole to confirm.
Then I:
- Align brackets over studs
- Use long wood screws into center of stud
- Check level before tightening
- Recheck anchors periodically
This keeps shelves secure and neat.
Load Capacity Planning
Having secured your brackets into studs, I now look at how much weight those shelves will need to carry so nothing bows or rips out of the wall.
I calculate per-shelf load, consider item distribution, and pick bracket spacing and material accordingly.
I test with gradual loading, aim for a safety margin, and label limits so everyday use stays effortless and safe.
Moisture-Resistant Materials
Because kitchens see steam, spills, and the occasional splatter, I pick shelf materials that shrug off moisture instead of absorbing it. I choose finishes and hardware to last, and I seal edges where wood meets steam.
Consider these options for durability and style:
- Powder-coated steel for wet zones
- Marine-grade plywood with epoxy
- PVC or thermofoil boards
- Sealed solid wood with oil finish
Maximizing Corner and Vertical Space
When I swapped cabinets for open shelves, I learned quickly that corners and height are where kitchens hide the most usable space, so I started treating them like design opportunities rather than awkward gaps.
I installed staggered shelving, added corner L-brackets, and used slim vertical dividers for trays and cutting boards.
Tall shelves hold seldom-used pieces, keeping counters clear and the room airy.
Mixing Open Shelves With Appliance Niches
After reworking corners and stacking height, I started thinking about where the microwave, toaster, and coffee maker would live without a cabinet to hide them.
I mixed open shelves with tailored niches to balance display and function. I favor visible rhythm and easy access.
- recessed microwave nook
- countertop appliance alcove
- floating shelf for mugs
- vented niche for toaster
Maintaining Cleanliness and Reducing Clutter
I usually keep a short list of rules for open shelves: limit what’s out, rotate items, and put everything back in its place at the end of the day.
I wipe shelves weekly, corral small items in pretty baskets, and display only essentials. Clear zones for prepping, eating, and storing keep clutter minimal, so the kitchen feels calm, intentional, and effortlessly chic.
Budget-Friendly Open Shelving Ideas
A few smart swaps and DIY tricks can give you the open-shelf look without blowing your budget, and I’ll show you how to make each choice feel intentional and stylish.
I prefer simple, affordable solutions that look chic. Try these quick wins:
- Reclaim wood planks with brackets
- Paint inexpensive brackets to match decor
- Use floating shelf hardware kits
- Thrift pretty jars for uniform storage
Styling Shelves for Different Design Aesthetics
I like to tailor open shelves to the look you want, so a minimalist neutral palette feels calm and edited with just a few ceramics and clean lines.
For an eclectic layered approach, I mix textures, colors, and unexpected objects to create a curated-yet-lived-in vibe. Tell me which direction you’re leaning and I’ll give specific styling tips.
Minimalist Neutral Palette
Think of muted tones as the quiet backbone of open shelving; I’ll show you how to keep things calm, polished, and effortless.
I lean on texture and restraint to make each shelf breathe. Keep materials cohesive, limit accents, and edit often for serenity.
- white ceramics
- linen towels
- matte wood
- soft metal accents
Eclectic Layered Styling
When I layer eclectic pieces on open shelves, I’m after a curated jumble that still feels intentional — a little boho, a little vintage, and a lot personal.
I mix mismatched ceramics, woven baskets, and framed postcards, balancing color and scale.
Leave breathing room, repeat motifs, and anchor oddities with practical items like glass jars. The result feels collected, warm, and effortlessly styled.
Layering Color, Texture, and Greenery
Because open shelves invite the eye, I layer color, texture, and greenery to create a look that feels intentional rather than cluttered. I mix ceramics, woven baskets, and plants for balance.
Small rules I follow:
- Repeat one accent color for cohesion
- Vary heights and textures for rhythm
- Add trailing plants for softness
- Keep everyday dishes accessible and styled
When Open Shelves Might Not Be the Best Choice
Although I love the look of open shelves, I don’t recommend them for every kitchen—especially if you crave a tidy, low-maintenance space or store lots of items you’d rather keep out of sight.
They show clutter, gather grease, and demand constant styling. If you have kids, limited storage, or prefer quick cleanups, closed cabinets or a mix of both will keep your kitchen functional and calm.
You’ve seen how open shelving can trick a small kitchen into feeling airy, stylish and surprisingly practical—when you pick materials wisely, mix in closed storage and style with purpose.
Decide what matters: display or hiding clutter, ease or permanence. If you’re tempted, start small: a single shelf, curated items, a touch of greenery.
Then pause—because once you swap a cabinet for open shelves, there’s no going entirely back. Are you ready?


