

I love hunting antique kitchen islands — estate sales, salvage yards, and tiny-town shops are my sweet spots for finds with real soul. I check joinery, drawers, and smell for rot, and I favor tight joints and even patina over flashy repairs.
Butcher-block tops sand and seal well; casters make heavy pieces practical. Budget for movers and selective pro help. Keep scale and period cues in mind, and follow along to see practical conversion and styling tips.
Sourcing Vintage Islands: Where to Hunt for Hidden Gems

When I’m hunting for a vintage kitchen island, I start with the places that most people overlook: estate sales, salvage yards, and small-town antique stores where sellers still appreciate craftsmanship.
I also check classifieds, restoration shops, and online auctions, reading listings carefully.
I trust intuition: photos, measurements, and seller notes reveal history.
Patience pays—rare pieces surface when you look beyond trendy markets.
I often transform finds into functional pieces, inspired by projects like turning a dresser into a stylish island and using dresser conversions as a starting point for custom updates.
How to Evaluate Structural Soundness and Joinery
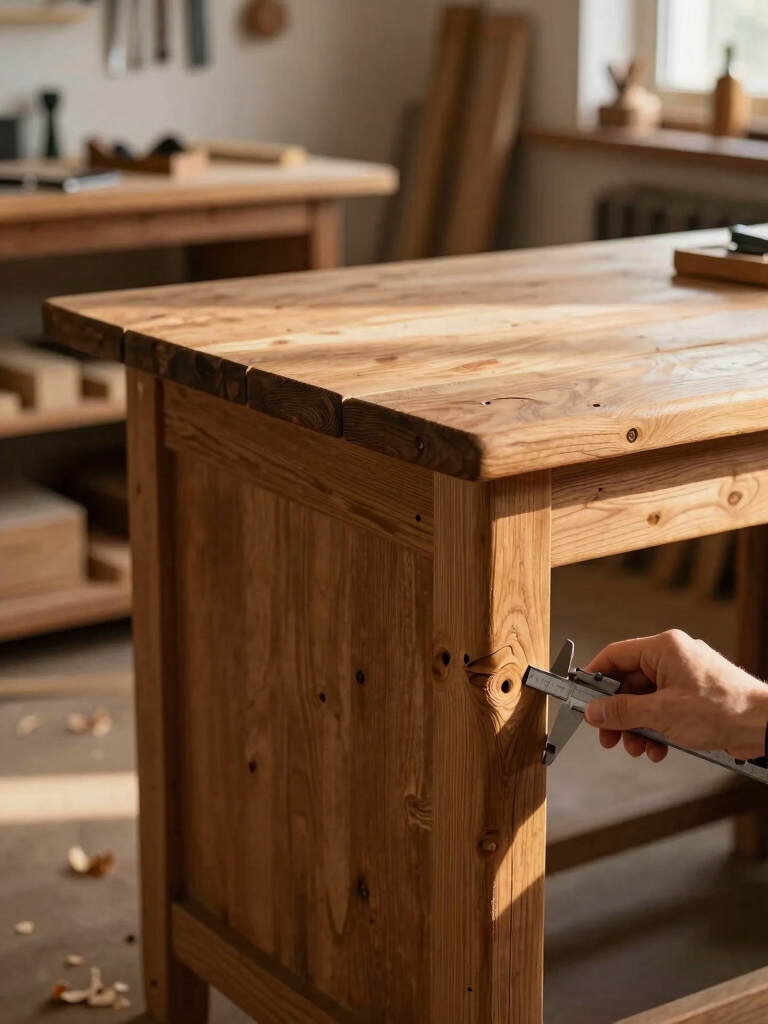
Start by looking and leaning in—I’ll check how an island feels under light pressure, listen for creaks, and scan joints for gaps or old repairs.
I probe drawers, flip it to inspect corner blocks and tenons, and smell for mold or rot.
Tight, well-fitted joinery and solid wood cores tell me it’s worth rescuing; loose glue or wobble warns me to walk away.
I also love hunting for clever storage features like hidden compartments and built-in racks that make an island truly useful and characterful, especially when they show thoughtful craftsmanship.
Recognizing Period Styles: From Victorian to Midcentury
When I look at a kitchen island I first scan for Victorian ornamentation cues — turned legs, carved aprons, and heavy moldings that shout 19th-century flair.
Then I watch for Arts & Crafts traits like simple, sturdy construction, exposed joinery, and honest materials.
Finally, Midcentury pieces catch my eye with their clean lines, minimal hardware, and emphasis on form following function.
Rustic farmhouse islands often inspire builds worth recreating, highlighting reclaimed wood, practical layouts, and cozy rustic details.
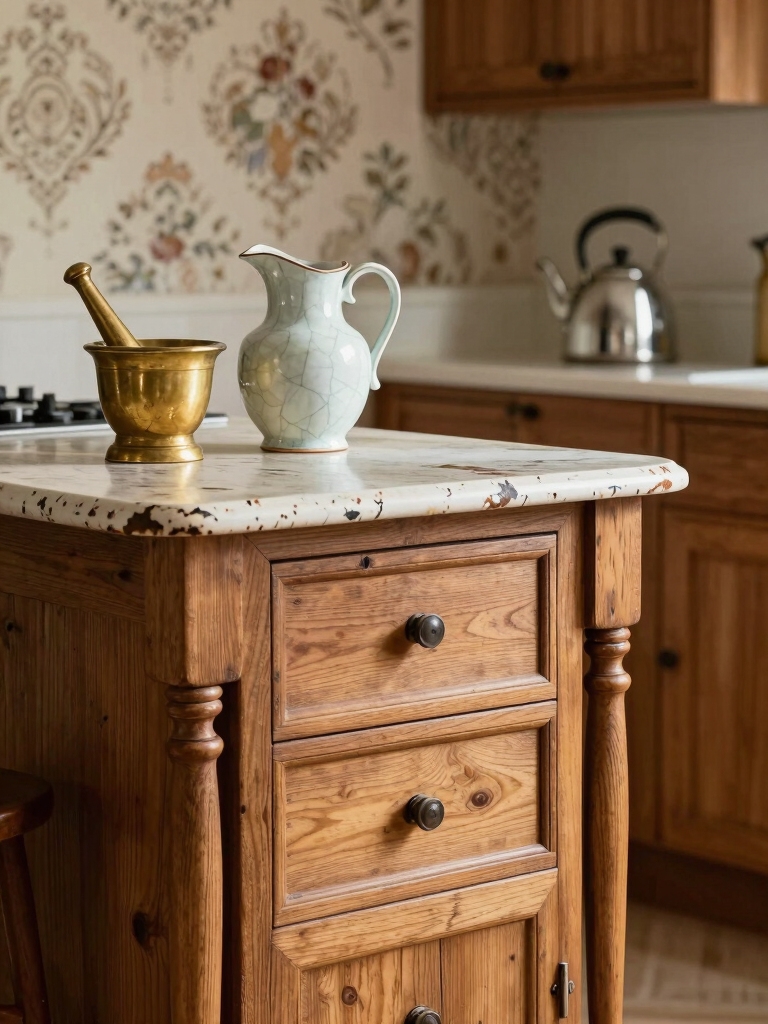
Victorian Ornamentation Cues
Although Victorian pieces can feel ornate at first glance, I look for a handful of reliable cues—intricate turned legs, heavy carved scrollwork, and applied moldings—that tell me a kitchen island belongs to that era.
I also watch for rich finishes, inset panels, and decorative hardware. These details signal Victorian lineage without overwhelming, letting me judge authenticity and how an island will anchor a layered, lived-in kitchen.
Vintage-inspired rustic islands often borrow these motifs to add instant character, especially through ornamented turned legs that echo period craftsmanship.
Arts & Crafts Traits
Moving from Victorian ornament to the Arts & Crafts aesthetic, I look for honesty of form and craftsmanship over applied decoration.
I’m drawn to sturdy proportions, visible joinery, and warm, natural finishes that reveal wood grain.
Functional details—open shelving, turned legs, simple hardware—speak of makers’ pride.
An island should feel purposeful, handmade, and quietly elegant without needless flourish.
I’ve found that studying island kitchen layouts deeply changed how I assess scale and flow in a room.
Midcentury Clean Lines
A midcentury island speaks in clean planes and honest silhouettes, and I look for that quiet confidence when I hunt for pieces.
I favor tapered legs, simple hardware, and warm teak or walnut tones that age gracefully.
These islands balance function and restraint, offering uncluttered surfaces and clever storage.
They bring a light, modern pulse without shouting—subtle, durable, and endlessly adaptable.
Moody dark green cabinets can pair beautifully with these islands for a luxurious, cohesive kitchen vibe moody dark green.
Assessing Surface Wear: Patina vs. Damage
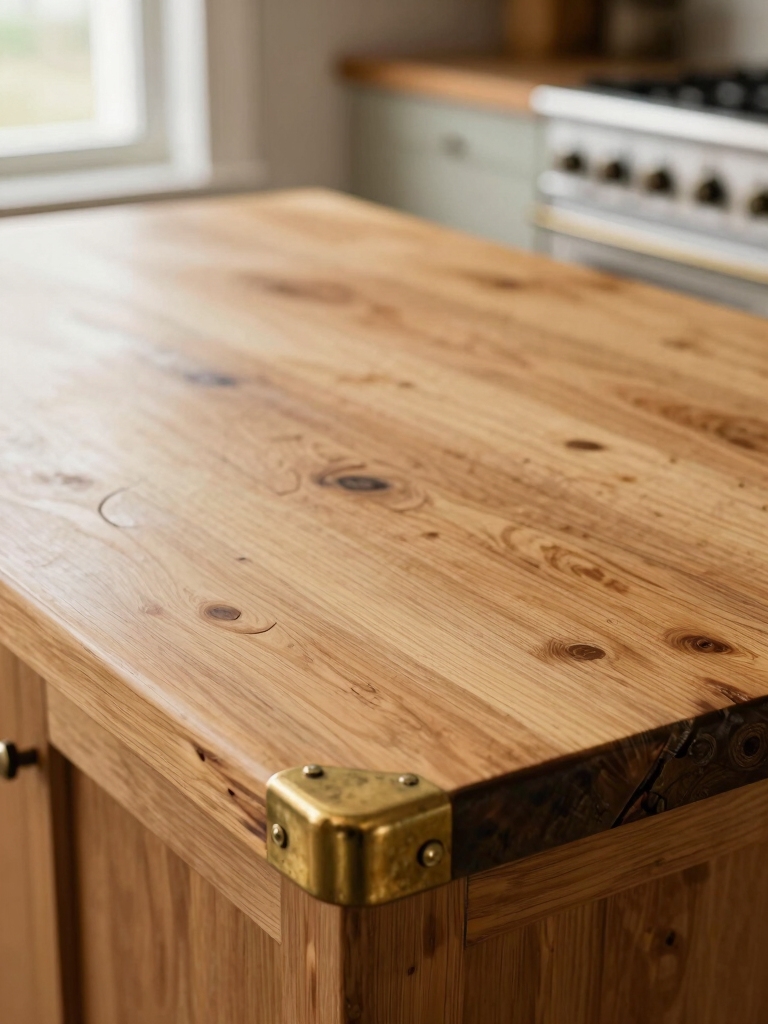
When I look at an island’s surface I’m always asking whether the marks are patina that adds character or true structural damage that won’t come back to life.
Small scratches, softened edges, and a warm, even discoloration usually signal restorable surface wear, while deep gouges, wood rot, or loose joints point to repair needs that affect integrity.
I’ll show you simple tests and visual cues to tell the difference so you can decide what’s worth rescuing.
Many homeowners prefer finishes that develop patina over time because they improve the island’s character and value.
Patina Versus Structural Damage
Although age brings a warm patina that tells an island’s story, I always look closely to tell the difference between character and compromise.
I run my hands along joints, inspect drawer runners and underside beams for sagging or rot.
Surface dents, worn finish and soft edges feel authentic; deep splits, loose joinery or insect galleries signal structural trouble I won’t ignore.
Restorable Surface Indicators
I often move from checking joinery to studying the surface because that’s where you can tell what you can reasonably fix and what’ll take a lot more work.
I look for even wear, shallow scratches, and faded finish—patina that tells a story and cleans or oils up nicely.
Deep gouges, rot, or stain saturation mean heavier restoration or replacement, so I pass or price accordingly.
Converting a Butcher Block for Modern Food Prep
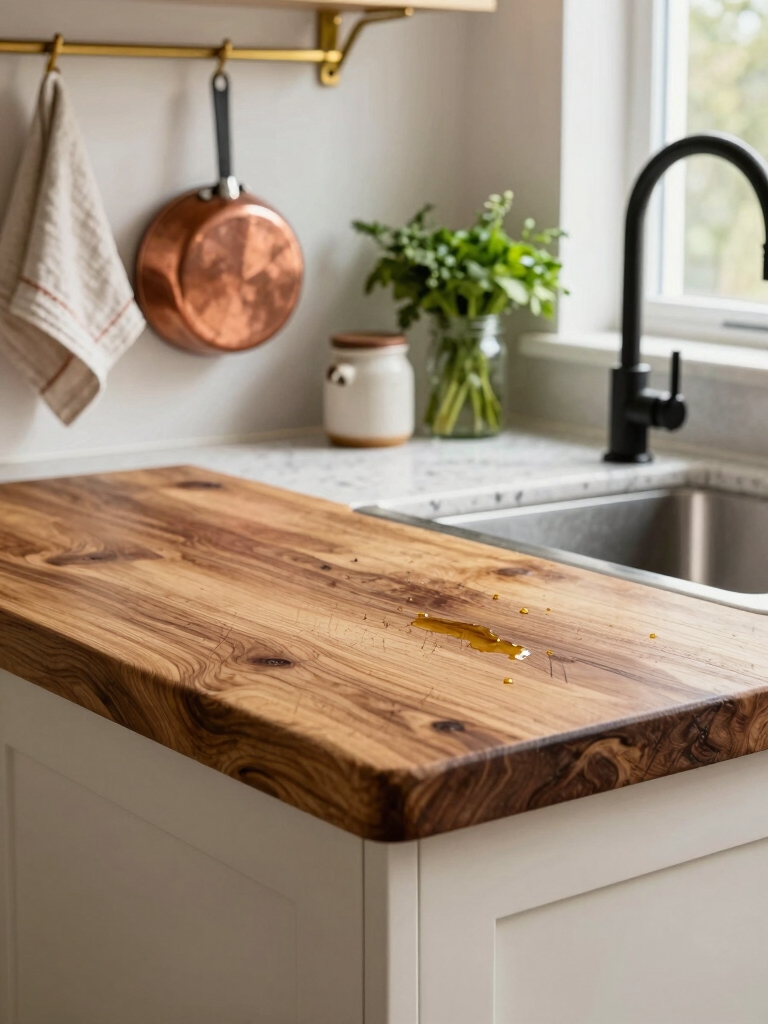
Start by evaluating the wood and construction—I’ll look for stable joinery, solid end grain, and any deep cuts or stains that could hide prior use—because converting a vintage butcher block for modern food prep means balancing preservation with sanitation and functionality.
I sand, sanitize, and seal, keeping character while ensuring safety.
- I honor history.
- I remove hazards.
- I retain warmth.
- I gain purpose.
Adapting Antique Cabinets for Contemporary Storage Needs
I like keeping the soul of an antique cabinet intact while rethinking its interior for today’s needs.
I’ll show how simple modern shelving and discreet, concealed hardware can boost function without erasing original character.
Stick with me and we’ll balance preservation with practical upgrades.
Preserve Original Character
While I want to make your antique cabinet work for modern life, I also don’t want to erase the patina and quirks that give it soul.
I suggest gentle fixes, respectful cleaning, and selective reinforcement so history stays visible while usefulness grows.
- Keep worn edges that tell stories
- Match hardware only when needed
- Lightly stabilize joints
- Use reversible finishes
Install Modern Shelving
Because antique cabinets weren’t built to hold modern cookware and pantry goods, I’ll often retrofit them with shelving that boosts function without erasing character.
I add adjustable shelves, pull-out trays, and soft-close runners where needed, matching wood tones or contrasting with metal for a curated look.
Small dividers tame spice clutter; deep shelves handle pots. The result feels practical, lived-in, and thoughtfully updated.
Integrate Concealed Hardware
Upgrading shelving is a great start, but hiding the hardware will make the island feel truly modern without losing its soul.
I swapped visible pulls for soft-close slides and inset hinges, keeping patinaed doors intact while improving function.
The result feels seamless, respectful, and unexpectedly joyful.
- Surprise: smooth, silent drawers
- Respect: original wood preserved
- Function: better organized storage
- Delight: everyday luxury
Refinishing Options That Preserve Character
If you want an antique kitchen island to keep its story while fitting your space, I recommend choosing refinishing techniques that highlight original details rather than erase them.
I strip gently, retain patina, and repair joins with reversible methods. I let wear guide color choices, use tinted oils or shellac washes, and avoid heavy sanding so grain, dents, and hardware remain part of the island’s charm.
Adding Modern Utilities: Plumbing, Outlets, and Lighting
When I add modern utilities to an antique kitchen island, I aim to blend convenience with respect for the piece’s history: plumbing, electrical outlets, and task lighting should feel intentional, not tacked-on.
I choose discreet fixtures, hide wiring, and route pipes thoughtfully to preserve patina and purpose.
- Tender respect for original charm
- Quiet, useful illumination
- Neat, hidden power solutions
- Warm, functional plumbing
Balancing Scale: Choosing the Right Island Size for Your Kitchen
Because every kitchen has its own rhythm, I start by measuring movement as much as floor space: I picture where people will walk, open drawers, and gather around the island, then use those actions to set its length, depth, and clearance.
I balance proportional scale with sightlines, keeping traffic lanes clear, appliance access easy, and visual weight aligned with cabinetry so the antique feels intentional, not crowded.
Integrating Seating and Overhangs With Vintage Pieces
While vintage islands often beg to be admired, I also want them to work—so I think through seating and overhangs as both functional moves and design statements.
I favor modest overhangs for stools, thoughtful clearances, and mixed heights that invite lingering without crowding.
Small details make it feel personal:
- tucked-in stools for intimacy
- soft edges for comfort
- layered lighting for mood
- woven cushions for warmth
Combining Materials: Stone, Metal, and Reclaimed Wood Tops
Although I love the patina of reclaimed wood, I also lean into the coolness of stone and the industrial edge of metal to give a vintage island real personality and utility.
I mix textures—rough wood, honed marble, brushed steel—for contrast and durability.
Choices depend on function: prep, serving, or display.
Balanced proportions and thoughtful seams keep the look cohesive and practical.
Mobility Solutions: Casters, Locking Wheels, and Base Modifications
Mixing stone, metal, and reclaimed wood gave the island its look and purpose, but I also want it to move — literally.
I chose casters for agility, locking wheels for safety, and subtle base mods for style. I love how mobility invites play and function:
- Surprise seating around a turned island
- Smooth glides across floors
- Firm locks for prep work
- Visible vintage hardware joy
Cost Considerations: Restoration, Transport, and Installation
Because I wanted the island to feel lived-in without breaking the bank, I treated cost as part of the design: restoration, transport, and installation each demanded different budgets and trade-offs.
I prioritized essential repairs, sourced affordable movers who specialize in antiques, and balanced DIY fits with pros for plumbing or electrical.
That mix saved money while protecting value and ensuring the piece settled in safely.
Styling Tips: Pairing Antiques With Modern Appliances and Finishes
Once the island was safely in place and the major repairs were handled, I turned to styling it so the old and new felt like they belonged together.
I mixed metals, kept lines simple, and chose finishes that let the island sing beside stainless steel. Small touches made it feel deliberate:
- Warm wood tray
- Matte black fixtures
- Soft linen towels
- Vintage glass jars
Case Studies: Successful Antique Island Transformations
When I started documenting successful antique island makeovers, I looked for transformations that balanced respect for the piece with practical updates—projects where owners kept character while making the island work for modern life.
I share three concise case studies: a butcher-block top refreshed and reinforced, a painted base revealing original hardware, and a compact island repurposed with hidden storage—each showing thoughtful, practical choices that honor history.
I’ve loved hunting hidden hardware and honing humble heirlooms into helpful hubs for modern meals.
Respecting robust joinery, savoring subtle surface stories, and smartly swapping wheels or worktops keeps character while creating calm, useful counterspace.
Pairing period personality with polished appliances produces pleasing, personal palettes.
Whether butcher block or baronial buffet, thoughtful tweaks transform tired treasures into tactile, timeless centers—small shifts, sincere stewardship, and spirited skillmaking yield satisfying, signature spaces.


