I’ll walk you through 14 practical under-sink essentials that turn chaos into a tidy, efficient space. Start with a core storage kit and labeled bins to group cleaners and backups, plus vertical pull-out organizers to maximize space. Keep sponges, brushes, and cords neatly contained, and set up a simple waste station for trash, recycling, and compost. Regular quick fixes and budget upgrades seal the deal. If you keep going, you’ll master a setup you can replicate with ease.
Tackle the Under‑Sink Mess: Your Step‑by‑Step Plan

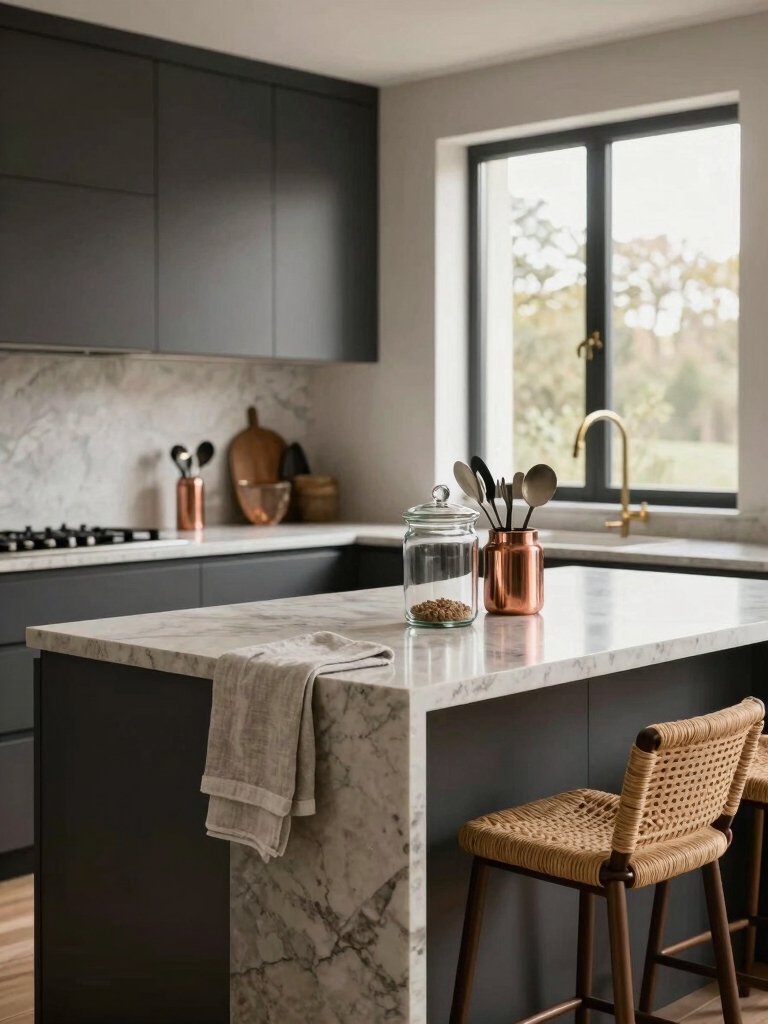
Under the sink, clutter multiplies fast, so I start by clearing a small, manageable space.
I pull out items, inspect expiration dates, and discard anything obsolete.
Next, I group similar tools—brushes, cleaners, bags—into labeled bins.
I wipe surfaces, install a slim organizer, and note only what belongs here.
Simple steps reduce chaos, keeping daily tasks quick and predictable. Additionally, investing in smart undersink organization can significantly enhance your storage efficiency and accessibility.
What You’Ll Gain From Under‑Sink Organization

Under-sink organization frees up hidden space and makes it easy to see what you have, so you waste less time searching for the right item.
With neatly arranged shelves and labeled containers, you’ll access cleaning supplies and tools in seconds instead of minutes. Additionally, smart organization tips can maximize your storage potential and enhance the overall functionality of your kitchen.
It’s a practical upgrade that keeps your kitchen calmer and your workflow smoother.
Maximize Hidden Space
If you reclaim just a few square feet, you’ll reveal hidden space that makes every kitchen task smoother. I’ll show you how smartly stacking containers and using slim organizers frees room for essentials, not clutter. You’ll notice fewer trips, quicker prep, and a calmer drawer. With clear labels, you’ll know where everything belongs, keeping your workflow consistently efficient. Additionally, utilizing space-saving solutions can transform your under-sink area into a highly functional storage zone.
Easy Access Storage
Clear access is the core benefit of under-sink organization.
I’ll show you how easy it’s to reach what you need, without digging. With labeled bins and a compact caddy, you’ll grab cleaners, sponges, and disposables in seconds.
No more cluttered shelves or тайcing around. Practical setup, quick access, and calm efficiency every time you open the cabinet. Drawer organization can transform your kitchen space, making it easier to find essentials quickly.
Assess Your Cabinet and Pick a Core Storage Kit

Do I really know what’s inside my cabinets? I pause, assess what I actually use, and note duplicates, gaps, and awkward fits.
Then I pick a core storage kit with versatile pieces—bins, a wire rack, labels—so essentials stay reachable and neat.
I test layout, commit to a simple plan, and promise to declutter weekly for lasting order. Incorporating must-have IKEA kitchen organizers can further enhance your storage solutions.
You can, too.
Get More Space With Vertical, Pull‑Out Organizers

I’m curious how vertical, pull-out organizers can maximize space and keep essentials within easy reach.
With adjustable shelves, you can tailor height to fit bottles, tools, and bakeware without stacking chaos. Additionally, smart kitchen cabinet organization can help you make the most of every inch of your storage area.
Let’s explore simple setups that boost accessibility and tidy up under the sink.
Vertical Space Maximization
Vertical space is a goldmine in the kitchen, so I’ll show you how to harness it with pull-out organizers that glide smoothly and stay sturdy.
I’ll keep your shelves efficient and clutter-free.
- Measure, plan, install sturdy slides
- Use slim bins for small items and spices
- Label zones for quick access and routine cleanup
- Consider incorporating deep drawer organization to maximize every inch of storage.
Easy Pull-Out Access
You’ve got your vertical space ready with slim bins and sturdy slides, so let’s make access a breeze.
I keep frequently used cleaners and sponges on the front, while deeper items glide back on smooth rails. A labeled pull-out keeps everything visible, reducing rummaging.
Quick grabs save time, and clear fronts help you see what’s there at a glance. Additionally, utilizing kitchen cabinet organization layouts can enhance overall efficiency in your cooking space.
Customizable Shelf Heights
Ever wish you could squeeze more into every cabinet?
I tweak shelf heights to fit tall bottles, fragile jars, and stacked bins without crowding. Vertical planners save space and reveal easier access.
Here are quick moves:
- Measure available height precisely.
- Use adjustable tracks for flexible spacing.
- Label tiers for quick, confident grabs.
Group Cleaners and Backups With Labeled Bins

Grouping cleaners and backups in labeled bins keeps everything you might reach for at hand tidy and easy to find.
I suggest pairing bottles by use—daily cleaners together, specialty products nearby—and label each bin clearly.
This setup saves time, reduces searching, and prevents accidental mixing.
I’ll maintain order by replenishing backups as needed and keeping a quick reference list handy.
You’ve got this.
Containerize Sponges, Brushes, and Soaps for Quick Access
I like to keep sponges, brushes, and soaps in easy-access containers so everything’s ready when I need it.
I’ll show you how snug cabinet labels help you grab the right tool fast, reducing clutter and searches.
With simple, labeled bins and clear placement, you’ll enjoy quicker, more efficient cleanups.
Easy Access Containers
To keep sink essentials handy, I use easy-access containers to corral sponges, brushes, and soaps within arm’s reach.
They streamline my workflow, reduce mess, and make cleanup faster.
Here are my top picks:
- Clear caddy with compartments
- Magnetic strip for brushes
- Drain-safe soap dispenser
Snug Cabinet Labels
Snug cabinet labels make it quick to grab the right item without digging through clutter.
I keep sponges, brushes, and soaps grouped by purpose, then label containers clearly. This setup saves seconds and reduces mess, so you stay focused on chores, not searching.
I suggest simple, readable fonts and consistent wording for instant recognition and smoother daily routines.
Tidy Cords, Tools, and Overflow Items Together
It helps to tackle cords, tools, and overflow items together, so everything you grab most often stays in one place.
I keep a simple system: everything goes back to its spot after use, with quick-access bins and labeled sleeves.
1) Corral cords with velcro wraps
2) Group tools in a compact caddy
3) Contain overflow items in a shallow tray
Set Up a Clean Trash, Recycling, and Compost Station
A clean trash, recycling, and compost station makes waste sorting effortless, so I set one up where it’s easy to see and use.
I label each bin clearly, place them at hand height, and keep liners inside for quick swaps.
Regularly empty, rinse, and sanitize to prevent odors.
Consistency matters—make it simple, accessible, and a no-brainer for daily routines.
Child‑ and Pet‑Friendly Safety When Organizing
Keeping kids and pets safe while organizing is nonnegotiable, so I’ll blend practical tweaks with everyday habits that fit real life.
- Store cleaners in a locked cabinet or high shelf, out of reach.
- Use child‑ and pet‑proof latches on drawers and doors.
- Clear countertops of temptations; label containers and keep cords tucked neatly.
Create a Simple, Sticky Labeling System
Now that kids and pets are tucked safely away from cleaners, it’s time to make labeling simple and sticky.
I keep labels small, readable, and durable with a basic color system. Use a permanent marker, then seal caps with clear tape.
Place labels at eye level, near containers, and update as needed. Consistency saves time and prevents mix-ups.
Quick Weekly Maintenance to Keep It Tidy
Weekly maintenance only takes a few minutes, but it makes a big difference.
I show you a quick routine you can repeat, keeping everything accessible and tidy.
Try these steps:
- Wipe surfaces and run a quick check for spills.
- Tidy cords, discard empty containers, and rehome tools.
- Reset labels and adjust bins for easy access.
Budget Upgrades That Really Pay Off
If you’ve been keeping up with quick weekly maintenance, you’ve already built a sturdy baseline for organization.
Budget upgrades that really pay off are smart, not flashy. Invest in durable labeled bins, a compact pegboard for tools, and a slim dish rack that fits your space.
Prioritize versatility, easy cleaning, and longevity to cut future clutter and stress.
Quick Fixes for Common Under‑Sink Clutter Hotspots
Under-sink clutter tends to creep in from small, stubborn habits, but a few quick fixes can restore order without a full redesign.
I’ll show simple ways you can reclaim space today.
- Create a slim bin for disposables and wipe-down towels.
- Use tension rods or Stackable bins to separate cleaners and brushes.
- Label baskets to speed routine checks and curb re-cluttering.
Measure, Plan, and Layout: A Copy‑Ready Setup You Can Replicate
Now let’s lay out a plan you can copy and reproduce: measure the space, map your zones, and choose storage that fits your workflow.
I’ll sketch a practical layout you can reuse: designate a trash and recycling station, a cleaning-gear niche, and a catchall shelf for rarely used items.
Keep measurements tight, choose modular bins, and test flow before committing.
Conclusion
Friends, finish with faith in your file‑cabinet calm. From folding clutter to fearless organization, I’ve shown you simple steps and smart solutions that spark swift, spotless change. Stay steady, seal spills, and savor superb storage. Start small, stay smart, and steadily scale your space—secure, sorted, satisfying. With wins weekly, we’ll whittle waste and welcome whitespace. You’ve got this: a cleaner cabinet, a calmer home, and a brighter, breezier bite of daily bliss. You’ve got the knack—let’s start now.