I’ve rounded up easy, high-impact kitchen fixes you can do in a weekend, even if you’re nervous: swap dated knobs and pulls, paint cabinets with good primer, stick on a peel-and-stick backsplash, swap bulky lights for simple pendants, add under-cabinet LEDs, install a pot rail, refresh floors with vinyl planks, and recaulk around sinks.
Measure, label, and prep carefully and you’ll get pro-looking results without panic — keep going and I’ll walk you step-by-step through each project.
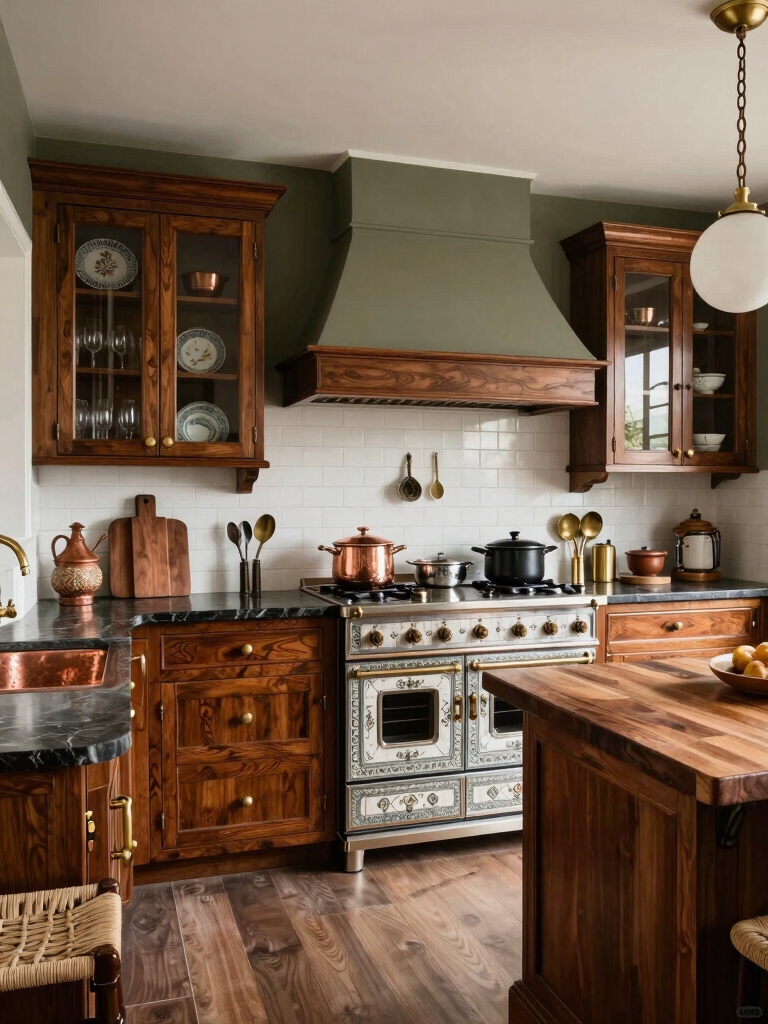
Swap Cabinet Hardware to Instantly Refresh the Look
Ready to give your kitchen a quick face-lift? I swapped dated knobs and pulls for sleek, modern hardware and the space felt new overnight.
I measured backplate spacing, chose finishes that tie into faucets and lighting, and used a template for straight installs.
It’s affordable, fast, and beginner-friendly—small details that elevate the whole room without a full remodel.
Many weekend projects, like cabinet hardware swaps, are popular DIY cabinet makeovers and deliver big visual impact with little time or cost.
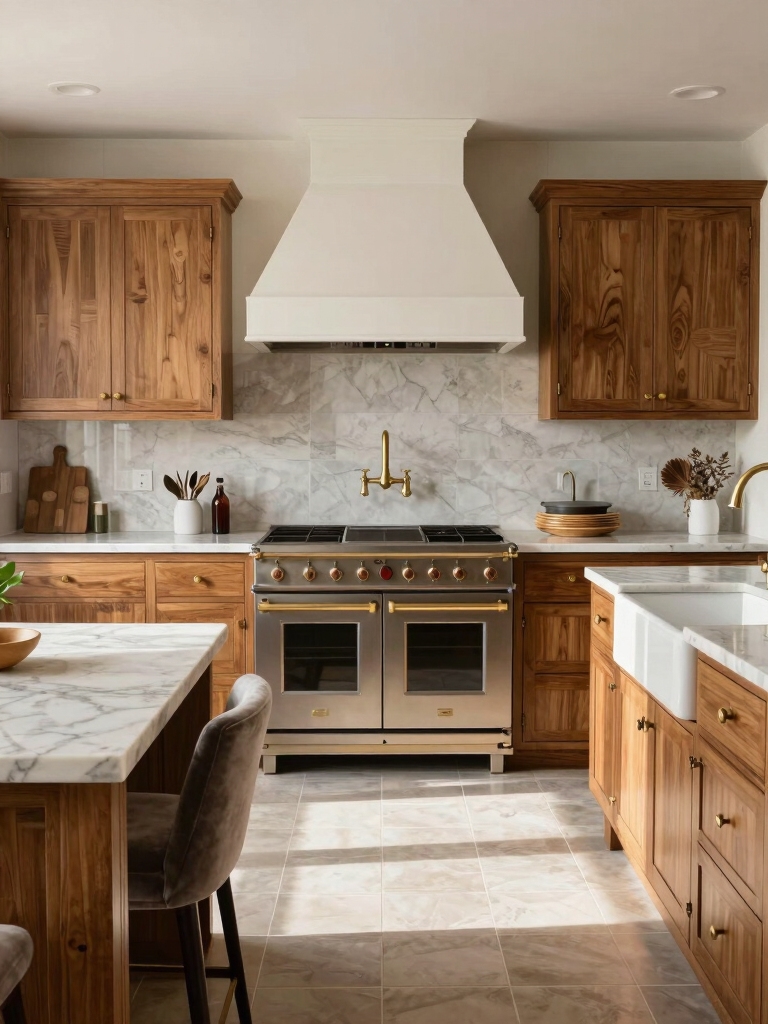
Paint Cabinets for a Big Change on a Small Budget

I’ll show you how painting cabinets can transform your kitchen without breaking the bank.
Start by removing hardware, sanding surfaces smooth, and applying a good primer so paint adheres and lasts.
With the right prep and a couple of paint coats, you’ll get a fresh, design-forward look on a small budget.
A few pro tips—like using a high-quality primer and learning proper sanding techniques—can make your results look professional-grade.
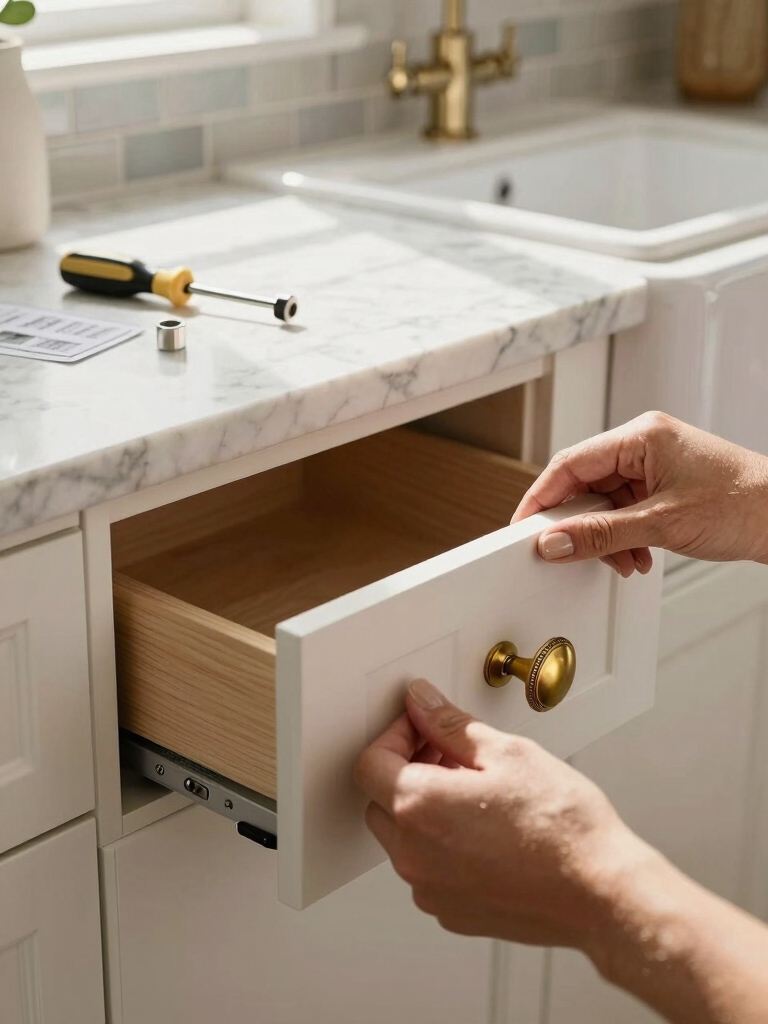
Prep and Remove Hardware
Before I lift a single hinge or unscrew a knob, I lay out a clear plan so the prep work doesn’t turn into a time sink.
I label doors and drawers, bag screws with corresponding hardware, and tape protective paper over counters.
Removing knobs, pulls, and hinges carefully saves time later and gives me a clean canvas for the fresh, budget-friendly cabinet update.
I also make a point to assess the cabinet construction and hardware type to choose the right approach for sanding or painting cabinet styles before starting.
Sand, Prime, Paint
With the hardware bagged and doors labeled, I move on to sanding, priming, and painting—the steps that give tired cabinets a whole new life without blowing the budget.
I sand lightly for grip, wipe dust, apply a bonding primer, then use thin, even paint coats with a good brush or sprayer.
Let each coat dry fully for a smooth, durable finish. Freshly painted cabinets can completely transform a kitchen’s look and feel, often delivering big visual impact for relatively little money.
Install Peel-and-Stick Backsplash Tiles

Now that the cabinets are fresh, I’ll walk you through prepping the wall so the peel-and-stick tiles grab properly — clean, prime, and smooth any bumps first.
I’ll also show simple cutting tricks and how to align seams so the pattern reads like a pro job.
Stick with me and we’ll get a polished backsplash without specialty tools. Backsplash designs can transform the whole kitchen, from modern subway to bold mosaic, so consider style and layout when planning your tile installation and explore backsplash styles to choose the best look.
Surface Prep Steps
Once you peel back a corner and realize the tile won’t stick to grime, you’ll understand why surface prep matters; I’ll walk you through the simple steps to get a smooth, lasting peel-and-stick backsplash.
- Clean with degreaser, rinse, dry.
- Sand glossy surfaces lightly for tooth.
- Fill holes, smooth with spackle, sand.
- Wipe with rubbing alcohol, let evaporate, then install.
Budget-friendly cabinet makeovers can free up funds for a nicer backsplash or better tools, so consider simple cabinet updates when planning your project and learning more about cabinet makeovers can help you prioritize expenses.
Cutting & Aligning
Measure carefully and cut confidently: getting your peel-and-stick tiles to line up is mostly about planning and steady hands.
I score tiles with a utility knife and straightedge, snap clean cuts, and dry-fit rows before peeling. I mark reference lines, work from a focal point outward, and use spacers for even gaps.
Small adjustments while adhesive’s tacky save frustration and yield crisp results. Consider adding a bold patterned backsplash to make small kitchens pop and create a focal point with eye-catching contrast.
Replace Outdated Light Fixtures With Simple Pendants

If your kitchen feels dated, I recommend swapping bulky ceiling fixtures for a pair of simple pendant lights to immediately update the space and highlight task areas.
I’ll pick low-profile pendants, match finish to hardware, and center them over islands. You can hardwire or use plug-in adapters if unsure.
- Measure mounting points
- Choose scale
- Match finish
- Test wiring
Add Under-Cabinet Lighting for Function and Ambiance

I’m a big fan of under-cabinet lighting because the right fixtures instantly lift both function and mood in a kitchen.
In the next section I’ll walk you through picking fixtures, power and wiring choices, and practical installation and placement tips so your lights look polished and work reliably.
Let’s make sure the glow is both useful for prep and flattering for the room.
Choose the Right Fixtures
Think about how lighting changes a kitchen’s mood and functionality—so I always recommend adding under-cabinet lights when choosing fixtures.
I pick sleek, dimmable LEDs that flatter surfaces and save energy. Consider these points:
- Color temperature: warm vs. cool.
- Beam width: task vs. accent.
- Slim profile: hides under cabinets.
- Controls: easy dimming and grouping.
Power Options and Wiring
Lighting choices set the look, but wiring decides what you’ll actually get out of under-cabinet lights, so let’s cover the power options you’ll run into and how they affect installation and use.
I prefer low-voltage LED strips with a centralized driver for efficiency and clean runs; plug-in puck lights work for renters. Hardwired feeds need a circuit and switch placement—plan power access before you buy.
Installation and Placement Tips
Because under-cabinet lights sit so close to your workspace, I focus first on placement and beam direction to get both function and mood right.
I pick warm LEDs, hide strips behind the cabinet lip, and aim for even task light with minimal glare.
- Mount near front edge for counter illumination.
- Use diffusers for even spread.
- Space lights to avoid shadows.
- Test angles before final screws.
Refinish or Paint Kitchen Walls With Washable Paint
I usually recommend starting your kitchen refresh by refinishing or repainting the walls with a washable paint, since it makes day-to-day maintenance so much easier and instantly lifts the room’s look.
Pick a satin or eggshell finish for durability, test small swatches in natural light, and use high-quality brushes or a roller for even coverage.
It’s an easy, high-impact update.
Update Faucet and Sink Accessories
I’m updating my sink next and I’ll start by choosing a finish that ties the whole kitchen together.
I’ll swap the faucet cartridge to stop drips and restore smooth operation. Then I’ll add a spray hose clamp so the pull-down wand stays put and works reliably.
Choose the Right Finish
Think about finishes like a signature touch — they pull your whole kitchen together. I pick finishes that balance style and fingerprints: matte hides smudges, polished shines, brushed hides wear, and black reads modern.
Match faucet, cabinet pulls, and soap dispenser for cohesion. Keep metals within warm or cool families so everything feels intentional and curated.
- Matte
- Polished
- Brushed
- Black
Swap the Faucet Cartridge
After you’ve settled on finishes that tie the room together, upgrading the faucet cartridge is one of the quickest ways I can make the sink feel and work like new.
I shut water, note the model, swap the old cartridge for a matching replacement, and reseal connections. It stops drips, restores smooth operation, and preserves the look without replacing the whole faucet.
Install Spray Hose Clamp
With a quick clamp and a little patience, I can make the spray hose feel like a built-in part of the faucet rather than an afterthought.
I tuck the hose, tighten a stainless clamp, test for smooth travel, and trim excess.
Small detail, big finish.
- Measure hose slack
- Choose stainless clamp
- Secure under sink
- Test motion and seal
Install a New Cabinet Liner for Clean, Fresh Shelves
A new cabinet liner can instantly refresh your shelves and make daily kitchen life easier, so I’ll walk you through picking the right material and installing it cleanly; it’s a small change that yields tidy, protected storage and a nicer surface for pantry items and dishes.
I choose washable, non‑slip liners, measure precisely, trim with a craft knife, and press edges flat for a seamless, durable finish.
Add Open Shelving for Display and Storage
I often recommend adding open shelving when you want to showcase favorite dishes and gain instant, accessible storage. I find it brightens the room and forces tidy styling.
Simple brackets, stained pine, or painted floating shelves transform a blank wall into purposeful display.
- Measure and plan spacing.
- Choose sturdy brackets.
- Style with color balance.
- Keep essentials reachable.
Apply Contact Paper to Counter Edges or Appliance Facades
When you want to keep the curated look from open shelves flowing across the kitchen, I often wrap counter edges or appliance fronts in contact paper for a quick, low-cost update that ties everything together.
I pick patterns that echo hardware or shelf tones, measure carefully, smooth air bubbles with a plastic card, and trim cleanly—small changes that read custom and instantly unify the space.
Replace Outlet Covers and Switch Plates for a Polished Finish
Often I swap out outdated outlet covers and switch plates myself because it’s one of the easiest ways to make a kitchen feel finished and intentional.
I choose finishes that complement hardware, clean edges, and match paint for cohesion.
Quick, safe, and cheap, this tweak lifts the whole room.
- Pick finish
- Turn off power
- Remove old plates
- Install new plates
Install a Simple Pot Rack or Rail System
Mounting a simple pot rack or rail instantly frees up cabinet space and puts your favorite cookware on display.
I measured stud locations, picked sleek hooks and a slim rail, and installed it centered over the stove for balance.
It’s a quick, stylish upgrade that keeps pans accessible, adds visual interest, and proves thoughtful design doesn’t require complex tools or skills.
Refresh Flooring With Peel-And-Stick Vinyl Planks
I usually start a flooring refresh with peel-and-stick vinyl planks because they’re fast, cost-effective, and transform a kitchen’s look without a full remodel.
I prep, measure, and choose a durable, water-resistant style.
Installation’s satisfying — cut, stick, groove.
Small tools, big impact.
- Clean and level floor
- Acclimate planks
- Stagger seams
- Trim edge pieces carefully
Re-caulk Around Sink and Counter Joints
I’ll walk you through re-caulking around the sink and counter joints so your kitchen looks finished and stays watertight.
I clean old caulk, dry the area, and mask edges for crisp lines. I choose a mildew-resistant silicone, apply a steady bead, then smooth with a damp finger or tool.
It’s quick, affordable, and instantly upgrades your finish while preventing leaks.
Create Decorative Accent Walls With Stencils or Wallpaper Peel-And-Stick
Once the caulk’s set and the counters look neat, I like to shift focus to a wall that can make the room pop without heavy renovation.
I choose peel-and-stick for speed or stencils for custom charm. Prep, measure, and work patiently; both give big impact.
- Pick a focal wall
- Test samples under light
- Use level and guide lines
- Seal edges for durability
You’ve got a toolbox of gentle upgrades that quietly transform your kitchen from “meh” to memorable.
Swap a knob, paint a door, or lay down a peel‑and‑stick plank and you’ll feel the room breathe easier—like a tired outfit refreshed with a bright scarf.
These small, design-forward moves are kind to your wallet and your nerves, and they prove a thoughtful, steady hand can make a kitchen feel truly lived-in and loved.