I declutter first, measure every inch, and map a smarter counter zone so my small kitchen finally feels organized. I’ll create a dedicated spice and oil station, install slim, stackable storage, and tame utensils with drawer dividers. Magnetic strips hold knives, while appliance caddies tidy cords. Roll-out mats and cutting boards store neatly, and a quick daily reset keeps clutter away. If you keep going, you’ll pick up practical habits that make the whole zone work better.
Declutter First, Measure Your Space

Before you start organizing, declutter first so you know what truly needs a home.
I’m guiding you to sift items, keep only essentials, and note what truly uses space.
Then, measure available counter real estate: length, width, height, and door swing if needed.
With everything visible, you’ll design a precise plan, reducing chaos and clarifying what belongs nearby. Additionally, consider utilizing space saving solutions to maximize your small kitchen’s efficiency.
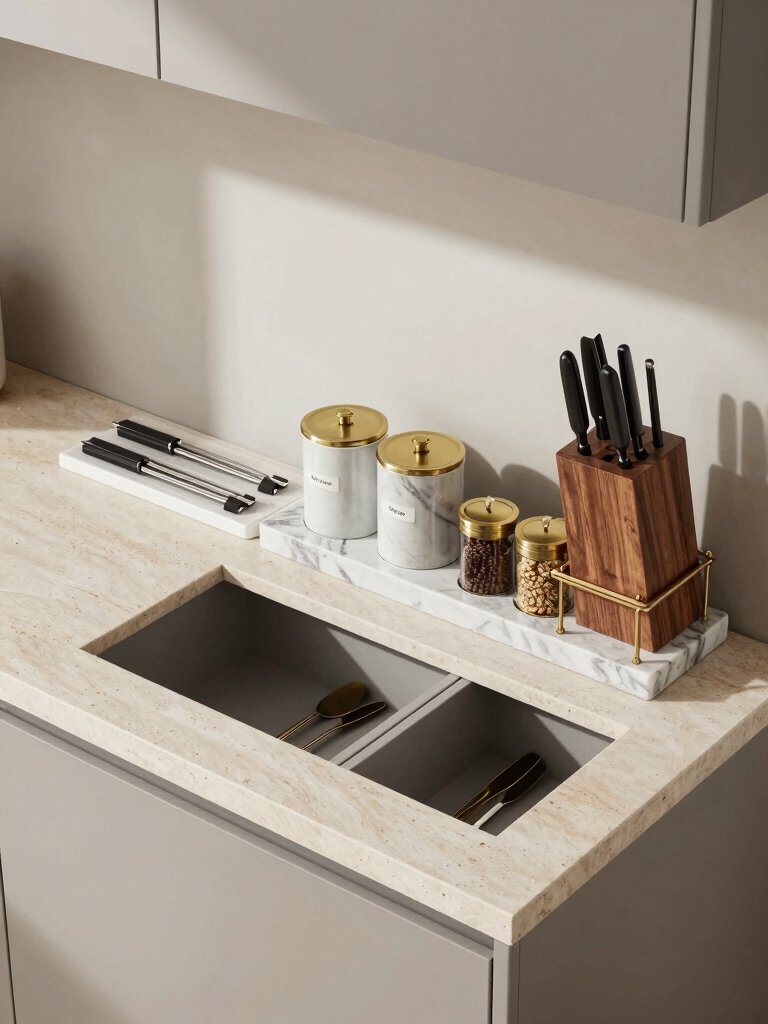
Create a Dedicated Spice and Oil Station

A dedicated spice and oil station keeps flavors within easy reach and helps your counter stay calm.
I group staples by function—savory, citrus, and oils—on a small tray near the prep zone. I label jars, keep bottles upright, and resist overfilling.
Regular wipes keep crumbs away, and I rotate essentials to avoid stale aromas or spills. Additionally, consider utilizing small kitchen organization ideas that maximize vertical space, such as wall-mounted racks or magnetic strips for storing spices and oils.
Simple, efficient, steady.
Install Slim, Stackable Storage Solutions

When you install slim, stackable storage, you gain vertical flexibility without cluttering the counter. I choose compact units that fit the depth of shelves and cabinets, not just the drawer gap. Stack two small bins, label fronts, and rotate frequently used items to top levels. Group similar tools, keep surfaces clear, and regularly reassess to maintain flow. Additionally, consider utilizing smart storage ideas that maximize every inch of available space in your tiny kitchen.
Tame Utensils With Drawer Dividers

I’ve found that drawer dividers boost Drawer Divider Efficiency by keeping like utensils grouped and easy to grab.
I’ll walk you through simple zones for different tools, so you know exactly where each item belongs.
Let’s start with a quick setup plan that keeps everyday utensils ready at a glance. Counter organization is essential for maximizing your space and ensuring everything has a designated spot.
Drawer Divider Efficiency
To tame a cluttered utensil drawer, I start by using dividers that create distinct zones for spoons, forks, knives, and specialty tools.
Drawer divider efficiency comes from clear sizing, stable edges, and easy access. I label sections, keep rarely used items separate, and adjust as shelves shift. Additionally, mastering kitchen drawer organization can significantly enhance your cooking experience by ensuring everything is easy to find.
Regularly purge mismatched pieces, then maintain by quick, weekly scans.
Utensil Zoning Tips
Utensil zoning starts with clear, purpose-driven drawer dividers that create instant order.
I group spatulas, tongs, and whisks by function, not size, so grab-and-go moments stay smooth.
I label sections and keep rarely used tools tucked at the back.
I rotate frequently used pieces to the front, maintain space, and prevent clutter from creeping back. Additionally, essential kitchen organization tips emphasize the importance of keeping drawers tidy to enhance efficiency during cooking.
Magnetic Strips for Knives and Metals

Magnetic strips are a simple way to free up drawer space and keep frequently used knives and metal tools within arm’s reach.
I mount a slim strip on a clean wall, placing the sharpest blades at center height for easy grab-and-go use. Additionally, using magnetic strips for organization can enhance the overall functionality of your kitchen by maximizing vertical space.
Keep magnets away from electrical devices and avoid overloading; rotate periodically to maintain safety and organization.
Fold-Out Prep Surfaces That Extend Workspace
I’m showing you how Fold-Out Prep Surfaces can extend our workspace with Extendable Counter Surfaces that pop up when you need them.
These easy foldaway additions become practical, space-saving work areas, so you can prep without crowding the counter.
I’ll walk you through quick setups and best practices to keep things tidy and ready for use. Additionally, incorporating clever small kitchen storage solutions can further enhance your kitchen’s organization and functionality.
Extendable Counter Surfaces
Extendable counter surfaces, or fold-out prep areas, are a simple way to add workspace when you need it and tuck it away when you don’t.
I deploy them at peak prep times, then slide them back to keep counters clear.
Choose sturdy hinges, a shallow lip, and smooth glide.
Plan placement near the sink for efficient workflow.
Easy Foldaway Prep Maxims
Fold-out prep surfaces are a simple way to add workspace when you need it and tuck it away when you don’t, so I keep mine basic, sturdy, and in the workflow—near the sink for easy prep and quick cleanup.
- Prioritize grip and stability
- Use water-resistant surfaces
- Plan retraction and accessibility
Space-Saving Work Areas
Small kitchen spaces demand clever, ready-to-use work areas, so fold-out prep surfaces fit right into my workflow.
I keep one edge accessible, then lift it when I need extra space for chopping or mixing. Sturdy hinges matter, and a wipe-clean surface helps.
I plan ahead, slide it back, and maintain a clutter-free zone for smooth, efficient prep.
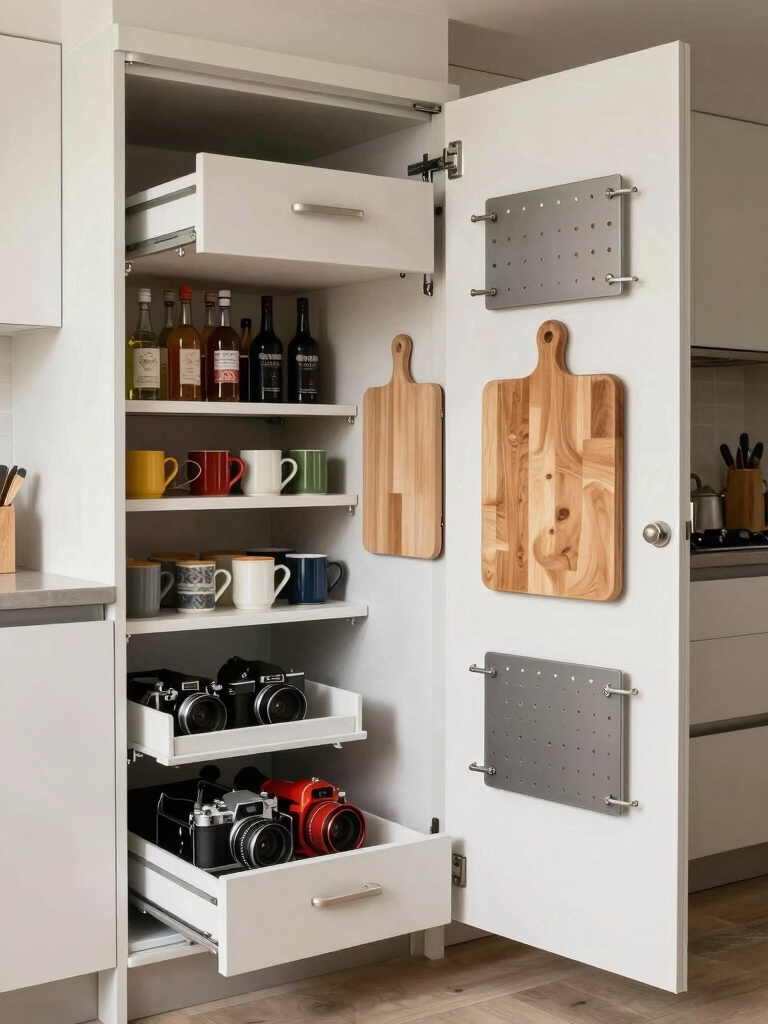
Vertical Storage for Lids and Cutting Boards
Vertical storage for lids and cutting boards keeps my countertop free of clutter and makes grab-and-go meals easier.
I use a slim wall rack and a compact lid organizer to maximize space without fuss, keeping essentials visible and reachable.
- Install a vertical lid rack beside the stove
- Mount a slim cutting board hanger inside the cabinet
- Label zones for quick grab-and-go access
Under-Cabinet Rails for Mugs and Cups
Under-cabinet rails keep mugs and cups within easy reach while freeing valuable counter space.
I install slim rails beneath cabinets, slide mugs on, and save shelf depth for essentials. I label groups by frequency and weight, ensuring stability.
Cleaning is quick—wipe, dry, and restack. If you spill, detours to the sink are minimal, keeping prep flowing and organized.
Declutter Counters With a Tray-Based Tool Caddy
I’ll show you how a tray-based tool caddy can streamline your counter setup with clear, quick fixes.
We’ll cover tray-based organization, smart caddy placement, and quick decluttering tricks to keep the surface tidy.
Let’s start with a practical arrangement that’s easy to maintain and ready for everyday use.
Tray-Based Organization
A tray-based tool caddy helps keep essential gadgets within arm’s reach while clearing counter clutter.
I keep basics visible, label compartments, and wipe spills before they set. This setup streamlines prep and reduces searching time.
1) Prioritize frequent-use tools
2) Group by task (prep, cooking, cleaning)
3) Maintain a quick-clean routine to preserve order
Caddy Placement Tips
Placing a tray-based tool caddy in the right spot makes daily tasks smoother.
I pick a high-traffic area, near prep space but away from heat, so tools stay reachable yet contained.
Group similar items together, label bins, and keep frequently used utensils visible.
Regularly reassess, removing duplicates, to maintain clean, uncluttered counters that support quick, calm cooking routines.
Quick Decluttering Tricks
Decluttering is faster when a tray-based tool caddy keeps every item in its lane, so I keep only what I actually reach for daily on the front of the tray and tuck the rest away.
- Sort items by frequency
- Group similar tools together
- Empty and wipe weekly
Label and Color-Code for Quick Access
Labeling and color-coding cut clutter fast, so I keep labels clear and quick to scan, then use consistent colors to signal what goes where.
I assign simple tag phrases, like “bakeware,” “daily essentials,” and “rarely used,” and place them on drawer fronts.
I keep a small legend visible, update when needed, and review monthly to maintain quick access.
Multi-Purpose Canisters With Built-In Scoops
Just like labeling to speed up access, I’ve found that multi-purpose canisters with built-in scoops keep our counters tidy and ready for quick cooking.
They minimize trips to pantry and reduce spills. I favor clear measurements and airtight seals.
- Quick-access scoops
- Clear labeling
- Stackable, space-efficient design
Wire Shelving to Maximize Corner Space
Wire shelving can turn awkward corners into usable storage without crowding the counter.
I share a simple plan: install compact, adjustable units, label each shelf, and group items by frequency.
Keep heavy items lower, spices near the edge, and glassware above.
Measure clearance, secure brackets, and wipe down surfaces for quick maintenance.
Clear access boosts efficiency and reduces clutter.
Pull-Out Pantry Shelves for Deep Cupboards
I’m exploring pull-out pantry shelves to tame deep cupboards and make every item reachable.
I’ll show how flexible pull-outs boost access and cut cabinet clutter.
If you want a quicker, neater kitchen, these options are worth a closer look.
Install Flexible Pull-Outs
Install flexible pull-out shelves to make deep cupboards usable. I set them on sturdy slides, then organize by item type and height for quick access. You’ll notice fewer wasted moments searching.
- Measure interior depth and width accurately
- Choose heavy-duty, locking slides for stability
- Group similar items and label shelves clearly
Maximize Deep Cabinet Access
Maximize deep cabinet access by using pull-out pantry shelves that glide smoothly on sturdy slides, letting you see and reach every item without bending or digging.
I’ve learned to group similar items, label fronts, and keep tall jars upright. This setup minimizes fumbling, saves time, and prevents wasted space.
You’ll navigate deep cupboards with confidence, staying organized and efficient.
Tension Rods to Organize Spray Bottles
Tension rods are a quick, affordable way to keep spray bottles tidy and within easy reach.
I mount a rod under the cabinet lip, slide bottles by size, and label categories for quick grab-and-go action.
1) measure space accurately.
2) choose sturdy rods.
3) space bottles evenly and secure with clips.
Tray Dividers for Coffee and Tea Zones
Using those tension rods gave us a tidy base for bottles, and now Tray Dividers for Coffee and Tea Zones will keep the rest of your counter essentials neatly separated.
I suggest slim, adjustable dividers that fit standard trays, with labeled sections for filters, sachets, and spoons.
This setup minimizes chaos, speeds morning routines, and preserves space for mugs and small appliances.
Appliance Caddies to Keep Cords Tidy
I’ve found that cord-control solutions and stow-and-label caddies make a big difference on crowded counters.
I’ll show how to keep each appliance’s cord neat and labeled so you can grab what you need without tracing cables.
Let’s get practical with simple setups that stay organized and easy to maintain.
Cord-Control Solutions
Cord-control is easier with appliance caddies that keep cords tidy and out of the way.
I’ll show simple, practical tweaks to prevent tangles and clutter while keeping counters usable.
- Use cord sleeves to bundle loose strands and route them behind devices.
- Choose caddies with built-in grommets or clips for daily plug-ins.
- Label outlets to speed setup and reduce unplugging guesswork.
Stow-and-Label Caddies
Stowing cords with labeled appliances keeps counters orderly and setup fast.
I keep a dedicated caddy for each device, with cords coiled, plugs secured, and tags visible. It prevents tangles and frees space for prep.
I rotate models by frequency, label extensions, and wipe spills before packing away.
Simple, repeatable steps make every kitchen moment calmer.
Roll-Out Mats and Cutting Boards Storage
Roll-out mats and cutting boards can clutter a drawer or cabinet, so I keep them ready to grab by storing them in a designated roll-out rack or slim pull-out tray.
I prioritize accessibility, durability, and clean lines.
1) Install a slim pull-out with adjustable dividers
2) Label sections for mats versus boards
3) Use silicone feet to prevent sliding and damage
Routine Maintenance to Prevent Clutter Creep
To keep clutter from creeping back after we’ve set up roll-out racks and slim trays, I make routine maintenance a habit instead of a one-off task.
I do quick daily checks: return items to their spots, wipe surfaces, and discard expired temptations.
Weekly, I recap priorities, swap misfits, and adjust layouts.
Consistency prevents chaos and keeps counters useful.
Personalize the Zone With Quick-Access Habits
Wondering how to make your fast-access zone truly fit your daily routines?
I’ll tailor it with quick habits that stick, not clutter. I share simple steps you can apply today.
- Place daily items within arm’s reach and in predictable spots
- Create a 5-minute reset ritual each evening
- Label zones for faster retrieval and fewer searches
Conclusion
You’ll feel faster, freer, and fearless when you finish fussing with clutter. I’ve seen spaces sparkle, savory sides shine, and routines relax with simple shifts: declutter daily, measure mindfully, and mount must-haves neatly. Craft a compact, coherent kitchen cadence: spice station, slim storage, drawer dividers, magnetic measures, and roll-out routines. Stay steady, simple, and specific. Make it yours: a practical, personal, perfectly poised zone where clever habits keep chaos out and confidence in.