
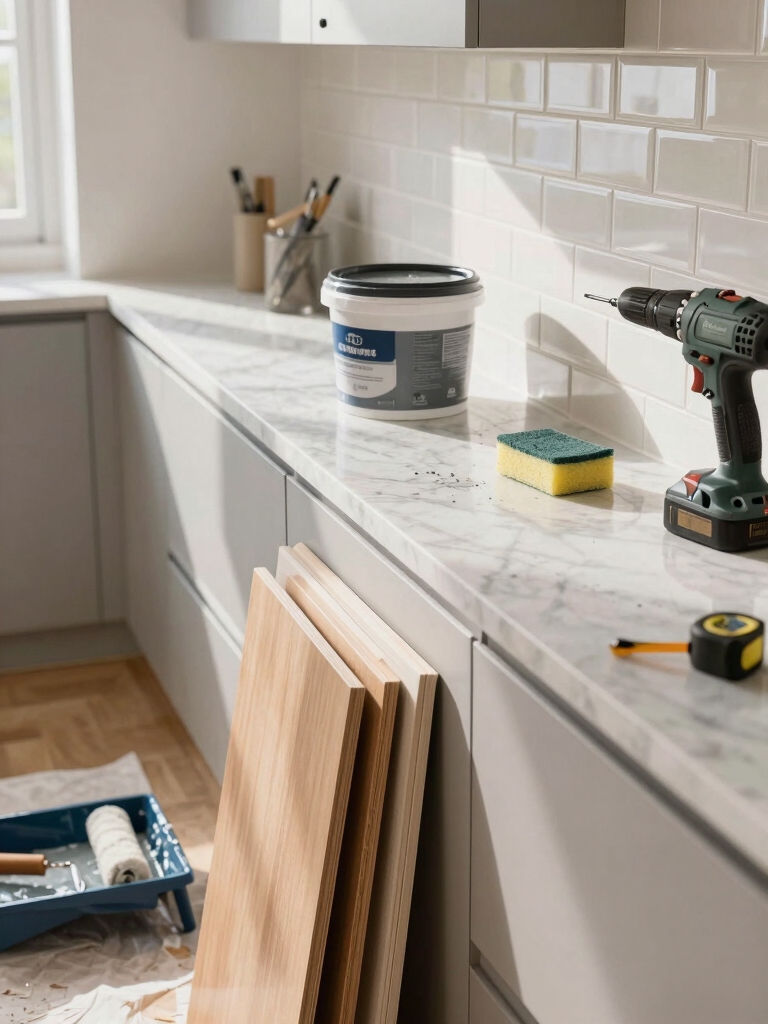
I’ve done plenty of weekend kitchen makeovers that pack big visual punch with little fuss: paint cabinet exteriors, swap pulls and knobs, stick on a peel-and-stick backsplash, swap the faucet, add under-cabinet LEDs, roll in a cart, lay a new runner, mount a pot rack or magnetic strip, and re-grout tired tile.
Most are low-cost, use basic tools, and pay attention to measurements and safety. Keep going and I’ll show how to plan each step for smooth results.
Paint Cabinet Exteriors for a Fresh Look

When I painted my kitchen cabinets, the whole room felt new without the cost or chaos of a full remodel. I prepped surfaces, sanded lightly, chose a durable paint, and worked in sections for even coverage.
It’s surprising how color and finish transform light and warmth. You can achieve a lasting, refreshed look in a weekend with patience and good materials.
Freshly painted cabinets change everything and can dramatically update your kitchen’s appearance without replacing cabinetry.
Replace Cabinet Hardware for Instant Update

I like to start by measuring the existing holes so any new pulls or knobs fit without extra drilling.
Then I pick a finish that ties the room together—brass for warmth, matte black for contrast, or brushed nickel for a neutral look.
Finally I install each piece carefully and double-check alignment so drawers and doors line up perfectly.
Weekend projects like this can transform your kitchen quickly by focusing on cabinet hardware and other small, high-impact updates.
Measure Existing Hardware
Let’s plunge into measuring your current cabinet hardware so you can swap it out without surprises; I’ll walk you through the simple steps that save time and money.
First, measure center-to-center screw distance for pulls and single-hole placement for knobs. Note thickness and backset clearance. Record dimensions and take photos of existing pieces.
With clear measurements, replacements fit perfectly and install fast. Stunning cabinet makeovers often start with simple changes like updated hardware to transform your kitchen, such as fresh paint and new pulls that create dramatic before and after results.
Choose a Finish
Because finishes set the mood of your kitchen, I start by imagining how new hardware will play with your cabinets, countertops, and lighting.
I pick a finish that balances style and wear—matte black for contrast, brushed nickel for versatility, or aged brass for warmth.
Think about fingerprints, maintenance, and coordinating with faucets or light fixtures so everything feels intentional and cohesive.
Transformations can go beyond a fresh coat of paint to include hardware and finishes that redefine the whole space.
Install and Align
Swapping out old pulls and knobs is one of the quickest ways I refresh a kitchen’s look, and it’s surprisingly simple to get right if I take a few careful steps.
I measure twice, mark consistently, and use a template for straight lines. I tighten screws evenly, check clearance, and align handles visually. Small adjustments make everything feel intentional and polished.
I’ve found many dramatic before-and-after results in budget-friendly makeovers when focusing on hardware swaps as a weekend project.
Install a Peel-and-Stick Backsplash
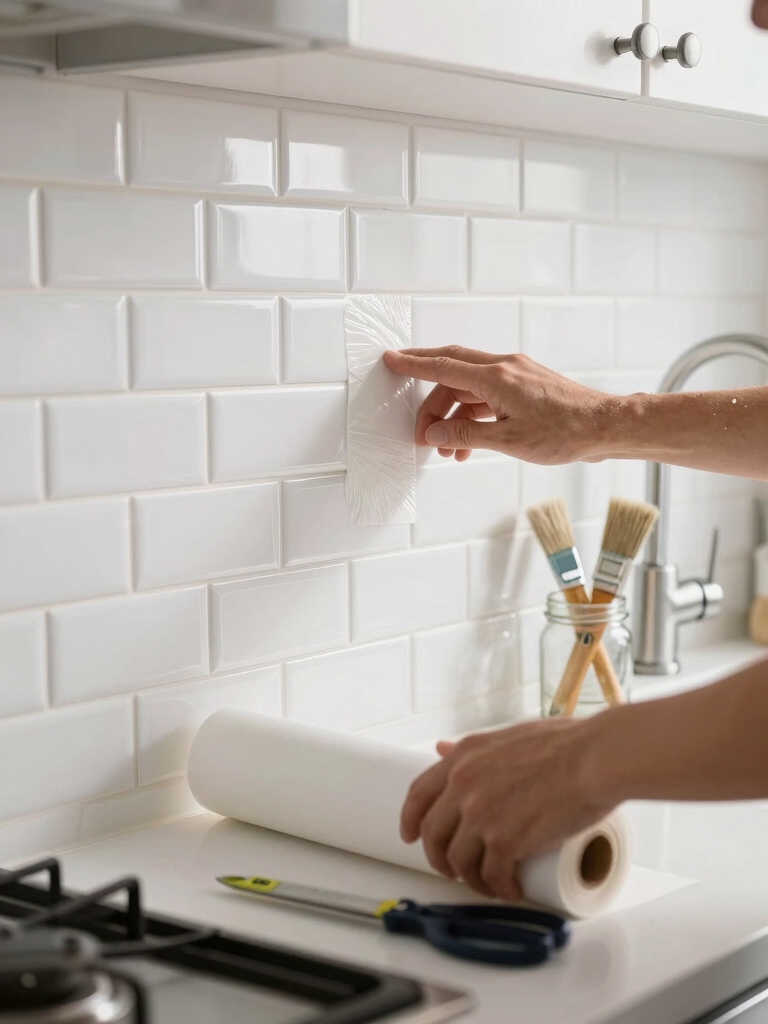
I’ll walk you through installing a peel-and-stick backsplash so you can refresh your kitchen quickly and without calling a pro.
I measure, clean, and mark a level line, then peel backing and align tiles edge-to-edge.
I trim around outlets, press firmly to eliminate bubbles, and let adhesive set.
It’s tidy, affordable, and reversible—perfect for a weekend update.
Small kitchen backsplashes can really make walls pop, and one easy way to achieve that is with peel-and-stick tiles that add color and texture without a big renovation.
Swap Out the Faucet for Better Functionality

Let’s upgrade the faucet to make daily tasks smoother and cut down on leaks and frustration. I swapped mine in an hour, and you can too with basic tools.
Choose a pull-down spout for reach, check mounting style, confirm hose length, match finish, and test for drips. Small change, big usability boost—worth the weekend effort.
- Pull-down spout
- Mounting type
- Hose length
- Finish match
- Leak test
A well-placed sink on an island can improve workflow and sightlines, so consider smart kitchen island placement when planning your remodel.
Add Under-Cabinet Lighting

I’ll walk you through picking the right under-cabinet lights—LED strips, puck lights, or tape—so you get the look and brightness you want.
First we’ll measure and plan placement and power access so nothing surprises you during install.
Then I’ll show how to mount, wire, and test everything to make sure the lighting works reliably.
Choose Lighting Type
I usually start by thinking about how I use the countertops—meal prep, evening tasks, or just a soft glow for ambience—because that determines the best under-cabinet lighting type.
I pick based on brightness, color, energy, installation ease, and dimming needs.
- Warm LEDs for cozy ambience
- Cool LEDs for task clarity
- Tape lights for discreet lines
- Puck lights for focused spots
- Battery options for no wiring
Measure and Plan
Before cutting anything, I measure every run and plan the wiring so the lights fit the way I use the counters.
I note outlet locations, cabinet interior depth, and any obstacles like pipes or braces.
I sketch placement for even illumination, pick strip lengths and connectors, and account for a driver location.
That prep saves time and prevents awkward gaps or hidden cords later.
Install and Test
Once the planning’s done, I start installing the strips and running the wires so everything sits cleanly under the cabinets.
I test each section, hide excess cable, and secure connectors. If a strip flickers, I swap the connection or replace the module.
Then I dim and angle lights for even task illumination.
- Position strips
- Conceal wiring
- Secure connectors
- Test segments
- Adjust brightness
Refinish or Paint Open Shelving
Let’s strip these shelves down and give them a look that actually matches the rest of the kitchen.
I sand, clean, and decide between stain or paint—stain for warmth, matte paint for crisp contrast.
I prime, apply thin even coats, and seal for durability.
Quick hardware swaps and styling with jars and greens finish the refresh, making shelves feel intentional and refreshed.
Apply Contact Paper to Counter Edges
I’ll walk you through how to neatly wrap contact paper around your countertop edges so they look finished and hold up to daily use.
I measure, cut slightly oversized strips, peel slowly, smooth with a plastic scraper, and trim cleanly.
Small seams and tight corners are manageable with patience.
- Measure precisely
- Cut generous strips
- Peel and align
- Smooth air bubbles
- Trim razor-close
Replace Outlet Covers and Switch Plates
Before you swap anything, I always shut off the power at the breaker so there’s zero chance of a shock.
Pick covers and plates that match your hardware and finish so the kitchen looks intentional, then install them snugly—tighten screws and make sure each plate sits aligned and flush.
It’s a small change that feels finished and keeps things safe.
Safety First: Power off
Because electricity can be deadly, I always cut power at the breaker before touching outlet covers or switch plates — and you should too.
I test with a noncontact tester, remove screws, swap plates, and reinstall confidently.
Simple steps keep things safe.
- Turn off breaker
- Verify power off
- Use insulated tools
- Keep screws organized
- Don’t work wet
Match Style and Finish
When I swap out outlet covers and switch plates, I focus on matching both style and finish so the small details reinforce the room’s look.
I pick finishes that echo cabinet hardware or faucet tones, choose simple profiles for a timeless feel, and prefer matte or satin for wear.
Consistent switch plates make the kitchen feel curated without shouting or clashing.
Tighten and Align Plates
Matching finishes sets the tone, but getting plates straight and snug finishes the job — literally.
I swap crooked covers, replace cracked plates, and tighten screws so switches align with cabinets and countertops.
It’s fast, safe, and instantly polished.
I always turn power off, check fit, and choose finishes that complement hardware.
- Swap cracked plates
- Tighten loose screws
- Align edges precisely
- Match metal finishes
- Inspect wiring safety
Install New Window Treatments
If you want a quick way to change the kitchen’s mood and control light, I suggest installing new window treatments that suit how you use the space.
I pick easy-to-fit options—roller shades, Roman blinds, or simple curtains—measure carefully, mount brackets level, and hang hardware securely.
Choose washable fabrics and a neutral palette for longevity, then tweak length and overlap for privacy and style.
Update Light Fixtures or Pendants
I like swapping out light fixtures or pendants because the right size can totally change how a kitchen feels and functions.
I’ll walk you through simple measurements to pick a scale that fits your island or sink, and share a few easy, safe wiring tips for most DIYers.
If you’re comfortable with a basic screwdriver and a voltage tester, these upgrades are faster than you’d think.
Choose the Right Size
When updating light fixtures or pendants, I focus first on scale — too small and the fixture disappears, too big and it overwhelms the space.
I measure island length and ceiling height, then pick fixtures that balance function and proportion so the room feels intentional.
- Hang pendants 30–36″ above counters
- Match fixture width to island thirds
- Consider ceiling height
- Scale to cabinetry
- Think visual weight
Easy DIY Wiring Tips
Now that you’ve got the right scale for your pendants, let’s tackle the wiring so those fixtures actually work.
I’ll walk you through turning power off, testing wires, matching live/neutral/ground, and using wire nuts and a junction box.
If you’re unsure, stop and consult a pro. Safe, simple wiring saves headaches and makes your new lights shine just right.
Refresh the Pantry With Organizers
Often I find the easiest way to make the whole kitchen feel refreshed is to tackle the pantry first: I clear it out, group like items, and add simple organizers so everything has a place.
I swap mismatched containers for clear bins, label shelves, and maximize space with smart layouts.
- Clear bins
- Lazy Susans
- Stackable racks
- Airtight jars
- Shelf labels
Add a Rolling Kitchen Island or Cart
A rolling island-cart can change how you use your kitchen by adding prep space, storage, and mobility without a full renovation.
I picked one with lockable wheels, a butcher-block top, and open shelving to keep tools handy.
It slides out for chopping, serves as a coffee station, and tucks away when guests arrive—small, flexible, and instantly practical.
Lay Down a New Rug or Runner
I picked out a new runner for my kitchen the way I choose shoes—comfort first, style second—because a rug can instantly warm the space, protect floors, and define traffic zones without any construction.
- Choose stain-resistant fibers
- Measure for proper overhang
- Use a non-slip pad
- Pick a neutral or subtle pattern
- Shake or vacuum weekly
Mount a Pot Rack or Magnetic Knife Strip
Mounting a pot rack or magnetic knife strip clears clutter and puts the tools you use most within arm’s reach.
I measured studs, picked a style that suits my kitchen, and anchored hardware securely—no guesswork.
Hooks and magnets make cooking faster and counters feel open. It’s a quick upgrade that looks intentional and saves time daily; you’ll wonder why you didn’t do it sooner.
Re-grout or Touch Up Tile Surfaces
Over time grout gets dingy or cracks, so I strip out the worst sections and freshen things up to make the whole backsplash or floor look newer.
I use a grout saw, vacuum, and matching grout, working small areas for neat lines. It’s satisfying and impactful.
- Prep the area
- Choose matching grout
- Remove damaged grout
- Apply new grout
- Seal when dry
I know a weekend project can feel ambitious, but I promise these updates are doable without a contractor or a week off work.
I’ve tackled the paint, swapped hardware, and even added peel-and-stick tile—each one gave my kitchen a fresh, lived-in vibe.
Start small, pick one or two tasks, and enjoy the quick wins. You’ll be surprised how much charm and function you can add in just a couple of days.


